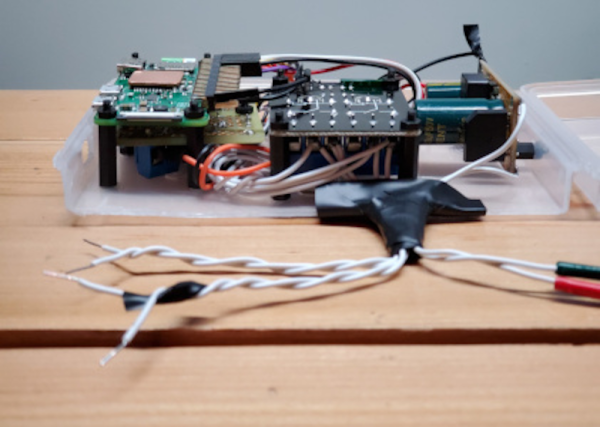
A very common hack to a 3D printer is to connect a Raspberry Pi to your printer and then load Octoprint or a similar program and send your files to the printer via the network. [Teaching Tech] noticed that Creality now has an inexpensive WiFi interface that promises to replace Octoprint and decided to give it a quick review.
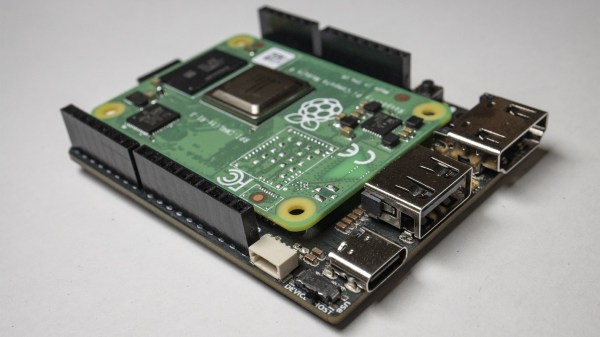
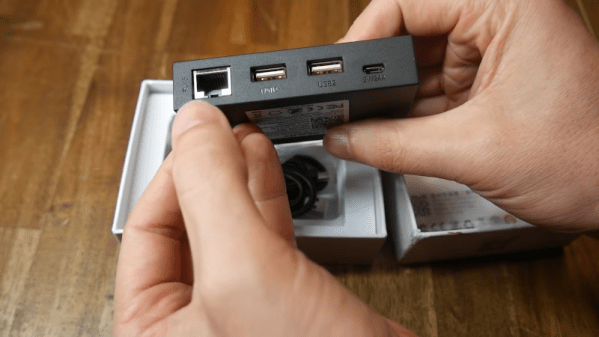
You might wonder why you’d want this system when Octoprint exists? Mainly, the value proposition is the price. You can buy the Creality box for about $20. A Raspberry Pi with a similar case would be at least twice that price. In addition, the box integrates with a Thingiverse-like library and does cloud slicing, which is attractive when you have a very small computer connected to your printer.
However, [Teaching Tech] found some issues. The box was pretty picky about connecting to printers and there were many other problems. The 3D model library wasn’t very comprehensive, although that could change if the thing got very popular. Worse, the slicer didn’t really produce stellar results.
We have to admit, an attractive network interface for $20 would be of interest. But it is hard to see how this would be a better value than Octoprint unless you were very short on cash and had no Raspberry Pi surplus laying around. You still need an SD card and a power supply, so those extras are a wash.
On the other hand, if Creality fixes the problems and expands the 3D model library, we’d buy one. But it remains to be seen if either of those things will happen, much less both of them. We do wish [Teaching Tech] had opened the thing up for us. Maybe next time.
Continue reading “Creality WiFi Takes On Octoprint” →