Funny things can happen when a security researcher and an electronics engineer specializing in high-speed circuits get together. At least they did when [Limpkin] met [Roman], which resulted in two interesting hardware solutions for side-channel attacks.
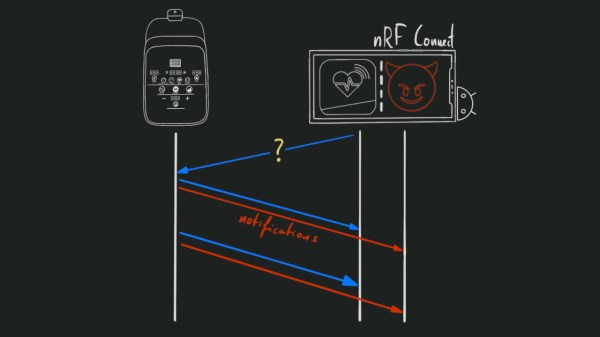
As [Limpkin] relates it, the tale began when he shared an office with [Roman Korkikian], a security researcher looking into current-based attacks on the crypto engine inside ESP32s. The idea goes that by monitoring the current consumption of the processor during cryptographic operations, you can derive enough data to figure out how it works. It’s difficult to tease a useful signal from the noise, though, and [Roman]’s setup with long wire runs and a noisy current probe wasn’t helping at all. So [Limpkin] decided to pitch in.
The first board he designed was based on a balun, which he used to isolate the device under test from the amplification stage. He found a 1:8 balun, normally used to match impedances in RF circuits, and used its primary as a shunt resistance between the power supply — a CR1220 coin cell — and the DUT. The amplifier stage is a pair of low-noise RF amps; a variable attenuator was added between the amp stages on a second version of the board.
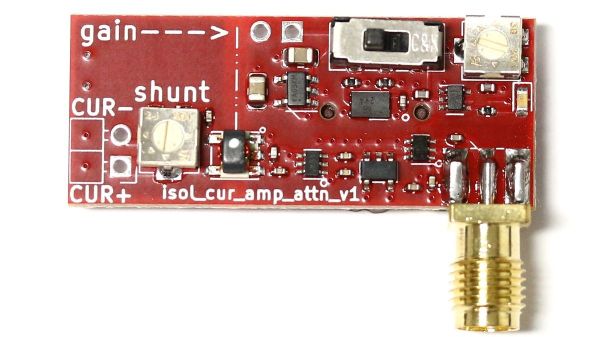
Board number two took a different tack; rather than use a balun, [Limpkin] chose a simple shunt resistor with a few twists. To measure the low-current signal on top of the ESP32’s baseline draw would require such a large shunt resistor that the microcontroller wouldn’t even boot, so he instead used an OPA855 wideband low-noise op-amp as an amplified shunt. The output of that stage goes through the same variable attenuator as the first board, and then to another OPA855 gain stage. The board is entirely battery-powered, relying on nice, quiet 18650s to power both the DUT and the shunt.
How well does it work? We’ll let you watch the talk below and make up your own mind, but since they’ve used these simple circuits to break a range of different chips, we’d say this approach a winner.
Continue reading “Current-Based Side-Channel Attacks, Two Ways” →