Electron is software for running web-written apps in the same way as native ones, and has gotten plenty of bad press for its RAM appetite around these parts. But while the execution might leave something to be desired, the concept itself is quite solid — if you’ve already got code written for the web, a quick and easy way to bring it over to the desktop would be very valuable.
Which is why [CanadaHonk] is building a framework called Gluon, which aims to turn your web pages into desktop apps with little to no effort. We’ve seen their work a few months ago with the OpenASAR project, hacking the Discord desktop app to speed it up. Drawing from that experience, Gluon is built to be lean – with apps having low RAM and storage footprints, lightning-speed build times, and a no-nonsense API.
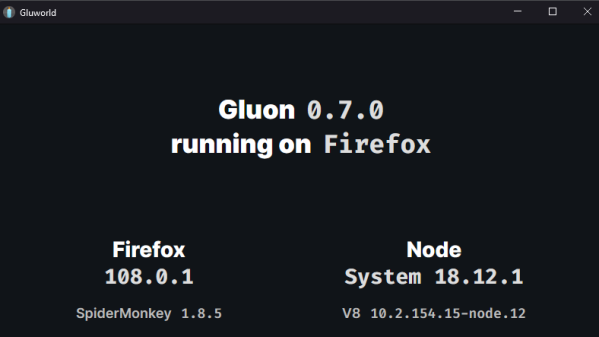
One of the coolest parts is that it’s able to use your system-installed browser, and not a bundled-in one like Electron. Firefox support is firmly on the roadmap, too, currently in experimental stage. Linux support is being worked on as well — the framework is Windows-born, but that’s to change. There’s also room to innovate; [CanadaHonk] recently added a hibernation feature with aggressive RAM and CPU footprint reduction when the app is minimized, something that other frameworks like this aren’t known for.
If you want to write user-facing software, JavaScript’s a decent language, and quite a few of you are going to be familiar with it. You aren’t limited to the software side of the tech world, either — tools like WebUSB and WebSerial will let you write a user interface for a board that you’ve just developed. For instance, here’s a WebSerial-based oscilloscope, a nifty serial terminal, or a hacker conference badge programming toolkit. For all that browsers have gotten wrong, they certainly don’t seem to become less abundant, and if that means you can quickly develop cross-platform hardware-facing apps, it’s certainly a useful addition to one’s toolkit.