The workbench of the typical electronics hobbyist today would probably be largely recognizable by Heathkit builders back in the 60s and 70s. But where the techs and tinkerers of yesteryear would have had a real dead-tree SAMS Photofact schematic spread out on the bench, today you’ll get more use out of a flat-screen display for data sheets and schematics, and this handy shop Frankentablet might be just the thing to build.
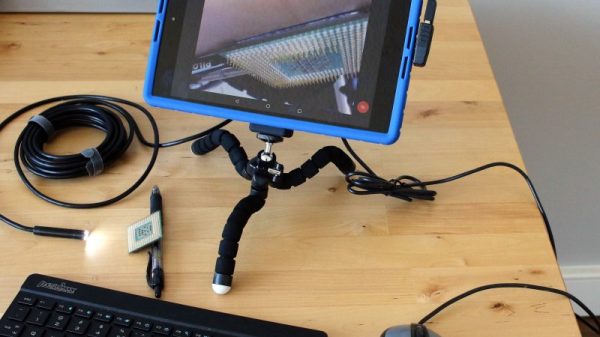
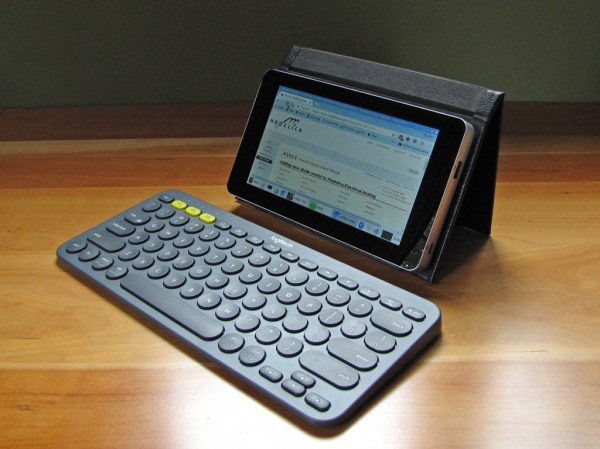
Tablets like the older Nexus 9 that [enginoor] used as the basis for this build have a little bit of a form-factor problem because unlike a laptop, a tablet isn’t very good at standing up on its own. To fix that, they found a suitable silicone skin for the Nexus, and with some silicone adhesive began bedazzling the back of the tablet. A bendy tripod intended for phones was added, and with the tablet able to stand on its own they maximized the USB port with a right angle adapter and a hub. Now the tablet has a USB drive, a mouse, and a keyboard, ready for perusing data sheets online. And hackers of a certain age will appreciate the eyeball-enhancing potential of the attached USB microscope.
[enginoor]’s bench tablet is great, but we’ve seen full-fledged bench PCs before too. Take your pick — wall mounted and floating, or built right into the workbench.
Thanks to [ccvi] for the tip.

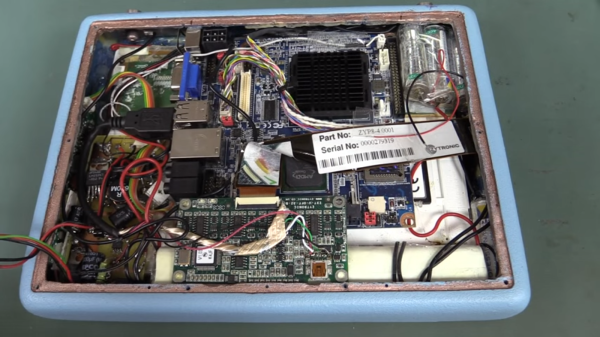
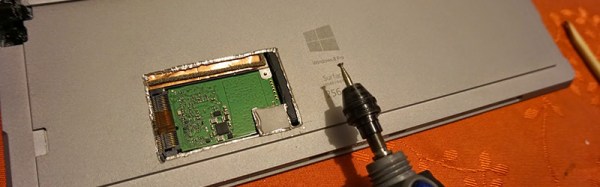
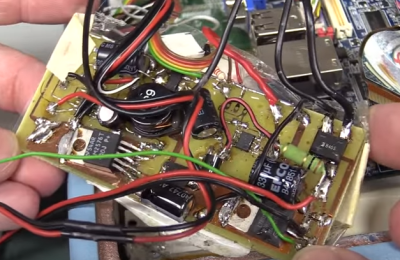 The tablet is based upon an off-the-shelf embedded PC motherboard and touchscreen controller. [Dave] took some offense at the hacked up USB connector on the touchscreen. We have to disagree with [Dave] a bit here, as the video seems to show that a standard mini-b connector wouldn’t have fit inside the tablet’s case. There’s no excuse for the USB cable shield draped over the bare touch controller board though. Things go downhill from there. The tablet’s power supply is best described as a bizarre mess. Rather than use a premade DC to DC converter, whoever built this spun their own switch mode power supply on a home etched board. The etching job looks good, but everything else, including the solder job, is beyond terrible. All the jumps and oddly placed components make it look like a random board from the junk bin was used to build this supply.