A few years ago, low-cost pocket digital oscilloscopes aimed at the hacker and maker crowd started hitting the market and gained quite a following. While few would consider them to be a replacement for a proper bench scope, they’re cheap and convenient enough that it’s hard to complain. Manufacturers are apparently looking to expand on the concept, as we’re now seeing similarly priced and sized logic analyzers pop up from the usual sources.
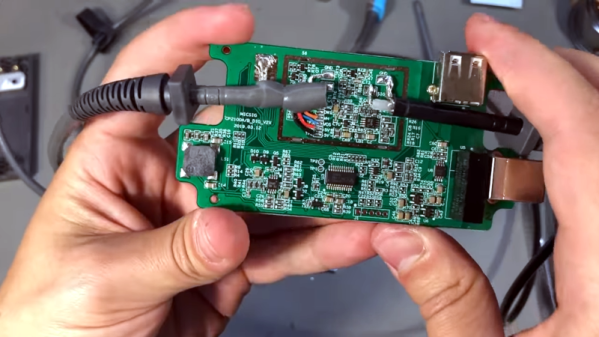
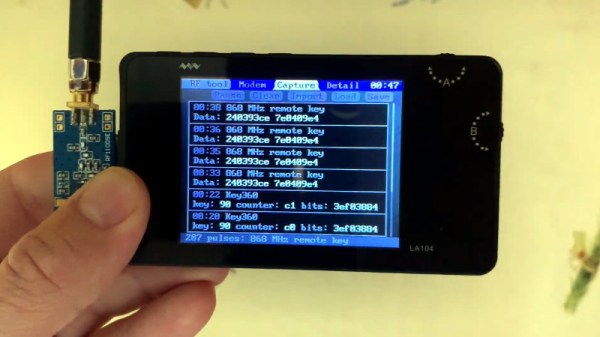
[Gabriel Valky] got his hands on a sub-$100 USD model known as the LA104, and decided that the stock software didn’t quite deliver. So he started a project to create a new open source firmware for the affordable gadget that greatly expands its core functionalities. The code has even been ported to a few of those digital oscilloscopes, as it turns out (perhaps unsurprisingly) that they aren’t too far removed internally.

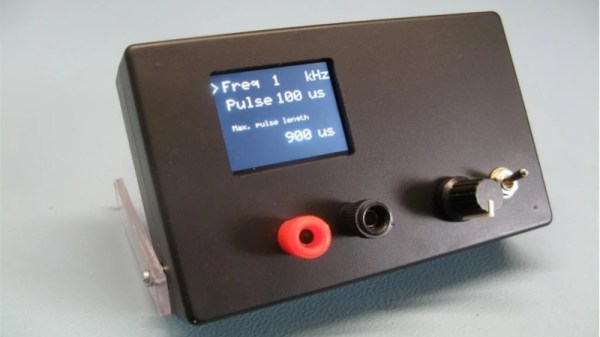
In the video after the break, [Gabriel] shows off some impressive radio tricks by adding a small CC1101 transceiver to the mix. This allows his modified LA104 to scan for and decode popular RF protocols in the 300 – 900 MHz range. His software even allows for the received packets to be modified and re-transmitted, which he demonstrates by pushing a fake temperature signal into a wireless weather station.
But that’s just the beginning. A perusal of the GitHub page for his replacement firmware shows just how many features have already been packed into this project. For example it can be used to control WS2812 LED strips, generate arbitrary PWM signals, log data from temperature sensors, interface with MIDI devices, and scan for I2C devices. Many of these functions can be controlled on the computer by utilizing a modern browser and WebUSB.
The replacement firmware that [Gabriel] has come up with for the LA104 is really an incredible accomplishment, and elevates an already intriguing piece of kit. Being able to pack all of these functions into something small and cheap enough you can toss into a bag is a very compelling prospect for hackers on the go.
Continue reading “Teaching A Pocket Logic Analyzer (Many) New Tricks”