[Fossa Systems], a non-profit youth association based out of Madrid, is developing an open-source satellite set to launch in October 2019. The FossaSat-1 is sized at 5x5x5 cm, weighs 250g, and will provide free IoT connectivity by communicating LoRa RTTY signals through low-power RF-based LoRa modules. The satellite is powered by 28% efficient gallium arsenide TrisolX triple junction solar cells.
The satellite’s development and launch cost under EUR 30000, which is pretty remarkable for a cubesat — or a picosatellite, as the project is being dubbed. It has been working in the UHF Amateur Satellite band (435-438 MHz) and recently received an IARU frequency spectrum allocation for LoRa of 125kHz.


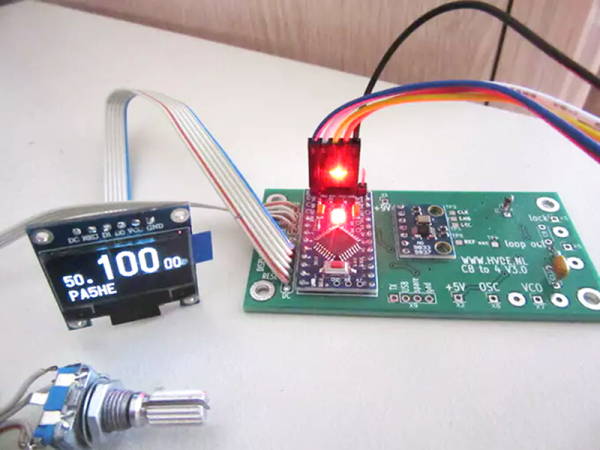
The satellite’s specs are almost as remarkable as the acronyms used to describe them. The design includes an onboard computer (OBC) based on an ATmega328P-AU microcontroller, an SX1278 transceiver for telecommunications, and an electric power system (EPS) based on three SPV1040 MPPT chips and the TC1262 LDO. The satellite also uses a TMP100 temperature sensor, an INA226 current and voltage sensor, a MAX6369 watchdog for single-event upset (SEU) protection, a TPS2553 for single-event latch-up (SEL) protection and various MOSFETs for the deployment of solar panels and antennas.
Up until this point the group has been tracking adoption of LoRa through the use of weather balloons. The cubesat project plans to test the new LoRa spread spectrum modulation using less than $5 worth of receivers. Ultimately with the goal of democratizing telecommunications worldwide.
The satellite is being built in a cleanroom at Rey Juan Carlos University and has undergone thermovacuum and vibration testing at the facility. The group has since developed an educational satellite development kit, which offers three main 40×40 mm boards that allow the addition of modifications. As their mission states, the group is looking to develop an open source project, so the code for the satellite is freely available on their GitHub.