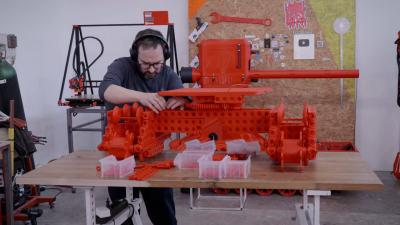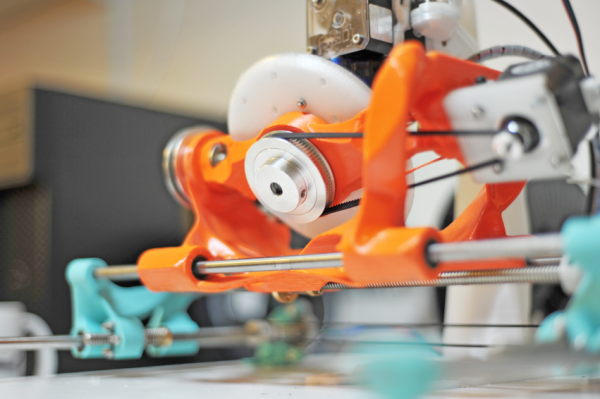
3D printing’s real value is that you can whip up objects in all kinds of whacky geometries with a minimum of fuss. However, there’s almost always some post-processing to do. Like many manufactured plastic objects, there are burrs, strings, and rough edges to deal with. Fussing around with a knife to remove them is a poor way to go. As explained by [Adrian Kingsley-Hughes] on ZDNet, a deburring tool is the cheap and easy solution to the problem.
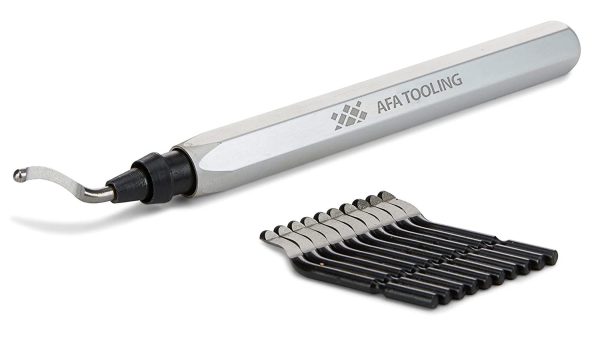
If you haven’t used one before, a deburring tool simply consists of a curved metal blade that swivels relative to its straight handle. You can drag the curved blade over the edge of a metal, wooden, or plastic object, and it neatly pulls away the burrs. There’s minimal risk of injury, unlike when pulling a regular blade towards yourself. The curved, swiveling blade is much less liable to slip or jump, and if it does, it’s far less likely to cut you.
For plastic use, just about any old deburring tool will do. They last a long time with minimal maintenance. They will wear out faster when used on metals, but you can get replacement blades cheap if you happen to need them. It’s a tool every workshop should have, particularly given they generally cost less than $20.
Given the ugly edges and rafts we’re always having to remove from our 3D prints, it’s almost egregious that printers don’t come with them bundled in the box. They’re just a bit obscure when it comes to tools; this may in fact be the first time Hackaday’s ever covered one. If you’ve got your own quality-of-life hacks for 3D printing, sound off below, or share them on the tipsline! We have able staff waiting for your email.