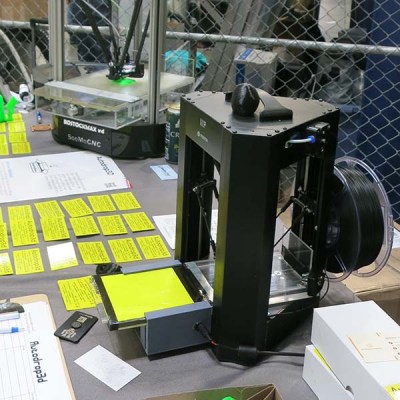
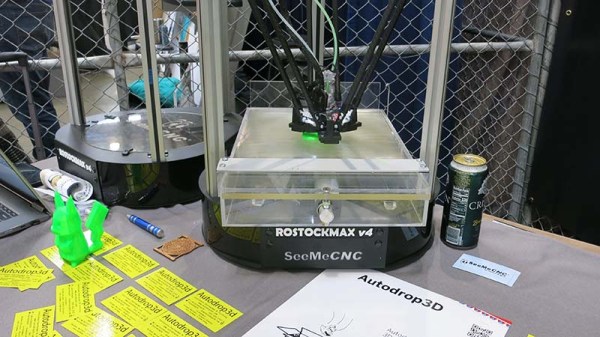
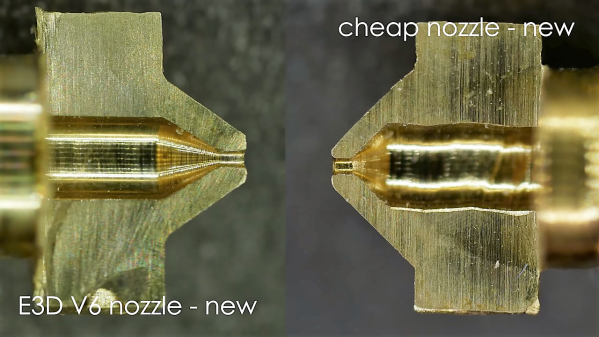
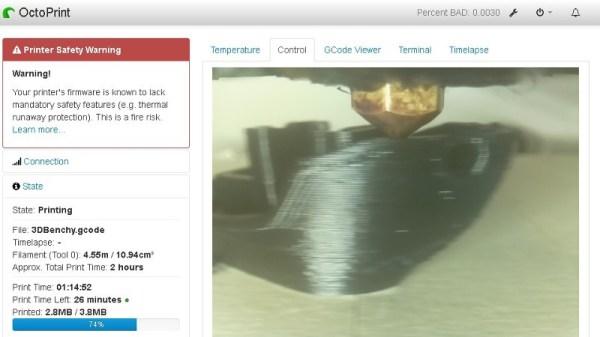
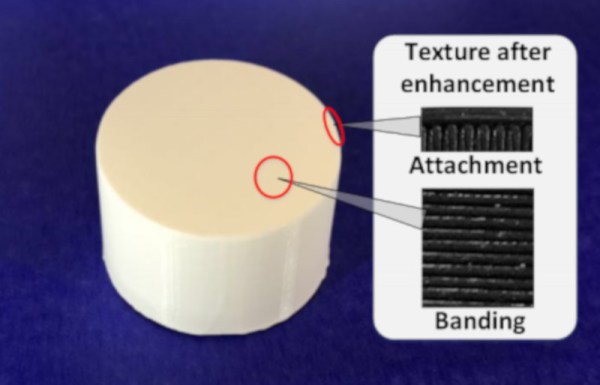
A TV crime show I saw recently centered on the ability of forensic scientists to identify a plastic bag as coming from a particular roll: it’s all down to the striations, apparently. This development isn’t fiction, though: researchers at the University of Buffalo have figured out how to identify the individual 3D printer that produced a particular print. The development, called PrinTracker, uses unique differences in the way a printer lays down print material to identify a printer with a claimed 94 percent accuracy.
3d printer599 Articles
The Magnetic Rubik’s Cube
Ernő Rubik has much to answer for when it comes to the legacy of his namesake cube. It has both enthralled and tormented generations, allowing some to grandstand in the playground while others are forced to admit defeat in the face of a seemingly intractable puzzle. It just so happens that [Tom Parker] has been working on a Rubik’s cube with a novel magnetic design.
Yes, that’s right – [Tom]’s cube eschews the traditional rotating and sliding mechanism of the original cube, instead replacing it all with magnets. Each segment of the cube, along with the hidden center piece, is 3D printed. Through using a fused deposition printer, and pausing the print at certain layers, it’s possible to embed the magnets inside the part during the printing process.
[Tom] provides several different versions of the parts, to suit printers of different capabilities. The final cube allows both regular Rubik’s cube movements, but also allows for the player to cheat and reassemble it without having to throw it forcefully against the wall first like the original toy.
It’s an interesting build, and a great one to get to grips with the techniques involved in embedding parts in 3D prints. It may not be capable of solving itself, but we’ve seen another build that can pull off that impressive feat. Video after the break.
Kinematic Mount For 3D Printer Bed Shows Practical Design

[Mark Rehorst] has been busy designing and building 3D printers, and Son of Megamax — one of his earlier builds — needed a bed heater replacement. He took the opportunity to add a Kelvin-type kinematic mount as well. The kinematic mount and base efficiently constrain the bed in a controlled way while allowing for thermal expansion, providing a stable platform that also allows for removal and repeatable re-positioning.
After a short discussion regarding the heater replacement, [Mark] explains the design and manufacture of his kinematic mount. Of particular note are the practical considerations of the design; [Mark] aimed to use square aluminum tubing as much as possible, with machining requirements that were easily done with the equipment he had available. Time is a resource after all, and design decisions that help one get something working quickly have a value all their own.
If you’re still a bit foggy on kinematic mounts and how they work, you’re not alone. Check out our coverage of this 3D-printed kinematic camera mount which should make the concept a bit clearer.
3D Printed Diffusers Make More Natural Light
A strip of LEDs may be a simple and flexible way to add light to a project, but they don’t always look natural. There is an easy way to make them look better, though: add a diffuser. That’s what [Nate Damen] did using a 3D printer. He created a diffuser using PETG giving a standard string of LEDs a softer and more natural look that makes them look more like older light sources such as fluorescent strips or EL wire, but with the flexible colors of LEDs. The PETG material he used has a naturally somewhat cloudy look, so it acts as a diffuser without needing any extra treatment.
Continue reading “3D Printed Diffusers Make More Natural Light”
A 3D Printer To PCB Miller Conversion
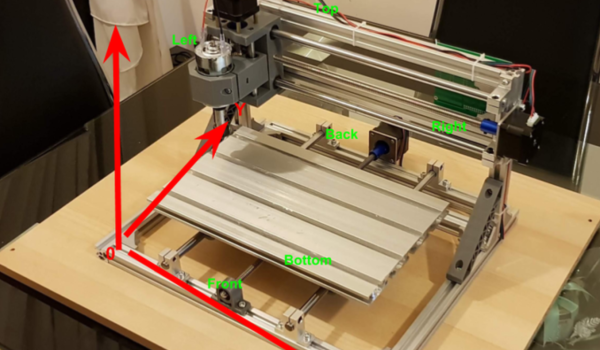
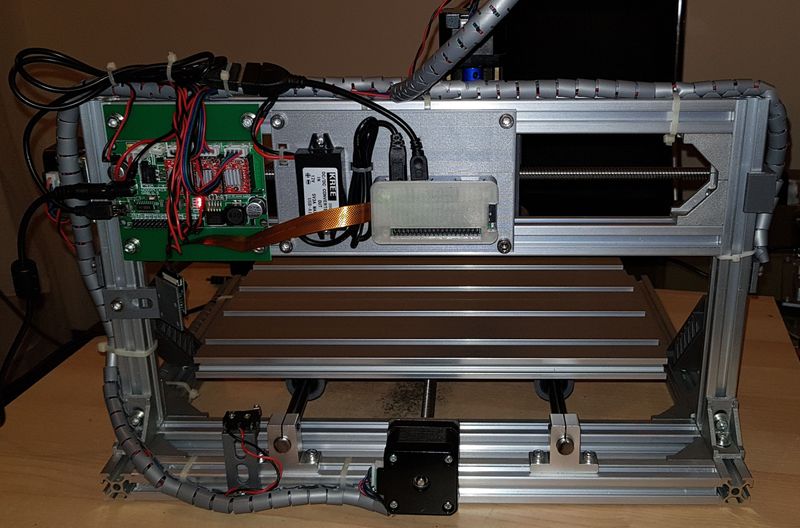
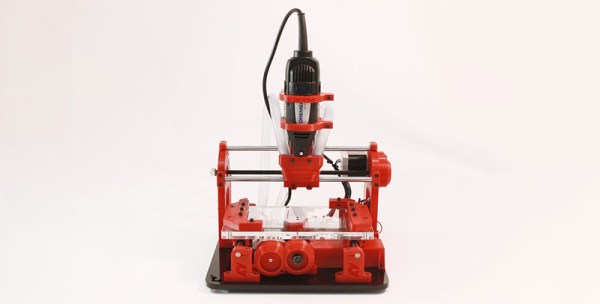
Got a 3D printer? With a bit of work, you may also have a PCB miller. That’s the basis of this neat hack by [Gosse Adema], who converted an Anet A8 3D printer into a PCB miller by building a holder for a Dremel rotary tool and adapting the GCode. This approach means that the adaptations to the printer are minimal: the only hardware is a 3D-printed holder for the Dremel that replaces the print head. The result is an impressive PCB milling machine that can do double-sided PCBs and make through holes.
The excellent write-up that [Gosse] did on this hack describes how he converted the printer, and how he took an EagleCAD design and converted it into four GCode files. That’s one for each side of the PCB, one for through holes and one for the final outline of the PCB. These are then fed to the 3D printer and cut in turn with an appropriate milling bit on the Dremel.
We’ve featured a few similar conversions before, such as this vintage conversion of a Makerbot and this cheap engraver conversion, but this one is much more detailed than those, covering the entire process from PCB design to final product.
Supportless Overhangs: Just Reorient Gravity By 90 Degrees
The 3D print by [critsrandom] in the image above may not look like much at first glance, until one realizes that the 90 degree overhang has no supports whatsoever. Never mind the messy bottom surface, and never mind that the part shown might avoid the problem entirely with some simple supports or a different print orientation; the fact that it printed at all is incredible.
[critsrandom] shared the method in a post on Reddit, and it consists simply of laying the 3D printer on its side. When the print head reaches the overhang, the fact that it is printing sideways is what allows that spot to make the leap from “impossible” to merely “messy”. Necessary? Probably not, but a neat trick nevertheless.
Tilted 3D printers is something that we’ve seen in the past, but for different reasons. When combined with a belt-driven build platform, a tilted printer has a theoretically infinite build volume (in one axis, anyway.)
3D Printing At The Speed Of Light
3D printers now come in all shapes and sizes, and use a range of technologies to take a raw material and turn it into a solid object. We’re most familiar with Additive Manufacturing – where the object is created layer by layer. This approach is quite useful, but has a down side of being time consuming. Two professors at the University of Michigan have figured out a way to speed this process up, big time.
They start off with a VAT additive printing approach. These work by using an ultraviolet laser to harden or cure specific areas in a vat of resin, layer by layer, until the object is complete. The resin is then drained revealing your 3D printed object. Traditionally, VAT printing has been limited to small objects because the resin needs to have a relatively low viscosity.
The clever professors at U-M were able to get around this problem by adding a second laser that keeps the resin in a liquid state. By combining a curing laser with an ‘uncuring’ laser, they’re able to use resins that are more viscous, allowing them to print more durable parts. And do so about 100 times faster than traditional printers!
Thanks to [Baldpower] for the tip!