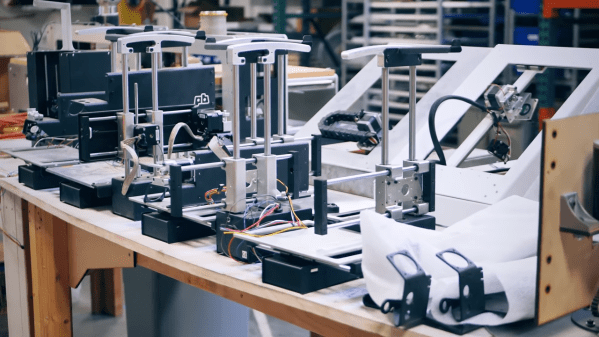
Here’s something of interest of 3D printing enthusiasts. How do you print lightweight 3D objects? [Tom Stanton] does a lot of stuff with 3D printing and RC airplanes, so yeah, he’s probably the guy you want to talk to. His solution is Simplify3D, printing two layers for whatever nozzle diameter you have, some skills with Fusion360, and some interesting design features that include integrated ribs.
Moog released their first polyphonic analog synth in 35 years. It’s massive, and it costs eight thousand dollars.
There’s a RISC-V contest, sponsored by Google, Antmicro, and Microchip. The goal is to encourage designers to create innovative FPGA and soft CPU implementations with the RISC-V ISA. There are four categories, the smallest implementation for SpartFusion2 or IGLOO2 boards, and the smallest implementation that fits on an iCE40 UltraPlus board. The two additional categories are the highest performance implementation for these boards. The prize is $6k.
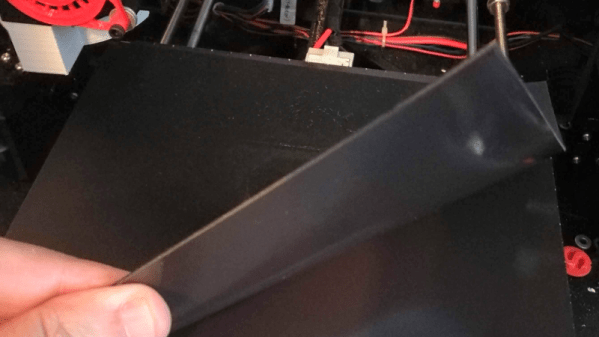
” I heard about polarization filters and now I’m getting a hundred thousand dollars” — some moron. IRL Glasses are glasses that block screens. When you wear them, you can’t watch TV. This is great, as now all advertising is on TVs for some inexplicable reason, and gives these people an excuse to use frames from John Carpenter’s masterpiece They Live in their Kickstarter campaign. Question time: why don’t all polarized sunglasses do this. Because there’s a difference between linear and circular polarized lenses. Question: there have been linear polarized sunglasses sitting in the trash since the release of James Cameron’s Avatar. Why now? No idea.
Alexa is on the ESP32. Espressif released their Alexa SDK that supports conversations, music and audio serivces (Alexa, play Despacito), and alarms. The supported hardware is physically quite large, but it can be extended to other ESP32-based platforms that have SPI RAM.