Random Number Generator Uses Camera Noise

Random numbers are very important to us in this computer age, being used for all sorts of security and cryptographic tasks. [Theory to Thing] recently built a device to generate random numbers using nothing more complicated than simple camera noise.

The heart of the build is an ESP32 microcontroller, which [Theory to Thing] first paired with a temperature sensor as a source of randomness. However, it was quickly obvious that a thermocouple in a cup of tea wasn’t going to produce nice, jittery, noisy data that would make for good random numbers. Then, inspiration struck, when looking at vision from a camera with the lens cap on. Particularly at higher temperatures, speckles of noise were visible in the blackness—thermal noise, which was just what the doctor ordered.

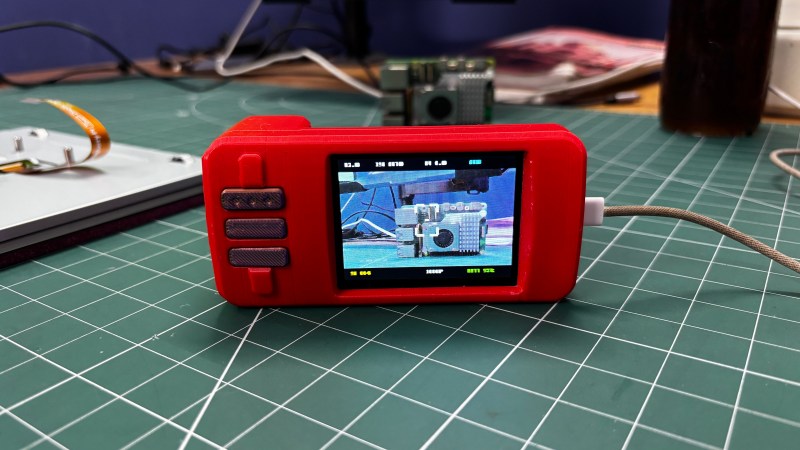
Thus, the ESP32 was hooked up to an OV3660 camera, which was then covered up with a piece of black electrical tape. By looking at the least significant bits of the pixels in the image, it was possible to pick up noise when the camera should have been reporting all black pixels. [Theory to Thing] then had the ESP32 collate the noisy data and report it via a web app that offers up randomly-generated answers to yes-or-no questions.

[Theory to Thing] offers up a basic statistical exploration of bias in the system, and shows how it can be mitigated to some degree, but we’d love a deeper dive into the maths to truly quantify how good this system is when it comes to randomness. We’ve featured deep dives on the topic before.

Continue reading “Random Number Generator Uses Camera Noise”

The metal comm badge and M5stick on an LCARS mousepad

Control Your Smart Home With Trek-Inspired Comm Badge

One thing some people hate about voice control is that you need to have a process always running, listening for the wake word. If your system isn’t totally locally-hosted, that can raise some privacy eyebrows. Perhaps that’s part of what inspired [SpannerSpencer] to create this 24th century solution: a Comm Badge straight out of Star Trek: The Next Generation he uses to control his smart home.

This hack is as slick as it is simple. The shiny comm badge is actually metal, purchased from an online vendor that surely pays all appropriate license fees to Paramount. It was designed for magnetic mounting, and you know what else has a magnet to stick it to things? The M5StickC PLUS2, a handy ESP32 dev kit. Since the M5Stick is worn under the shirt, its magnet attached to the comm badge, some features (like the touchscreen) are unused, but that’s okay. You use what you have, and we can’t argue with how easy the hardware side of this hack comes together.

[Spanner] reports that taps to the comm badge are easily detected by the onboard accelerometer, and that the M5Stick’s microphone has no trouble picking up his voice. If the voice recordings are slightly muffled by his shirt, the Groq transcription API being used doesn’t seem to notice. From Groq, those transcriptions are sent to [Spanner]’s Home Assistant as natural language commands. Code for the com-badge portion is available via GitHub; presumably if you’re the kind of person who wants this, you either have HA set up or can figure out how.

It seems worth pointing out that the computer in Star Trek: TNG did have a wake word: “computer”. On the other hand it seemed the badges were used to interface with it just as much as the wake word on screen, so this use case is still show accurate. You can watch it in the demo video below, but alas, at no point does his Home Assistant talk back. We can only hope he’s trained a text-to-speech model to sound like Majel Barrett-Roddenberry. At least it gives the proper “beep” when receiving a command.

This would pair very nicely with the LCARS dashboard we featured in January. Continue reading “Control Your Smart Home With Trek-Inspired Comm Badge”

Meshtastic Does More Than Simple Communication

Meshtastic has been experiencing a bit of a renaissance lately, as the off-grid, long-range radio text messaging protocol gains a ton of new users. It’s been used to create mesh networks in cities, during disasters and protests, in small groups while hiking or camping, and for search and rescue operations. Although it’s connected plenty of people together in all of these ways, [GreatScott!] wanted to put it to work connecting some computing resources instead. He has a garden shed that’s too far for WiFi, so Meshtastic was used to connect it instead.

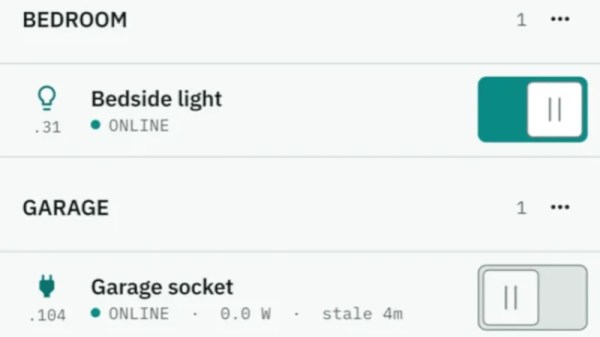
This isn’t a project to bring broadband Internet out to the shed, though; Meshtastic is much too slow for that. All he really wanted to do here was to implement a basic alarm system that would let him know if someone had broken in. The actual alarm triggering mechanism is an LED emitter-detector pair installed in two bars, one of which sends a 12V signal out if the infrared beam from the other is broken. They’re connected to a Heltec ESP32 LoRa module which is set up to publish messages out on the Meshtastic communications channel. A second module is connected to the WiFi at the house which is communicates with his Home Assistant server.

Integrating Meshtastic devices into Home Assistant can be pretty straightforward thanks to the various integrations already available, but there is some configuration to get these specific modules working as an alarm. One of the pins on the remote module had to be set up to watch the light bar, and although sending the alarm message out when this triggered worked well, the received signal never passed through to Home Assistant until [GreatScott!] switched to using the RadioLib library an an MQTT integration instead. But with perhaps more configuration than he planned for out of the way, [GreatScott!]’s alarm is up and running. Meshtastic projects often balloon into more than we had originally planned though, in more ways than one. You can follow along as our own [Tom Nardi] attempts to connect all of New Jersey with this new protocol.

Continue reading “Meshtastic Does More Than Simple Communication”

Exclamation Point Indicates Worthy Notifications

As far as punctuation goes, the exclamation mark is perhaps the most eye-catching of the bunch. That’s why [Conrad Farnsworth] thought this form would be perfect for his Home Assistant notifier build. 

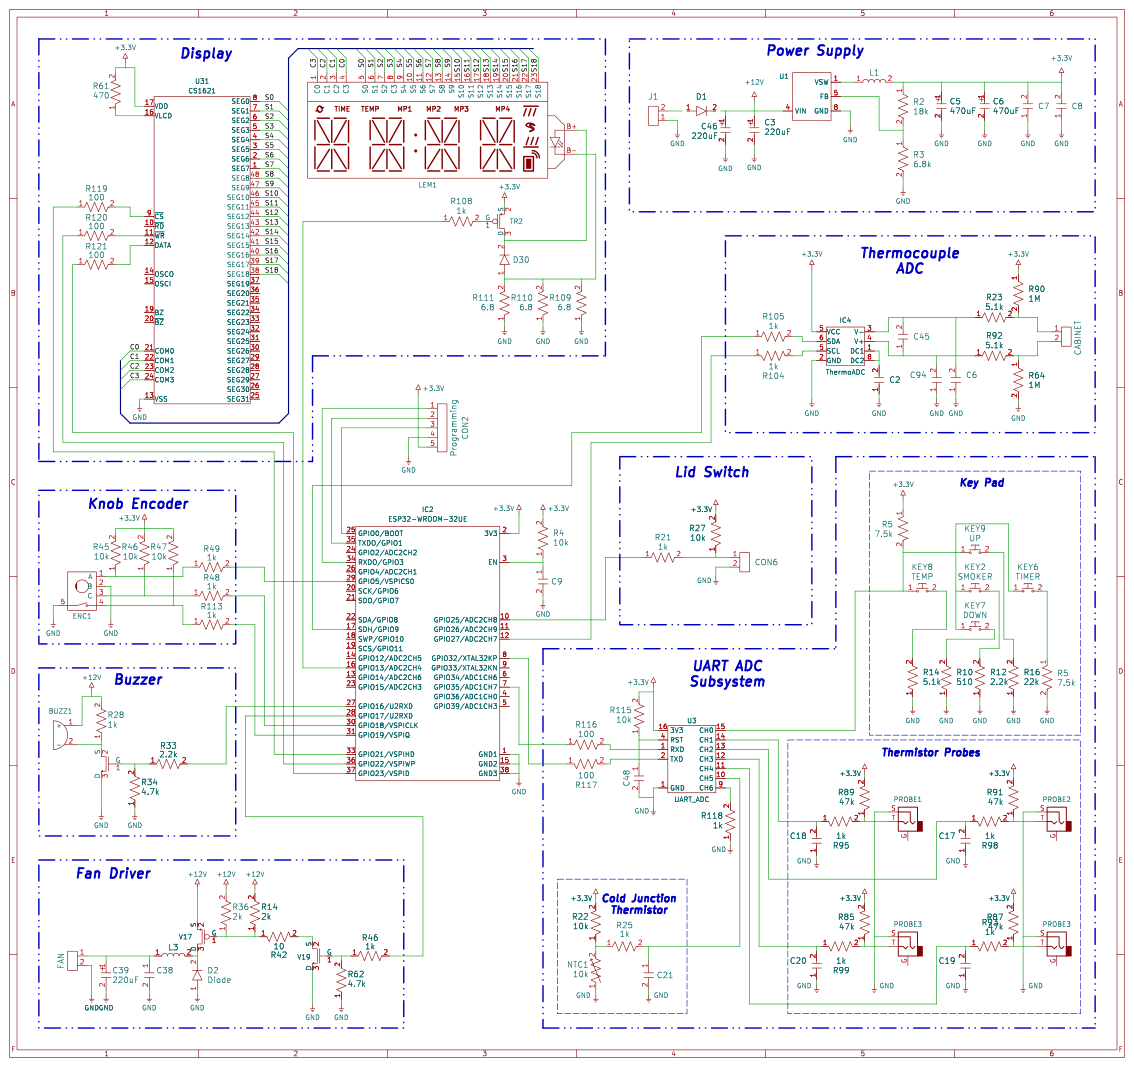
The key to this build is the large bi-color printed housing in the shape of an exclamation mark. It makes for an attractive wall-hanging, but it also perfectly serves the purpose [Conrad] had in mind. Inside the enclosure is an ESP32, hooked up to a string of 16×8 LED matrixes which are commanded over I2C. These sit behind a white panel in the enclosure to nicely diffuse the light and make their output more readable. The ESP32 displays notifications on the LEDs that are fed from Home Assistant, such as when the mailbox sensor is triggered or if a vehicle is detected in the driveway. There’s also a bell on the unit to provide audible notifications, which us dinged with a solenoid fired via a 2N2222 transistor switching a 12 volt supply from a boost converter.

It’s a neat build that fits nicely into [Conrad]’s daily life and appears to have some genuine utility. If you’re looking for other ways to neatly display notifications where you can see them, you might consider whipping yourself up a smart mirror.

Continue reading “Exclamation Point Indicates Worthy Notifications”

LEGO Orrery Gets A Real-Time Drive Upgrade

An orrery is a beautiful type of mechanical contrivance, built to demonstrate the motion of heavenly objects. LEGO happens to offer just such a device, built using its Technic line of blocks, shafts, and gears. Only, it has a serious limitation—it has to be cranked manually to make it spin the Earth around the sun. [Görkem] set out to fix this glaring oversight with some good old-fashioned hardware.

The setup removes just five LEGO pieces from the original design, eliminating the hand crank from the mechanism. In its place, [Görkem] installed a NEMA 17 stepper motor, paired with a custom PCB mounted on the back. That carries an ESP32 microcontroller and a TMC2208 stepper motor driver set up for silent drive. Rigged up like so, the orrery can simulate the motion of the Earth and Moon around the Sun in real time. There’s also a knob to track back and forth in time, and a button to reset the system to the correct real-time position.

The final build looks great, combining the LEGO Technic parts with some chunky electronics and 7-segment displays that make it a wonderful techy desk decoration. Down the line, [Görkem] hopes to offer a plug-and-play kit to others who wish to duly animate their own LEGO orrery sets (set #42179).

We love a good LEGO build around these parts. We’ve featured everything from parts sorters to functional typewriters in the past.

Continue reading “LEGO Orrery Gets A Real-Time Drive Upgrade”

Storing Image Data As Analog Audio

Ham radio operators may be familiar with slow-scan television (SSTV) where an image is sent out over the airwaves to be received, decoded, and displayed on a computer monitor by other radio operators. It’s a niche mode that isn’t as popular as modern digital modes like FT8, but it still has its proponents. SSTV isn’t only confined to the radio, though. [BLANCHARD Jordan] used this encoding method to store digital images on a cassette tape in a custom-built tape deck for future playback and viewing.

The self-contained device first uses an ESP32 and its associated camera module to take a picture, with a screen that shows the current view of the camera as the picture is being taken. In this way it’s fairly similar to any semi-modern digital camera. From there, though, it starts to diverge from a typical digital camera. The digital image is converted first to analog and then stored as audio on a standard cassette tape, which is included in the module in lieu of something like an SD card.

To view the saved images, the tape is played back and the audio signal captured by an RP2040. It employs a number of methods to ensure that the reconstructed image is faithful to the original, but the final image displays the classic SSTV look that these images tend to have as a result of the analog media. As a bonus feature, the camera can use a serial connection to another computer to offload this final processing step.

We’ve been seeing a number of digital-to-analog projects lately, and whether that’s as a result of nostalgia for the 80s and 90s, as pushback against an increasingly invasive digital world, or simply an ongoing trend in the maker space, we’re here for it. Some of our favorites are this tape deck that streams from a Bluetooth source, applying that classic cassette sound, and this musical instrument which uses a cassette tape to generate all of its sounds.

A Simple Desktop Pomodoro Timer

Pomodoro timers are a simple productivity tool. They help you work in dedicated chunks of time, usually 25 minutes in a sitting, before taking a short break and then beginning again. [Clovis Fritzen] built just such a timer of his own, and added a few bonus features to fill out its functionality.

The timer is based around the popular ESP32-S2 microcontroller, which has the benefit of onboard WiFi connectivity. This allows the project to query the Internet for things like time and date updates via NTP, as well as weather conditions, and the value of the Brazilian Real versus the American dollar. The microcontroller is paired with an SHT21 sensor for displaying temperature and humidity in the immediate environment, and an e-paper display for showing timer status and other relevant information. A button on top of the device allows cycling between 15, 30, 45, and 60 minute Pomodoro cycles, and there’s a buzzer to audibly call time. It’s all wrapped up in a cardboard housing that somehow pairs rather nicely with the e-paper display aesthetic.

If Pomodoro is your chosen method of productivity hacking, a project like this could suit you very well. We’ve featured a few similar builds before, too. Continue reading “A Simple Desktop Pomodoro Timer”