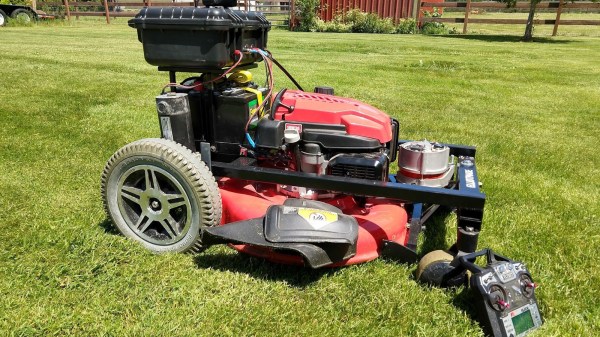
For some people, mowing the lawn is a dreaded chore that leads to thoughts of pouring a concrete slab over the yard and painting it green. Others see it as the perfect occasion to spend a sunny afternoon outside. And then there are those without the luxury of having a preference on the subject in the first place. [elliotmade] for example has a friend who’s sitting in a wheelchair, and would normally have to rely on others to maintain his lawn and form an opinion on the enjoyability of the task. So to retain his friend’s independence, he decided to build him a remote-controlled lawn mower.
After putting together an initial proof of concept that’s been successfully in use for a few years now, [elliotmade] saw some room for improvement and thought it was time for an upgrade. Liberating the drive section of an electric wheelchair, he welded a frame around it to house the battery and the mower itself, and added an alternator to charge the battery directly from the mower’s engine. An RC receiver that connects to the motor driver is controlled by an Arduino, as well as a pair of relays to switch both the ignition and an electric starter that eliminates the need for cord pulling. Topping it off with a camera, the garden chores are now comfortably tackled from a distance, without any issues of depth perception.
Remote-controlling a sharp-bladed machine most certainly requires a few additional safety considerations, and it seems that [elliotmade] thought this out pretty well, so failure on any of the involved parts won’t have fatal consequences. However, judging from the demo video embedded after break, the garden in question might not be the best environment to turn this into a GPS-assisted, autonomous mower in the future. But then again, RC vehicles are fun as they are, regardless of their shape or size.
Continue reading “RC Lawn Mower Keeps The Grass Greener On Your Side Of The Fence”
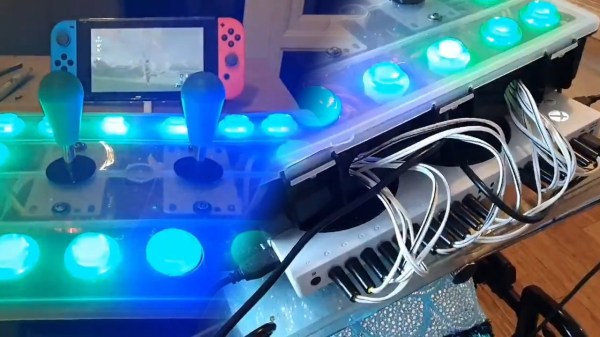


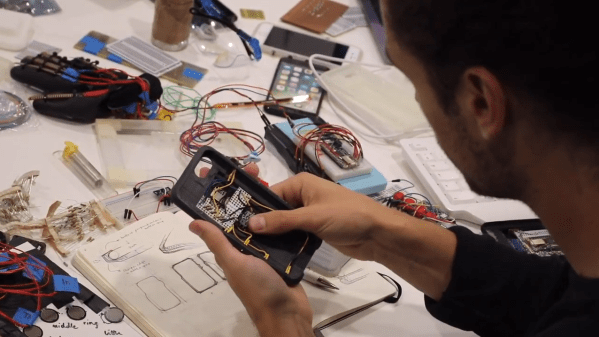
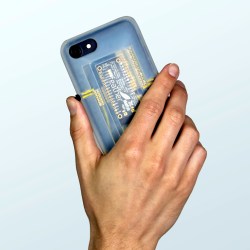 Smartphones and other modern computing devices are wonderful things, but for those with disabilities interacting with them isn’t always easy. In trying to improve accessibility, [Dougie Mann] created