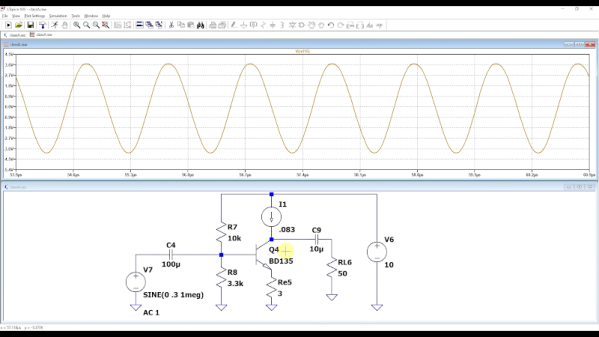
If you didn’t know better, you might think the phrase “class A amplifier” was a marketing term to help sell amplifiers. But it is, of course, actually a technical description of an amplifier that doesn’t distort the input waveform because it doesn’t depend on multiple elements to handle different areas of the input waveform. Want to know more? [FesZ] has a new video covering the basics of class A amplifiers including some great simulations. You can see the video below.
A class A amplifier uses a transistor that is always biased on. It never saturates or switches off. This is good for linearity, but not always the best for efficiency so there are other classes of amplifiers, too. However, for many applications, class A is the most common configuration.
There are a number of trade-offs involved with each type of amplifier and [FesZ] covers them in detail. But the real interesting part is the simulations in Spice. Sure, you can build the circuits and look at everything with a meter or scope, but using Spice is much handier.
There is a second video upcoming. We hope he covers other amplifier types too, as you really do want to understand the differences when you need to design something. If you want more Spice stuff, check out some of our previous posts. If for some reason, you don’t like LTSpice, there’s always Micro-Cap 12.
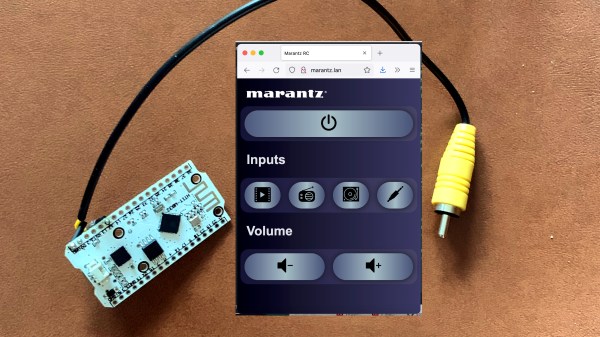
 At its core, the project uses an ESP32 and the


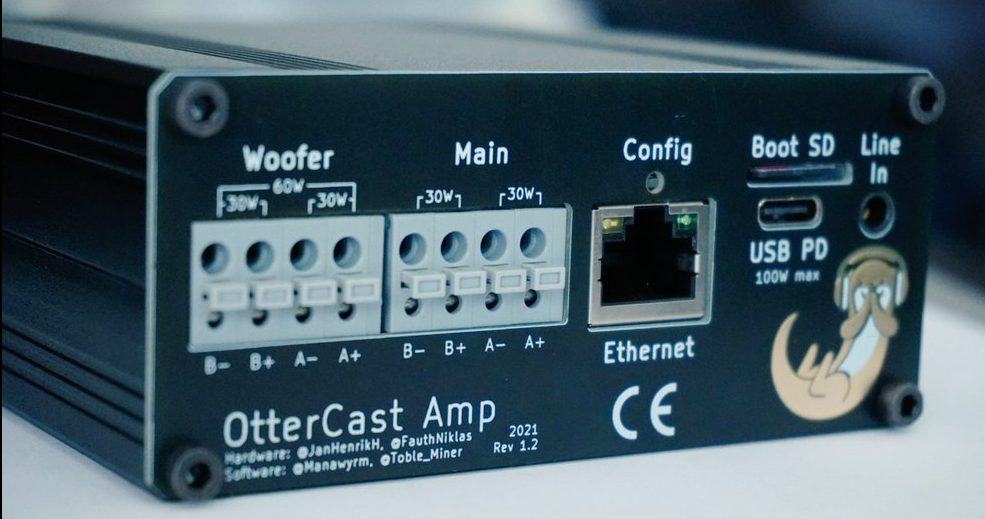
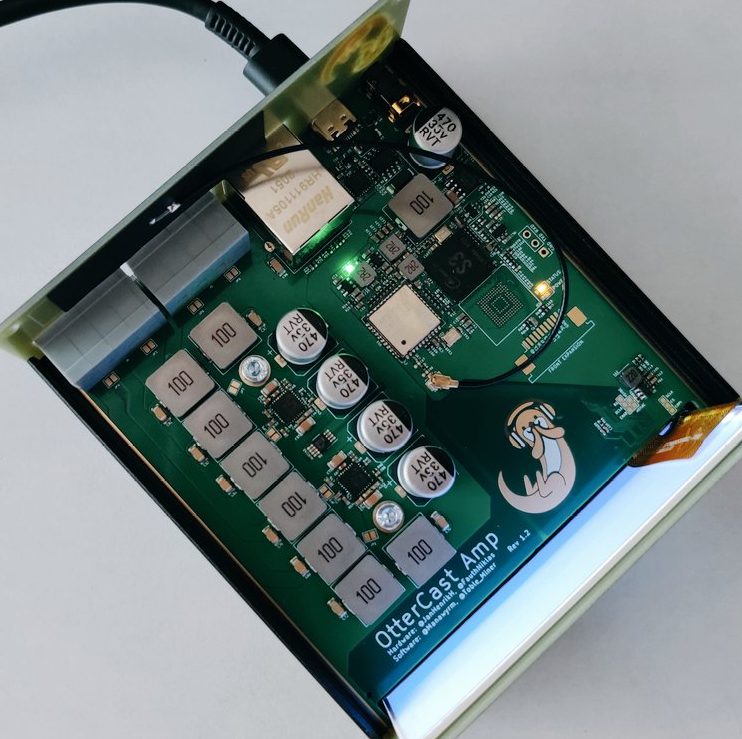 One look at the chassis and it’s clear that unlike the OtterCastAudio this is not a simple Chromecast Audio replacement. The face of the OtterCastAmp is graced by a luscious 340×800 LCD for all the cover art your listening ear can enjoy. And the raft of connectors in the back (and mountain of inductors on the PCBA) make it clear that this is a fully fledged class D amplifier, driving up to 120W of power across four channels. Though it may drive a theoretical 30W or 60W peak across its various outputs, with a maximum supply power of 100W (via USB-C power delivery, naturally) the true maximum output will be a little lower. Rounding out the feature set is an Ethernet jack and some wonderfully designed copper PCB otters to enjoy inside and out.


