If you recall, there was a recent standoff between Apple and the U. S. Government regarding unlocking an iPhone. Senators Richard Burr and Dianne Feinstein have a “discussion draft” of a bill that appears to require companies to allow the government to court order decryption.
Here at Hackaday, we aren’t lawyers, so maybe we aren’t the best source of legislative commentary. However, on the face of it, this seems a bit overreaching. The first part of the proposed bill is simple enough: any “covered entity” that receives a court order for information must provide it in intelligible form or provide the technical assistance necessary to get the information in intelligible form. The problem, of course, is what if you can’t? A covered entity, by the way, is anyone from a manufacturer, to a software developer, a communications service, or a provider of remote computing or storage.
There are dozens of services (backup comes to mind) where only you have the decryption keys and there is nothing reasonable the provider can do to get your data if you lose your keys. That’s actually a selling point for their service. You might not be anxious to backup your hard drive if you knew the vendor could browse your data when they wanted to do so.
The proposed bill has some other issues, too. One section states that nothing in the document is meant to require or prohibit a specific design or operating system. However, another clause requires that covered entities provide products and services that are capable of complying with the rule.
A broad reading of this is troubling. If this were law, entire systems that don’t allow the provider or vendor to decrypt your data could be illegal in the U. S. Whole classes of cybersecurity techniques could become illegal, too. For example, many cryptography systems use the property of forward secrecy by generating unrecorded session keys. For example, consider an SSH session. If someone learns your SSH key, they can listen in or interfere with your SSH sessions. However, they can’t take recordings of your previous sessions and decode them. The mechanism is a little different between SSHv1 (which you shouldn’t be using) and SSHv2. If you are interested in the gory details for SSHv2, have a look at section 9.3.7 of RFC 4251.
In all fairness, this isn’t a bill yet. It is a draft and given some of the definitions in section 4, perhaps they plan to expand it so that it makes more sense, or – at least – is more practical. If not, then it seems to be an indication that we need legislators that understand our increasingly technical world and have some understanding of how the new economy works. After all, we’ve seen this before, right? Many countries are all too happy to enact and enforce tight banking privacy laws to encourage deposits from people who want to hide their money. What makes you think that if the U. S. weakens the ability of domestic companies to make data private, that the business of concealing data won’t just move offshore, too?
If you were living under a rock and missed the whole Apple and FBI controversy, [Elliot] can catch you up. Or, you can see what [Brian] thought about Apple’s response to the FBI’s demand.


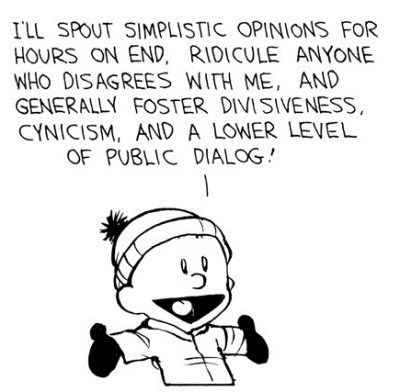 There is a peculiar aspect of public discourse that doesn’t make any sense. In the absence of being able to say anything interesting, some people have just decided to add a contrary viewpoint. Being right, having a valid argument, or even having evidence to support assertions doesn’t matter; being contrary is far more interesting. Look at any comment thread on the Internet, and you’ll find the longest comment chain is the one refuting the parent article. Look up the ratings for a cable news channel. You’ll find the highest rated show is the one with the most bickering. When is the last time you saw something from the New York Times, Washington Post, or LA Times on Facebook or your favorite news aggregator? Chances are, it wasn’t news. It was an op-ed, most likely one that was espousing a view contrary to either public opinion or public policy.