Although it took a little while to standardize on the two-button-with-scroll-wheel setup, most computers have used a mouse or mouse-like device to point at objects on the screen since the 80s. But beyond the standard “point and click” features of the mouse, there have been very few ground-breaking innovations beyond creature comforts. At least, until the “Space Mushroom” mouse from [Shinsaku Hiura] hit our tips line.
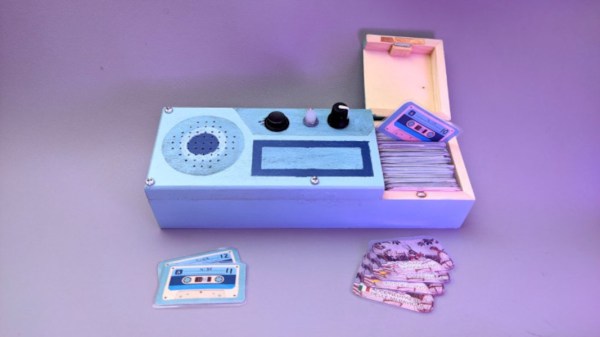
This mouse throws away most of the features a typical mouse might have in favor of a joystick-like interface that gives it six degrees of freedom instead of the usual two — while still being about mouse-sized and held in the hand. It doesn’t even have a way of mapping motion directly to movements on the screen. Instead, it maps each degree of freedom to a similar movement of the mouse itself using these three joystick sensors physically linked together, with some underlying programming to translate each movement into the expected movement on the screen.
While this might not replace a standard mouse for every use case anytime soon, it does seem to have tremendous benefit in 3D modeling software, CAD, or anything where orienting a virtual object is the primary goal. Plus, since there’s no limit to the number of mice that can be attached to a computer (beyond USB limitations) this mouse could easily be used in conjunction with a normal mouse much like macro keyboards being used alongside traditional ones.