[Amirreza Nasiri] sends in this cool USB keystroke injector.
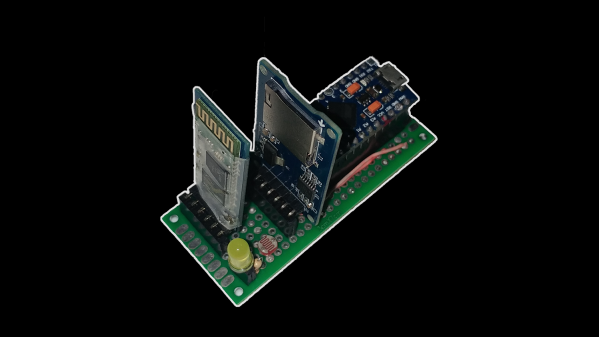
The device consists of an Arduino, a Bluetooth module, and an SD card. When it’s plugged into the target computer the device loads the selected payload from the SD card, compromising the system. Then it does its unique trick which is to switch the injector over to Bluetooth mode. Now the attacker has much more control, albeit local, over the system.
While we would never even be tempted to plug this device into a real computer, we like some of the additional features, like how an added dip switch can be used to select from up to eight different payloads depending on the required attack. The addition of a photo diode is also interesting, and makes us dream of all sorts of impractical movie hacker scenarios. [Amirreza] says it’s to trigger when the person leaves the room and turns the lights off.
[Amirreza] has all the code and design files on the GitHub. There are also a few payload examples, which should be fun to hack on. After all, one of life’s pleasures is to find new ways to mess with your friends.

 cut in half and hollowed out on a lathe. A beam sits on the centre line of the ball, mounted on a bearing in each half to allow the ball to spin around it. Steering done by shifting the centre of mass, by moving a steel pendulum that hangs below the beam side to side with heavy-duty servo. The servo is controlled with an Arduino, and an IMU to detects the balls orientation. Power is provided by and RC Lipo battery. The wireless controller is a sneaky little device that is taped to [Mark]’s back and covered with clothing, and steers the ball by detecting how far he leans with an IMU module. The brain is an Arduino Mini and an NRF24L01 provides the RF link.