[Angus Deveson] published a video on “solids of constant width” nearly a year ago. Following the release of the video, he had a deluge of requests asking if he could make a bearing from them. Since then, he’s tried a number of different approaches – none of which have worked. Until now…
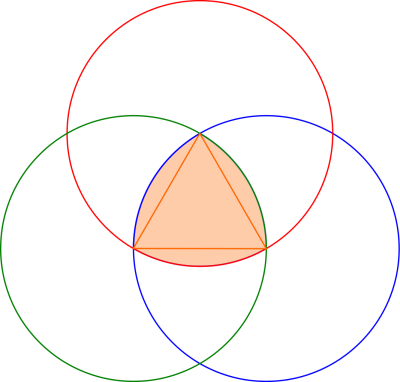
What is a solid of constant width? A shape whose diameter is the same in all orientations, despite the fact that they aren’t circular. In particular, the Reuleaux Triangle is of interest; if you’ve heard of square drill bits, a Reuleaux Triangle is probably at play. Constructed from three circles, they make a neat geometrical study. When placed between two surfaces and rolled, the surfaces will stay parallel, despite the fact that the center of the triangle does not stay level.
In theory, this means they could be easily substituted for spheres in a classic roller bearing, but this turned out to be problematic – the first attempt determined how hard it was to get the shapes to roll instead of slide.
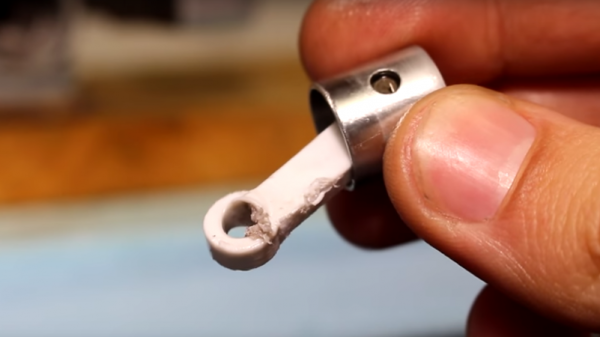
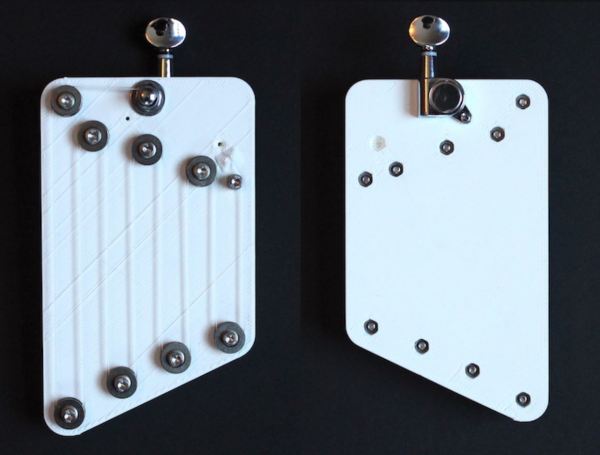
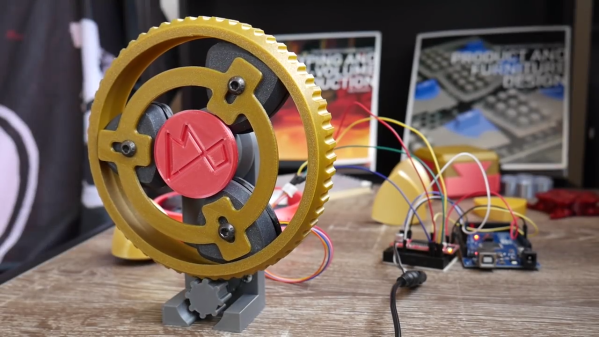
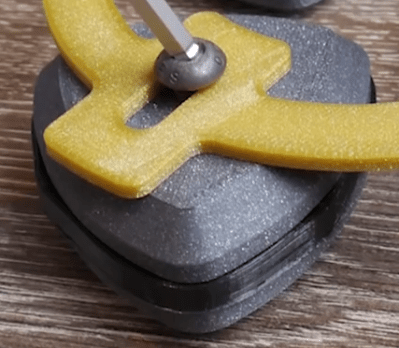 [Angus] finally arrived at a working bearing after a ton of suggestions from the community, and trying a number of attempts until he was able to achieve what he set out to do. The trick was to create a flexible insert (3D printed as well) for the center of the triangle edge, which grips the surfaces the triangle comes into contact with. A frame is also made to hold the bearings in place and allows their centers to move up and down as necessary.
If the thrill seeker within you still isn’t satisfied, maybe you should try the Reuleaux Coaster…
Continue reading “The Quest For The Reuleaux Triangle Bearing”