If you’ve ever played air hockey, you know how the tiny jets of air shooting up from the pinholes in the playing surface reduce friction with the puck. But what if you turned that upside down? What if the puck had holes that shot the air downward? We’re not sure how the gameplay would be on such an inverse air hockey table, but [Dave Preiss] has made DIY air bearings from such a setup, and they’re pretty impressive.
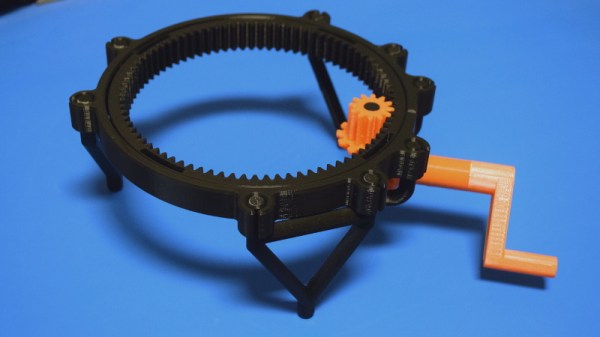
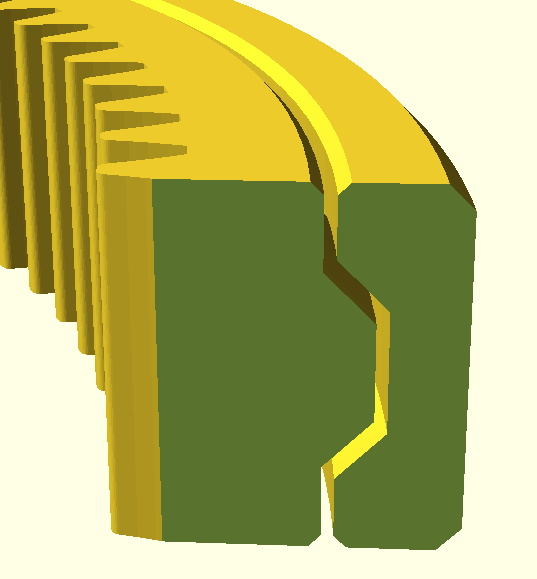
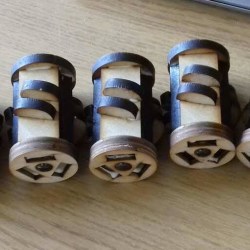
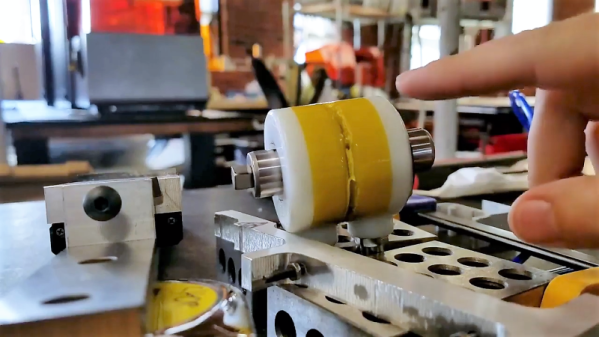
Air bearings are often found in ultra-precision machine tools where nanometer-scale positioning is needed. Such gear is often breathtakingly expensive, but [Dave]’s version of the bearings used in these machines are surprisingly cheap. The working surfaces are made from slugs of porous graphite, originally used as electrodes for electrical discharge machining (EDM). The material is easily flattened with abrasives against a reference granite plate, after which it’s pressed into a 3D-printed plastic plenum. The plenum accepts a fitting for compressed air, which wends its way out the micron-sized pores in the graphite and supports the load on a thin cushion of air. In addition to puck-style planar bearings, [Dave] tried his hand at a rotary bearing, arguably more useful to precision machine tool builds. That proved to be a bit more challenging, but the video below shows that he was able to get it working pretty well.
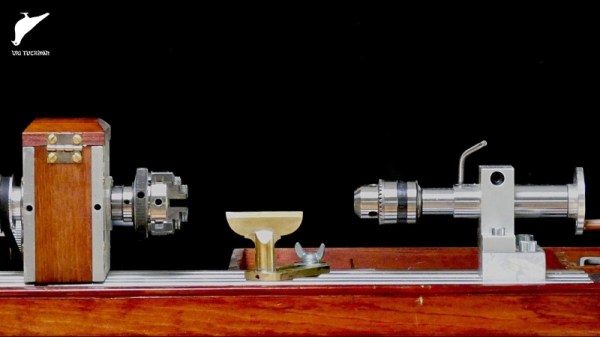
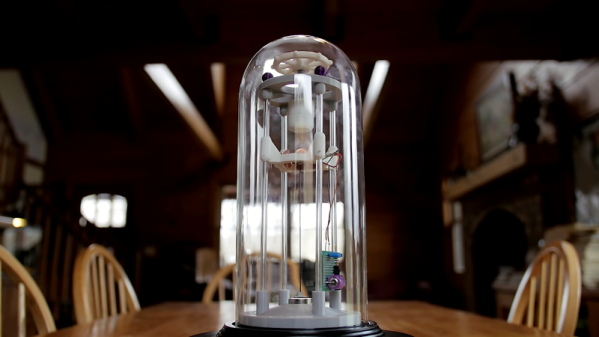
We really enjoyed learning about air bearings from [Dave]’s experiments, and we look forward to seeing them put to use. Perhaps it will be in something like the micron-precision lathe we featured recently.
Continue reading “Used EDM Electrodes Repurposed As Air Bearings For Precision Machine Tools”