As if the war in Ukraine weren’t bad enough right here on Earth, it threatens knock-on effects that could be felt as far away as Mars. One victim of the deteriorating relationships between nations is the next phase of the ExoMars project, a joint ESA-Roscosmos mission that includes the Rosalind Franklin rover. The long-delayed mission was most recently set for launch in October 2022, but the ESA says that hitting the narrow launch window is now “very unlikely.” That’s a shame, since the orbital dynamics of Earth and Mars will mean that it’ll be 2024 before another Hohmann Transfer window opens. There are also going to be repercussions throughout the launch industry due to Russia pulling the Soyuz launch team out of the ESA’s spaceport in Guiana. And things have to be mighty tense aboard the ISS right about now, since the station requires periodic orbital boosting with Russian Progress rockets.
burn11 Articles
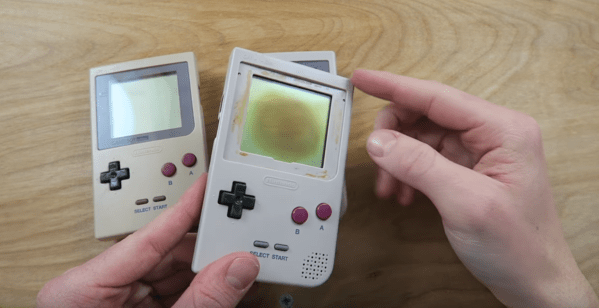
Repairing A Sunburned Game Boy Screen
The original Game Boy is a classic. Sure, it had no backlight, but there is something special about playing on that classic green screen. Unfortunately, some of these older systems are suffering a terrible fate — screen burn. Game Boy’s played best with lots of light — especially out in the sun. But that same sun did terrible things to the screen. A black splotch in the center of the LCD is the telltale sign of a burned Game Boy. You might think that screen replacement is the only option, but [The Retro Future] shows us how to repair this issue.
A reflective LCD is a layer cake made up of polarizers, two panes of glass, and a reflector. The burns often seen on Game Boy screens usually are in the polarizer and the optically clear glue which attaches the plastic polarizer to the glass. We’re guessing these burns happen when someone leaves their Game Boy out in the sun. Between the sun rays directly striking the top polarizer and the rays bounced back from the reflector at the rear of the screen, that poor polarizer doesn’t stand a chance.
Repairing the burn is a delicate operation, as one false move could crack the thin LCD glass. The first step is to carefully peel off the burned polarizer. This leaves a mess of dried glue, which can be scraped off or dissolved with alcohol. A new linear polarizer can then be placed on the front of the screen. [The Retro Future] chose not to glue the polarizer, but we’re betting some UV cure LOCA (Liquid Optically Clear Adhesive) from a cell phone screen protector would do the trick.
If you love the look of the classic Game Boy, but want to play just about any classic game, grab a Raspberry Pi zero, and build a retro Pi Boy.
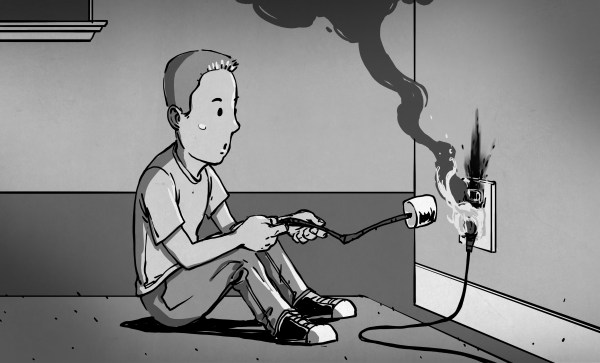
This Power Strip Is A Fire Starter
A few weeks ago I needed a power strip in my home office. The outlet in question is located behind a filing cabinet so it would need a low profile plug. I jumped on Amazon to buy a surge suppressor strip. That’s when I noticed strips with rotating plugs. I’ve always had some apprehensions about plugs like that, though I could never quite put my finger on why. Looking at the reviews on this particular plug, I found some scary issues. Photos of melted plugs, melted outlets, and cries of “fire hazard”. So I did what any crazy hacker would do – bought two power strips. One with a fixed right angle plug to use in my office, and one with a rotating plug to tear down.
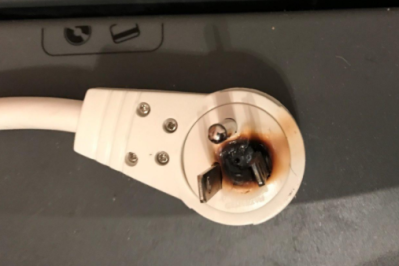
Surge suppressors, power strips, outlet strips, they have many names. Underwriter’s Laboratories (UL) calls them “Relocatable power taps”. They all have several outlets, most have a circuit breaker of some sort inside, and some have circuits for surge suppression. These are some of the most common devices to find in the modern home. Many of our houses were designed and built before surround sound, cable boxes, computers, modems, cell phone chargers, tablet chargers, and all our other modern conveniences. There weren’t as many electrical loads, so the houses didn’t have many outlets. Power strips solve this problem.
After a couple of days, I had my strips in hand. I expected the plug to rotate once – maybe 270 degrees. That would indicate there were wires connecting the rotating head to rest of the plug. Not so – this plug would spin round and round all day long.
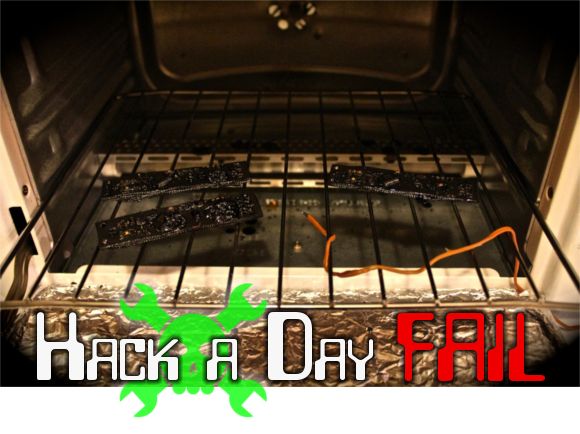
Fail Of The Week: How A Cheap USB AC Adapter Might Indirectly Burn Your House Down
This Fail of the Week will remind our readers that every project they make, no matter how small they might be, may have big consequences if something goes wrong. Shown in the picture above is an oven that [Kevin] tweaked to perform reflow soldering. The story is he had just moved into a new place a few weeks ago and needed to make a new batch of boards. As he had cycled this oven many times, he was confident enough to leave the room to answer a few emails. A few minutes later, he had the unfortunate experience of smelling something burning as well as discovering white smoke invading his place.
Chemical Wood Burning
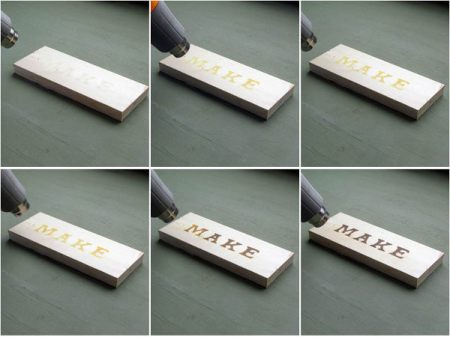
Make: Projects has posted an interesting way to burn designs into wood. Instead of doing the traditional method of using a hot iron to hand draw or trace patterns on the wood, they show us how to use a chemical process to make things easier. They are using a solution of Ammonium Chloride, applied with a foam stamp, then heated. When it is heated it breaks down to ammonia gas and hydrochloric acid, burning the surface. The advantage here is that you can easily use a stamp to create patterns whereas doing it by hand might be difficult. They do point out that improvements could be made, such as adding something to keep it from soaking into the wood and blurring the edges.
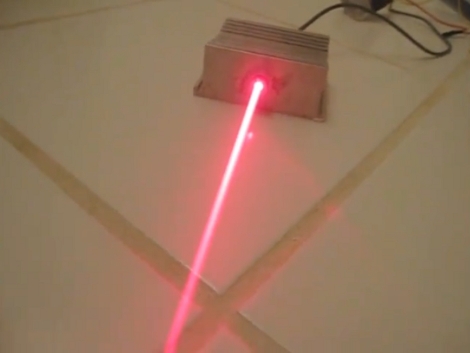
Build A Cutting Laser From An Old PC
[Drake Anthony] makes building a cutting laser from a PC look easy, and it seems like it actually is. Almost everything you need can be found in a dead desktop unit. The diode is pulled from a DVD writer (16x or faster), with the power supply unit, and heat sinks from the processor and GPU being used as well. You’ll also need a focusing lens (just a few dollars), some thermal glue, an LM317, a resistor, and a pair of protective goggles matching the laser diode’s wavelength.
He fits the diode into the lens, then glues the assembly into a hole drilled through the processor heat sink. A driver is built using the LM317 variable regulator, resistor, power supply, and the GPU heat sink to keep things cool. Check out the video after the break to see the laser cutting tape, burning plastic, and lighting matches. Continue reading “Build A Cutting Laser From An Old PC”
1000W Induction Heater
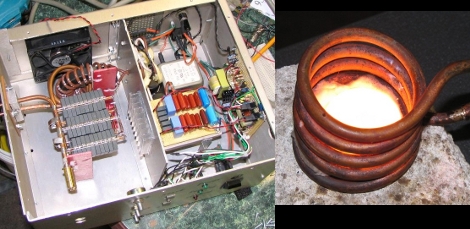
[Tim Williams] likes to heat things up with this induction heater he built. At peak it can use 1000W and as you can see in the video, that’s more than enough power to heat, burn, and melt a plethora of different objects. The case design uses a center divider to isolate switching noise from the magnetic field with the whole unit housed in aluminum because it won’t heat up from stray magnetic fields. He’s selling plans and kits in case you want one, but we just don’t know what we’d use it for.


