Hack Your Own Analog Camera

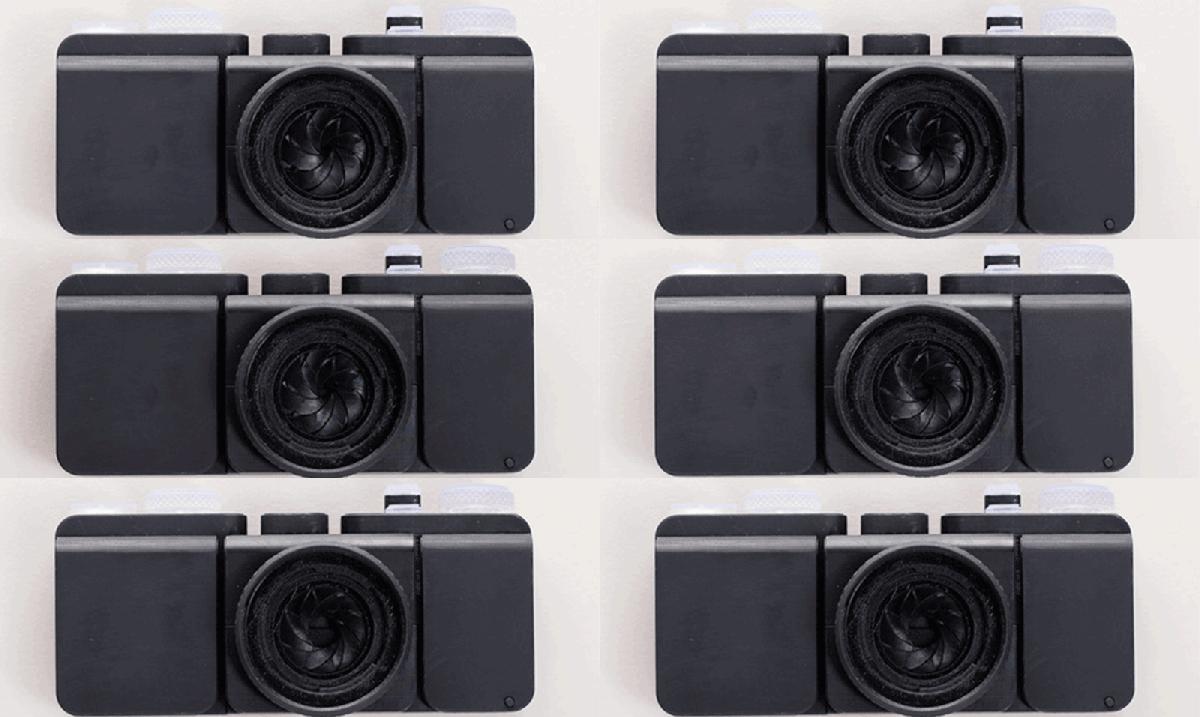
We remember making pinhole cameras as kids out of cigar boxes. The Focal Camera website wants to enable you to make sophisticated cameras from a selection of building blocks. We’re talking cameras with film, not digital cameras (although we wondered if you could mount an image sensor… but that’s another hack).

The modules do require access to a laser cutter, and you’ll need to scrounge or otherwise acquire things like mirrors and lenses. The site has advice on how to hack things like first surface mirrors out of cheap items like acrylic mirrors.

The intent is to be able to build up your own cameras from the modules. They do have a pinhole camera, in case you are nostalgic, but you could also build SLRs, large format cameras, or even stereo cameras. Not all the modules are ready yet, but there are several example cameras and pictures taken with them on the site. Like most building blocks, the real treat will be when users begin to combine them in unexpected ways.

Continue reading “Hack Your Own Analog Camera”

Junked Inspection Camera Given 15-Year Face-lift With Raspberry Pi

The nice thing with having a hacker cred is that family and friends are always on the lookout for stuff they think might be useful to you. [Craig Hollabaugh]’s son-in-law found an inspection camera and thought it would be handy for his hobby work. The MagniSight Explorer was first introduced in 2001. It is good for surface mount board work and inspection, except that its analog 480p video is quite dated by today’s standards. So [Craig] upgraded it for crystal clear 1080P/30 video and 5 megapixel images using a $35 Raspberry Pi 2 and a $26 Raspberry Pi Camera Module. After the upgrade, the unit is now a great tool for SMT rework.

There’s not a lot to the upgrade, but [Craig] gives a nice rundown in the 15 minute video of the MagniSight’s internals. He shows us the original analog camera module and its video card, which is able to do some additional processing like black and white output and reverse video (negative). As he mentions, it would be easy for him to do the same via software on the Raspberry Pi. A video camera lens takes care of magnification and two shafts coupled to it via flat belts (rubber bands?) take care of zoom and focus. A front coated mirror angled 45 degrees in front of the lens turns the optical path 90 degrees to allow the lens/camera to “look down”. After experimenting a bit to find the correct focal spot behind the lens unit for the Raspberry Pi camera, he covered the camera module with insulation tape and then just glued it to the old camera mount. After hooking it up to an HDMI monitor, the results are quite nice and he reckons he can easily work with components down to 0402 in size.

He’s got a couple of more upgrades in mind to make the system even better. He plans to replace the existing compact fluorescent lamps with a string of LED’s which will provide more uniform illumination. Plus, he can control their brightness, and selectively turn them on or off to get the optimum lighting. The other interesting upgrade would be to add stepper motors to the X-Y translation stage and automate their movement. After looking up a board file and its BoM, he may even be able to search for a part designator and move the stage to bring the part into focus.

Continue reading “Junked Inspection Camera Given 15-Year Face-lift With Raspberry Pi”

Polarization Camera Views The Invisible

Light polarization is an interesting phenomenon that is extremely useful in many situations… but human eyes are blind to detecting any polarization. Luckily, [David] has built a polarization-sensitive camera using a Raspberry Pi and a few off-the-shelf components that allows anyone to view polarization. [David] lists the applications as:

A polarimetric imager to detect invisible pollutants, locate landmines, identify cancerous tissues, and maybe even observe cloaked UFOs!

The build uses a standard Raspberry Pi 2 and a 5 megapixel camera which sits behind a software-controlled electro-optic polarization modulator that was scavenged from an auto-darkening welding mask. The mask is essentially a specialized LCD screen, which is easily electronically controlled. [David] whipped up some scripts on the Pi that control the screen, which is how the camera is able to view various polarizations of light. Since the polarization modulator is software-controlled, light from essentially any angle can be analyzed in any way via the computer.

There is a huge amount of information about this project on the project site, as well as on the project’s official blog. There have been other projects that use polarized light for specific applications, but this is the first we’ve seen of a software-controlled polarizing camera intended for general use that could be made by pretty much anyone.

The 2015 Hackaday Prize is sponsored by:

Homemade Camera Stabilizer

We’ve featured quite a few camera gimbals and steady cams here, but this one stands out. For one, [Daniel Rhyoo] was in his sophomore year when he built it. His 2-axis camera gimbal uses brushless DC motors, and is made out of carbon fiber.

[Daniel] machined the carbon fiber parts on a CNC desktop mill and some hand tools. And he also had to teach himself Solid Works to design it. In his slick DIY guide, he starts off by listing the parts and where to source them from, along with the tools needed. Most gimbals use servos for axis movements, which limits the range and do not provide very smooth motion. Brushless motors overcome these limitations allowing a nice, smooth moving gimbal to be built with a wide range of movement. When [Aleksey Moskalenko] introduced the AlexMos brushless motor controller, [Daniel] ordered it out, and then waited until he could get his hands on the right kind of motors. CAD files for all of the machined parts are available for download (.zip file).

He then goes on to blog his build progress, with ample photos to describe the machining and assembly. He does a couple of nice design choices along the way – like using press-nuts to make assembly and dis-assembly easy, and dismantling one of the motors and replacing its shaft with a custom, longer one instead of using a coupler to extend it. At the end, the result is not only a nice looking, light weight rig, but one that works very well thanks to the motors and controller that he used. Check out the video below to see it in action.

Continue reading “Homemade Camera Stabilizer”

Camera Light Meter

Upgrading An Old Camera With A New Light Meter

[Marc] has an old Voigtländer Vito CLR film camera. The camera originally came with an analog light meter built-in. The meter consisted of a type of solar panel hooked up to a coil and a needle. As more light reached the solar panel, the coil became energized more and more, which moved the needle farther and farther. It was a simple way of doing things, but it has a down side. The photo panels stop working over time. That’s why [Marc] decided to build a custom light meter using newer technology.

[Marc] had to work within the confines of the tiny space inside of the camera. He chose to use a LM3914 bar display driver IC as the primary component. This chip can sense an input voltage against a reference voltage and then display the result by illuminating a single LED from a row of ten LEDs.

[Marc] used a photo cell from an old calculator to detect the ambient light. This acts as a current source, but he needed a voltage source. He designed a transimpedence amplifier into his circuit to convert the current into a voltage. The circuit is powered with two 3V coil cell batteries, regulated to 5V. The 5V acts as his reference voltage for the display driver. With that in mind, [Marc] had to amplify this signal further.

It didn’t end there, though. [Marc] discovered that when sampling natural light, the system worked as intended. When he sampled light from incandescent light bulbs, he did not get the expected output. This turned out to be caused by the fact that incandescent lights flicker at a rate of 50/60 Hz. His sensor was picking this up and the sinusoidal output was causing problems in his circuit. He remedied this by adding two filtering capacitors.

The whole circuit fits on a tiny PCB that slides right into position where the original light meter used to be. It’s impressive how perfectly it fits considering everything that is happening in this circuit.

[Thanks Mojay]

Hackaday Prize Entry: An Open Source Industrial Camera

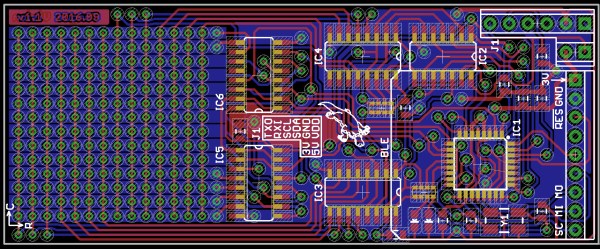
Over the last few years, connecting a camera to the Internet has gotten cheaper and cheaper. The advances that made this possible did not come through security cameras, but instead tiny cell phone camera modules, ARM boards, and embedded computing. Right now, if you want a livestream of your back yard, you’d probably get a Raspberry Pi and camera module. This will work for 90% of cases, but what if you want to livestream a slightly harsher environment? What if you want image processing right on the camera? What if you want this camera to have a rating for environmental protection?

[Apodiant]’s entry for the 2015 Hackaday Prize is solving the latter problem. It’s an Open Source Industrial Smart Camera with Ethernet, USB, and serial outputs, an ARM CPU for image processing, all tucked away in a sturdy aluminum enclosure.

The preliminary BOM for this camera is an iMX6 – a very capable microcontroller that can run Linux and OpenCV. The image sensor is a 1.2 megapixel unit [Apodiant] already has experience with, and the enclosure is an off the shelf deal for anyone who wants to build their own.


If this sort of setup sounds familiar, you’re right: there have been a few projects that have taken camera modules, added a powerful microcontroller, and run image processing on them. The latest in a long line of these projects is the OpenMV. That had a successful Kickstarter, and since [Apodiant] is going for the Hackaday Prize Best Product competition, it looks like a good fit.


The 2015 Hackaday Prize is sponsored by:

Smile For The Raspberry Pi Powered Photo Booth

[Roo] was tasked with finding a better way to take corporate employee photos. The standard method was for a human resources employee to use a point and shoot camera to take a photo of the new recruits. The problem with this method is many people feel awkward trying to force a smile in front of other people. Plus, if the photo turns out poorly many people won’t ask to have it retaken so as not to feel vain or inconvenience the photographer. [Roo’s] Raspberry Pi powered photo booth solves this problem in a novel way.

The new system has the employee use their own mobile phone to connect to a website running on the Pi. When the employee tells the Pi to snap a photo, the system uses the Raspberry Pi camera module to capture an image. [Roo] actually 3D printed a custom adapter allowing him to replace the standard camera lens if desired. The photo can be displayed on an LCD screen so the user can re-take the photo if they wish.

The system is built into a custom case made from both 3D printed and laser cut parts. The front plate is a frosted white color. [Roo] placed bright white lights behind the front panel in order to act as a flash. The frosted plastic diffuses the light just enough to provide a soft white light for each photo taken. Once the photo is selected, it can then be uploaded to the company database for use with emails, badges, or whatever else.

[Roo] also mentions that the system can easily be changed to send photos via Twitter or other web applications. With that in mind, this system could be a great addition to any hackerspace or event. The code for an older version of the project can be found on the project’s github page.

Continue reading “Smile For The Raspberry Pi Powered Photo Booth”