Whether you’re a fan of compelling Tool songs, or merely appreciate mathematical beauty, you might be into the spirals defined by the Fibonacci sequence. [RuddK5] used the Fibonacci curve as the inspiration for this fun clock build.
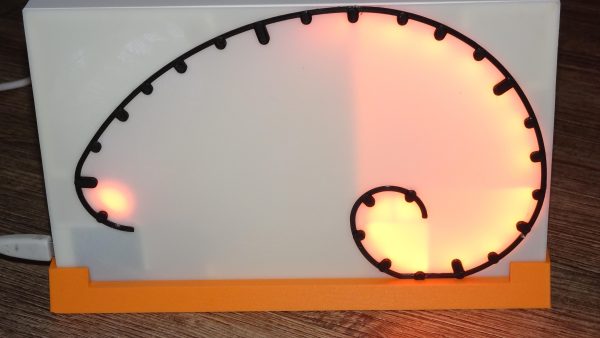
The intention of the clock is not to display the exact time, but to give a more organic feel of time, via a rough representation of minutes and hours. A strip of addressable LEDs is charged with display duty. The description is vague, but it appears that the 24 LEDs light up over time to show the amount of the day that has already passed by. The LEDs are wound up in the shape of a Fibonacci spiral with the help of a 3D printed case, and is run via a Wemos D1 microcontroller board.
It’s a fun build, and one that we can imagine would scale beautifully into a larger wall-hanging clock design if so desired. It at once could display the time, without making it immediately obvious, gradually shifting the lighting display as the day goes on.
We’ve seen other clocks rely on the mathematics of Fibonacci before, too. If you’ve cooked up your own fun clock build, don’t hesitate to let us know!