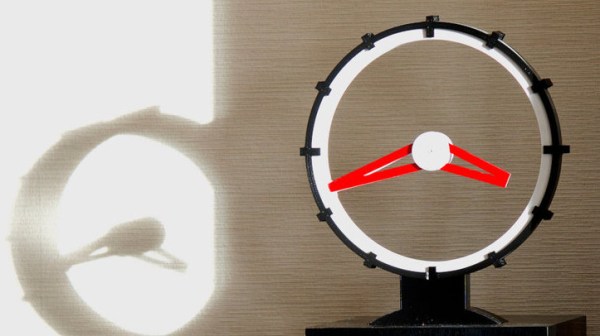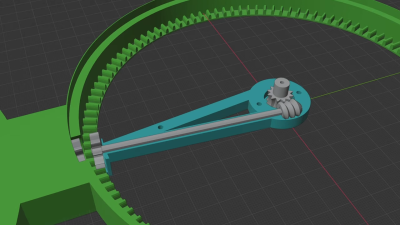
[Willem Koopman aka Secretbatcave] was looking at a master clock he has in his collection which was quite a noisy device, but wanted to use the matching solenoid slave clock mechanism he had to hand. Willem is a fan of old-school ‘sector’ clocks, so proceeded to build his ideal time piece — Vibrmatic — exactly the way he wanted. Now, since most time keeping devices utilise a crystal oscillator — which is little more than a lump of vibrating quartz — why not scale it up a bit and use the same principle, except with a metal tuning fork? (some profanity, just to warn you!)
A crystal oscillator operates in a simple manner; you put some electrical energy in, it resonates at its natural frequency, you sense that resonance, and feed it back into it to keep it sustaining. With a tuning fork oscillator, the vibration forcing and the feedback are both done via induction, coils act as the bridge between the electronic and mechanical worlds.
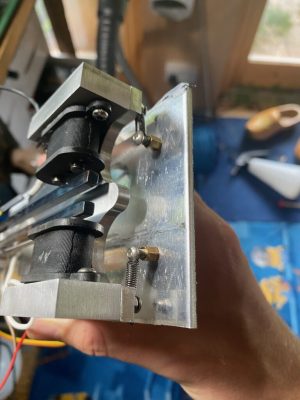
By mounting the tuning fork onto a shock mounting, the 257 Hz drone was kept from leaking out into the case and disturbing the household. This fork was specified to be 256 Hz, but [Willem] reckons the drag of the electromagnets pushed it off frequency a bit. Which make sense, since its a mechanical system, that has extra forces acting upon it.
The sector face was CNC cut from aluminium, the graphics engraved, then polished up a bit. Finally after a spot of paint, it looks pretty smart. Some nice chunks of upcycled wood taken from some building work spoils formed the exposed enclosure. On the electronics side, after totally ignoring the frequency error, and then tripping over a bunch of problems such as harmonics in the oscillation, and an incorrectly set-up divider, a solution which seemed to work was found, but like always, there are quite a few more details to the story to be found in the build log.
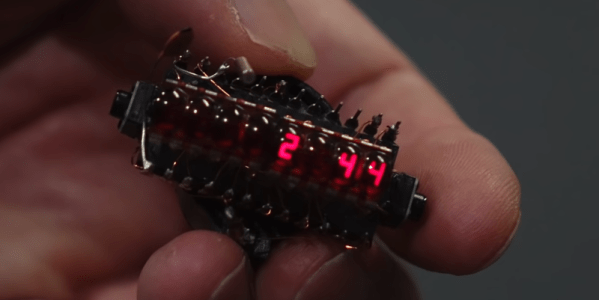
We’ve seen a tuning fork clock recently, like this 440 Hz device by [Kris Slyka] that the project above references, and whilst we’re talking about tuning forks, here’s a project log showing the insides of those ubiquitous 32.768 kHz crystal units.