Have you ever found yourself suddenly in need of finding a small metal object hidden in the woods? No? Well, neither have we. But we can’t say the same thing for [zaphod], who’s family was hoping to settle a dispute by finding the surveyor stakes that marked the corners of their property. It was a perfect job for a metal detector, but since they didn’t own one, a serviceable unit had to be assembled from literal garbage.
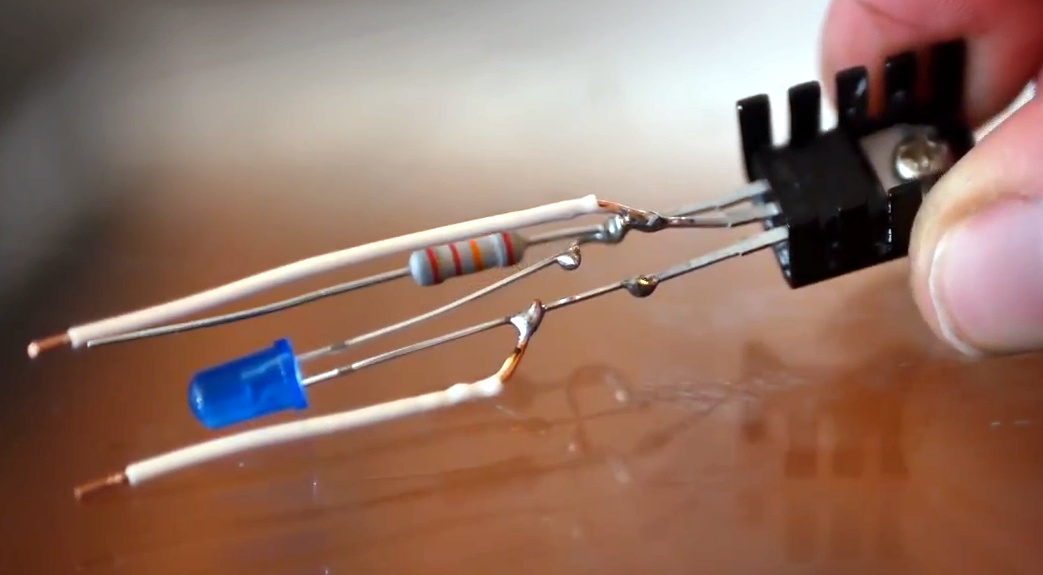
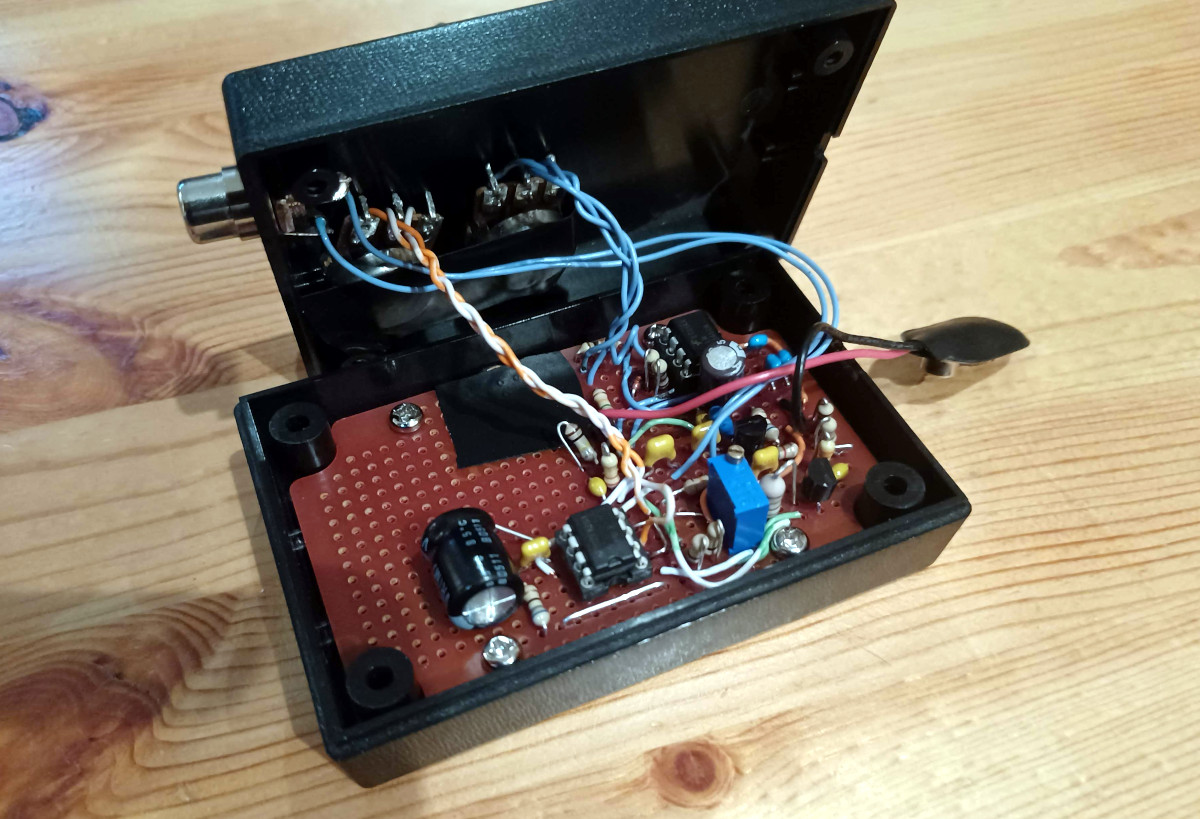
To start with, [zaphod] had to research how a metal detector actually works. After reviewing the pros and cons of various approaches, the decision was made to go with a beat frequency oscillator (BFO) circuit. It’s not the greatest design, it might even be the worst, but it could be built with the parts on hand and sometimes that’s all that matters. After packing a 2N3904 transistor, an LM386 amplifier, and every Hackaday reader’s favorite chip the 555 timer into an enclosure along with some of their closest friends, it was time to build the rest of the metal detector.
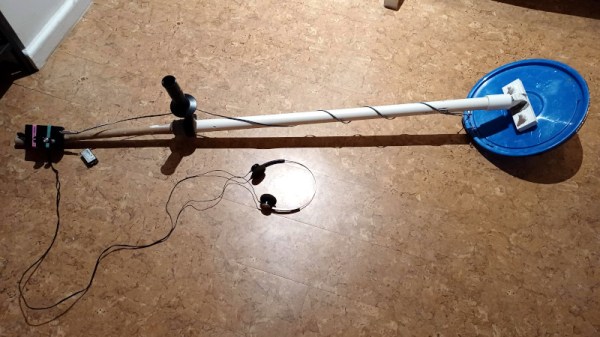
The sensor coil was made by salvaging the wire from an old fluorescent lamp ballast and winding it around the lid of a bucket 27 times. This was mounted to the end of a broom handle with some angle pieces made from PVC sheet material, being careful not to use any metal fasteners that would throw off the detector. With the handle of an old drill in the middle to hold onto, the metal detector was complete and actually looked the part.
So did [zaphod] save the day by finding the surveyor stakes and reconnoitering the family’s plot? Unfortunately, no. It wasn’t a technical failure though; the metal detector did appear to work, although it took a pretty sizable object to set it off. The real problem was that, after looking more closely into it, the surveyors only put down one stake unless they are specifically instructed otherwise. Since they already knew where that one was…
If your homemade metal detector can’t find something that was never there, did it really fail? Just a little something to meditate on. In any event, when even the cheapest smart bulb is packing a microcontroller powerful enough to emulate early home computers, we’re always happy to see somebody keep the old ways alive with a handful of ICs.