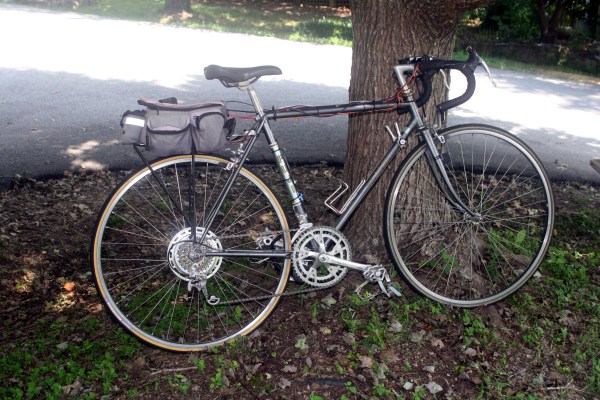
[Dave Schneider] has been chasing an electric-bike build for more than 10 years now. When he first started looking into it back in 2009, the cost was prohibitive. But think of how far we’ve come with the availability of motors, electronic speed controllers, and of course battery technology. When revisiting the project this year, he was able to convert a traditional bicycle to electric-drive for around $200.
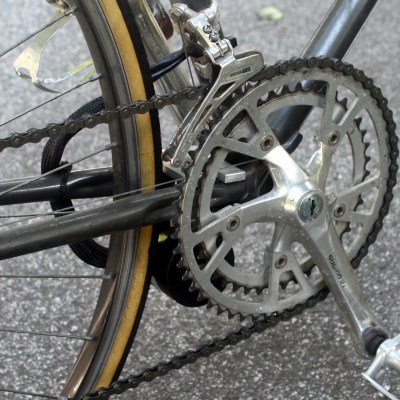
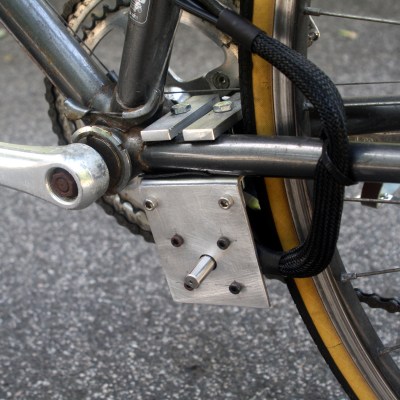
Electric skateboards paved the way for this hack, as it was an outrunner motor that he chose to use as a friction drive for the rear wheel. The mounting brackets he fabricated clamp onto the chain stay tubes and press the body of the motor against the tire.
The speed of the motor is controlled by a rocker switch on the handlebars, but it’s the sensors in the brake levers that are the neat part. Magnets added to each brake lever are monitored by hall-effect sensors so that the throttle cuts whenever it senses the rider squeezing the front brake (effectively free-wheeling the bike), while the rear brake triggers a regenerative braking function he’s built into the system!
Sure you can buy these bikes, you can even buy conversion kits, but it’s pretty hard to beat the $88 [Dave] spent on the motor when the cost of purpose-built motors is usually several times this figure. The rest is fairly straight-forward, and besides ordering batteries and an electronic speed controller, you likely have the bits you need just waiting for you in your parts bin.