Here at Hackaday, we love to see old hardware treated with respect. A lovingly restored radio or TV that’s part of our electronic heritage is a joy to behold, and while we understand the desire to stream media from a funky retro case, it really grates when someone throws away the original guts to make room for new electronics.
Luckily, this Seeburg jukebox wall remote repurposing is not one of those projects. [Scott M. Baker] seems to have an appreciation for the finer things, and when he scored this classic piece of Mid-Century Americana, he knew just what to do. These remotes were situated around diners and other hangouts in the 50s and 60s and allowed patrons to cue up some music without ever leaving their seats. They were real money makers back in the day, and companies put a lot of effort into making them robust and reliable.
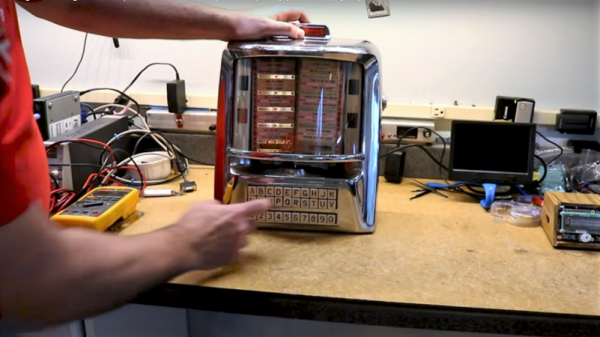
[Scott]’s first video below shows the teardown of this unit; you can practically smell the old transformer and motor windings. His goal in the second video was to use the remote to control his Raspberry Pi jukebox; he wisely decided to leave everything intact and use the original electromechanically generated pulses to make selections. His analysis led to a nicely executed shield for his Pi which conditions the pulses and imitates coin drops; happily, the coin mechanism still works too, so you can still drop a quarter for a tune.
The remote is working well now, but [Scott] still needs to finish up a few odds and ends to bring this one home. But we love the look and the respect for tradition here, as we did when this juke got a Raspberry Pi upgrade to imitate a missing wall remote.