One thing we love here at Hackaday is when we get to track the evolution of a project over time. Seeing a project grow over time is pretty typical — scope creep is real, after all. But watching a project shrink can be a real treat too, as early versions get refined into sleeker and more elegant solutions.
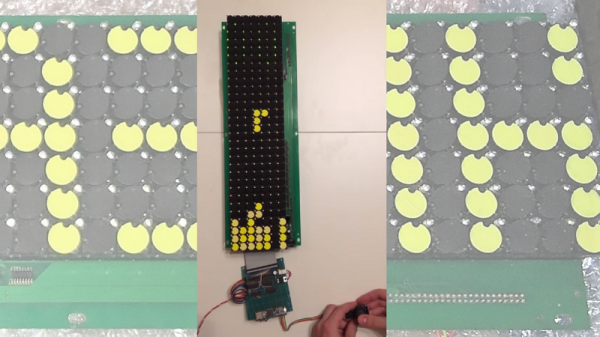
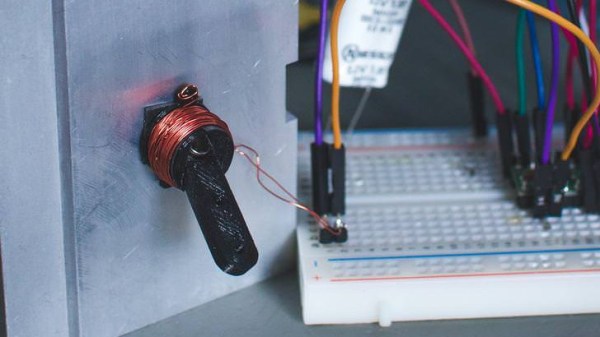
This slimmed-down mechanical seven-segment display is a perfect example of that downsizing trend. When we saw [IndoorGeek]’s first vision of an electromechanical display, it was pretty chunky. Then as now, each segment is a 3D-printed piece with a magnet attached to the rear. The segments hover over solenoid coils, which when energized repel the magnet and protrude the segment, forming the desired digit. The old version used large, hand-wound coils, though, making the display pretty bulky front to back.
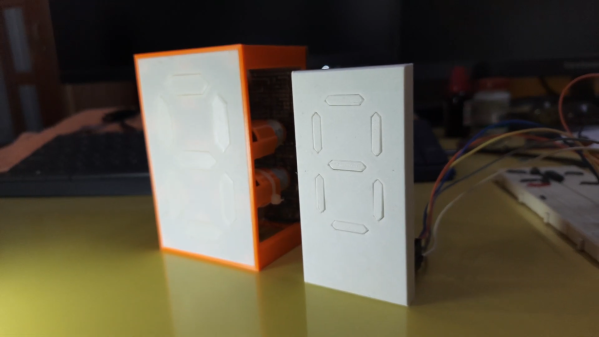
Version 2 of the display takes a page from [Carl Bugeja]’s playbook and replaces the wound coils with PCB coils. We’ve seen [Carl]’s coils on both rigid substrates and flex PCBs; [IndoorGeek] used plain old FR4 here. The coils occupy four layers so they have enough oomph to extend and retract each segment, and the PCB includes space for H-bridge drivers for each segment. The PCB forms the rear cover for the display, which is also considerably slimmed down for this version. What’s the same, though, is how good this display looks, especially with strong side-lighting — the shadows cast by the extended segments are striking against the plain white face of the display.
Congratulations to [IndoorGeek] on a great-looking build and a useful improvement over the original.
Continue reading “Mechanical Seven-Segment Display, Smaller And Better Than The Original”