The NES, Atari 2600, the Apple II, the Commodore 64 and the TurboGrafx-16 are just some of the many game consoles and home computers built around the 6502 CPU. And while the 6502 has been pretty much obsolete since the mid-’90s, that hasn’t stopped hackers from building new systems with it in the 21st century. Today we can even show you an entirely new 6502-based game console: the GameTank, designed and built by [Clyde Shaffer].
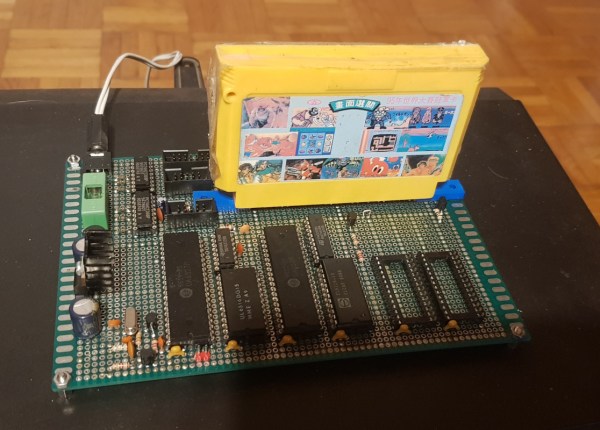
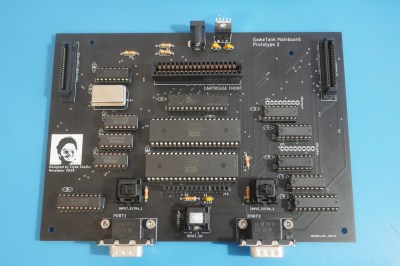 The GameTank was designed to be easy to build by anyone, and is therefore largely constructed from DIP chips that can be bought new at any component distributor. The main CPU is a WD65C02 running at 3.5 MHz, assisted by a 6522 I/O controller and 32 kB of RAM. Composite video is generated by a clever circuit made out of discrete logic chips. The video card comes with DMA for fast transfers and even includes a blitter, which enables it to move images around the screen quickly without loading the CPU.
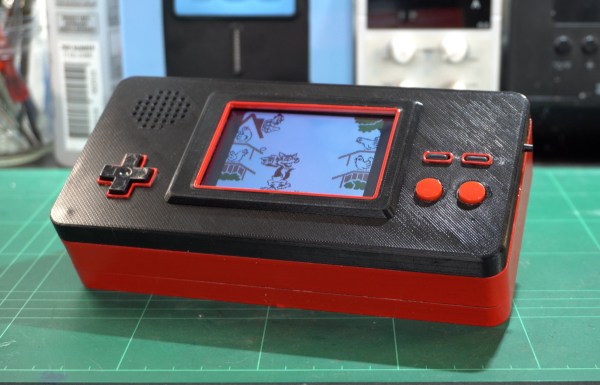
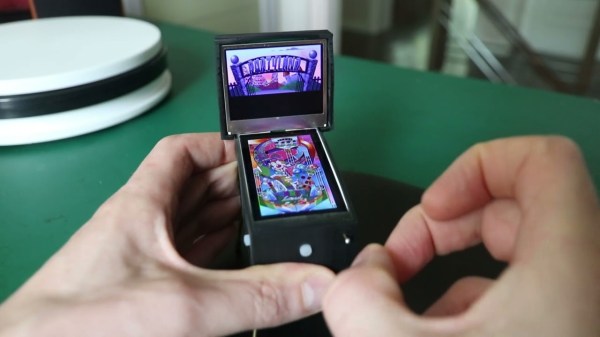
For the controllers, [Clyde] decided to go for the more-or-less industry standard DE-9 connector gamepads as used on the Sega Genesis and various Atari consoles. He also made his own controller, a 3D printed one with four directional buttons, three action buttons and a start button. The buttons are implemented with Cherry MX Clear switches — an unusual choice for a gamepad perhaps, but they’re apparently very comfortable for long gaming sessions.
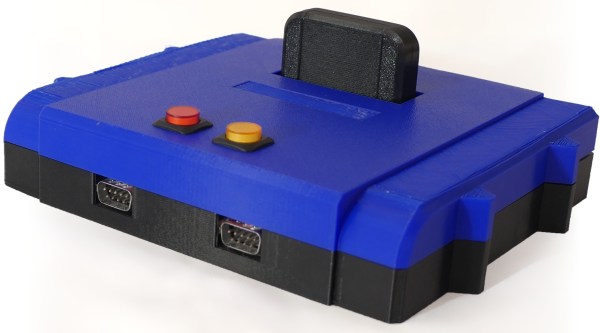
The console itself is also housed in a printed enclosure with a design reminiscent of the Nintendo 64. Game cartridges are inserted at the top and contain an EEPROM chip that can be written with a special programmer. The cartridge port also brings out several internal signals and can therefore be used as an expansion port, similar to the way Super NES cartridges could accommodate enhancement chips.
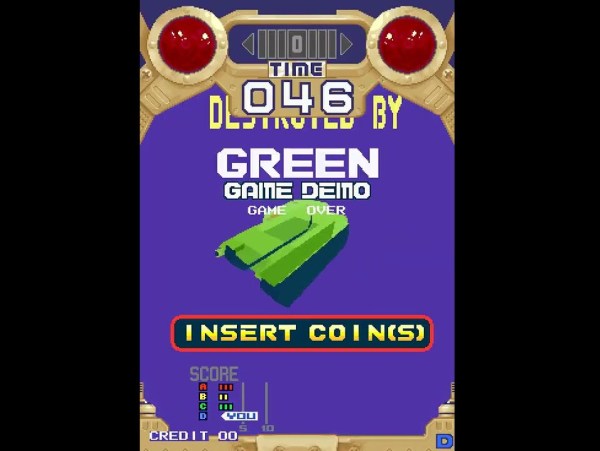
Games currently available include Tetris, the office-themed platformer Cubicle Knight, a Zelda-style adventure named Accursed Fiend, and a remake of the classic viral animation Bad Apple. [Clyde] provides a comprehensive stack of tools and example code and invites anyone interested to help develop more software for the platform. There’s also a hardware-accurate emulator, which is not only useful if you’re writing new code for the system but also if you simply want to try out the existing games in your browser.
Rolling your own 6502 system is great fun, and we’ve seen several examples over the years: some are built with huge bundles of wire, some are come with a clever programming language, some are so tiny they fit on your wrist, and some are simply beautifully made.
Continue reading “The GameTank Is The Latest And Greatest 8-bit Game Console” →