You’ve Got Rat!

If you home has never been subject to a rodent invasion then you are fortunate. Our world is full of rats and mice, and despite the best efforts of humanity to keep them at bay it is inevitable that a few will find their way through. For [Marius Taciuc] this became a problem, as his traps needed constant checking to avoid the prospect of a festering rat carcass. His solution? A humane trap equipped with an ESP8266, that notifies him when the rodent is incarcerated.

The tech behind it is about as simple as it’s possible to get, the trap’s door activates a switch, that powers on an ESP8266 module. The ESP’s code simply wakes it up, connects to a wireless network, and sends a query to IFTTT with a call to a service that sends him an email alert. There’s no need to monitor any GPIO lines or have any code running to keep an eye on the trap, it’s all purely a function of the power switch.

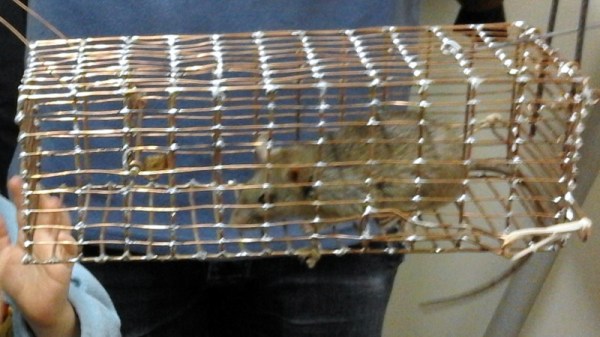
The trap itself is interesting, in that it’s a home-made one constructed from soldered copper wire. Sadly there are few details of its construction, but you can see more of it including a live rat inside it, in the video below the break. And if making a trap catches your interest, we can help you there.

Continue reading “You’ve Got Rat!”

Hackaday Podcast 078: Happy B-Day MP3, Eavesdropping On A Mars Probe, Shadowcasting 7-Segments, And A Spicy Commodore 64

Hackaday editors Elliot Williams and Mike Szczys go down the rabbit hole of hacky hacks. A talented group of radio amateurs have been recording and decoding the messages from Tianwen-1, the Mars probe launched by the Chinese National Space Administration on July 23rd. We don’t know exactly how magnets work, but know they do a great job of protecting your plasma cutter. You can’t beat the retro-chic look of a Commodore 64’s menu system, even if it’s tasked with something mundane like running a meat smoker. And take a walk with us down MP3’s memory lane.

Take a look at the links below if you want to follow along, and as always, tell us what you think about this episode in the comments!

Take a look at the links below if you want to follow along, and as always, tell us what you think about this episode in the comments!

Direct download (60 MB or so.)

Continue reading “Hackaday Podcast 078: Happy B-Day MP3, Eavesdropping On A Mars Probe, Shadowcasting 7-Segments, And A Spicy Commodore 64”

A Face Mask That’s Functional And Hacker-Certified

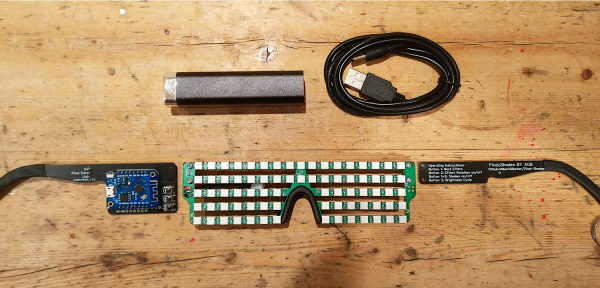
[splat238] needed a mask for going out in public, but wanted something that fit his personal style a bit better than the cloth masks everyone else was wearing. So, he upcycled his old airsoft mesh mask using an impressive 104 NeoPixels to create his NeoPixel LED Face Mask.

The NeoPixels are based on the popular WS2812b LEDs. These are individually addressable RGB LEDs with a pretty impressive glow. [splat238] purchased a 144 NeoPixel strip to avoid having to solder each of those 104 NeoPixels one-by-one. He cut the 144-LED strip into smaller segments to help fit the LEDs around the mask. He then soldered the power and data lines together so that he could still control the LEDs as if they were one strip and not the several segments he cut them into. He needed a pretty bulky battery pack to power the whole thing. You can imagine how much power 104 RGB LEDs would need to run. We recommend adding a battery protection circuit next time as these LEDs probably draw a hefty amount of current.

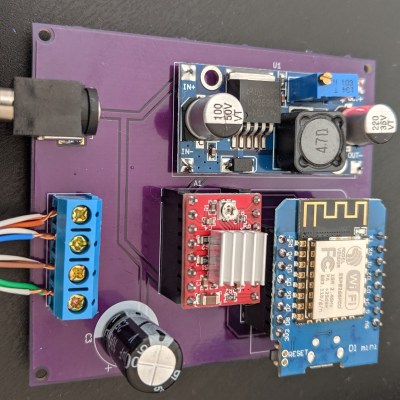
He designed his own controller board featuring an ESP8266 microcontroller. Given its sizable internal memory, the ESP8266 makes it easy to store a variety of LED patterns without worrying about running out of programming space. He’s also hoping to add some WiFi features in later revisions of his mask, so the ESP8266 is a no-brainer. Additionally, his controller board features three pushbuttons that allow him to toggle through different LED patterns on the fly.

Cool project [splat238]! Looking forward to the WiFi version.

Continue reading “A Face Mask That’s Functional And Hacker-Certified”

Hex Matrix Clock Is Spellbinding

Just when we think we’ve seen all possible combinations of 3D printing, microcontrollers, and pretty blinkenlights coming together to form DIY clocks, [Mukesh_Sankhla] goes and builds this geometric beauty. It’s kaleidoscopic, it’s mosaic, and it sorta resembles stained glass, but is way cheaper and easier.

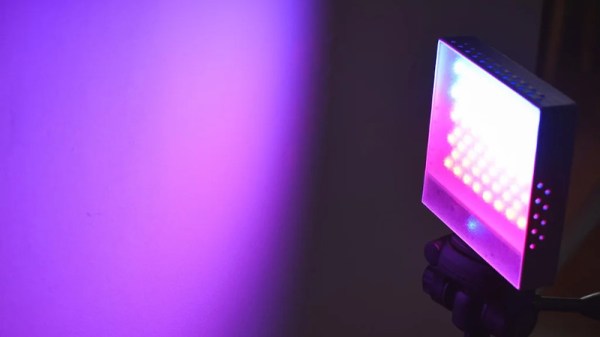
The crucial part of the print does two jobs — it combines a plate full of holes for a string of addressable RGB LEDs with the light-dividing walls that turn the LEDs into triangular pixels. [Mukesh] designed digits for a clock that each use ten triangles. You’d need an ESP8266 to run the clock code, or if you’d rather sit and admire the rainbow light show unabated by the passing of time, just use an Arduino Uno or something similar.

Most of the aesthetic magic here is in the printed pieces and the FastLED library. It has a bunch of really cool animations baked in that look great with this design. Check out the demo video after the break. The audio is really quiet until the very end of the video, so be warned. In our opinion, the audio isn’t necessary to follow along with the build.

The humble clock takes many lovely forms around here, including pop art.

Continue reading “Hex Matrix Clock Is Spellbinding”

ESP8266 Makes A Wireless Card Reader

You can find commercial USB sticks that can also connect via WiFi. But [Neutrino] made his own using an ESP8266 married to a card reader. It all starts with the old trick of soldering a header to an SD card adapter. The USB port is still there, but it is only for power. A 3.3 V regulator and an ESP12E board round out the hardware.

Of course, the trick is the software. Starting from a few examples, he wound up providing an FTP server that you can connect to and send or receive files using that protocol.

Continue reading “ESP8266 Makes A Wireless Card Reader”

3D Printed ESP8266 TV Is A Blast From The Past

We’ve often said that one of the best applications for desktop 3D printing is the production of custom enclosures, but you certainly aren’t limited to an extruded version of the classic Radio Shack project box. As [Marcello Milone] shows with this very clever retro TV enclosure for the Wemos D1 Mini, 3D printing means your imagination is the only limit when it comes to how you want to package up your latest creation.

As nice as the printed parts are, it’s the little details that really sell the look. [Marcello] has bent a piece of copper wire into a circle to make a faux antenna with vintage flair, and while the ESP is connecting to the WiFi network, it even shows an old school TV test pattern on its 1.8″ TFT display.

In the video after the break you can see the device go through its startup routine, and while displaying the Hackaday Wrencher at boot might not be strictly on theme…we’ll allow it.

While you could certainly use this little enclosure for whatever ESP project you had in mind, [Marcello] says he’s building a distributed environmental monitoring network using HTU21D temperature and humidity sensors. It sounds like he’s still working on the software side of things though, so hopefully he posts an update when the functionality is fully realized.

Continue reading “3D Printed ESP8266 TV Is A Blast From The Past”

Reviving A DOA Smart Bulb With Custom Firmware For Its ESP8266

There are some incredibly cheap WiFi smart bulbs on the market these days, but as is often the case, you tend to get what you pay for. When [Viktor] took delivery of his latest bargain basement bulb, the thing didn’t even work. So much for Quality Assurance. On the plus side, it was a great excuse to pop it open and replace the firmware.

For anyone wondering, [Viktor] never actually figured out why the bulb didn’t work. Its ESP8266-based control board was getting power, and data was getting spit out of the serial port when he connected it to the computer (although he never got the communications settings right to actually see what it was saying). But he also didn’t care much; once he confirmed that the hardware was good, he just uploaded the custom firmware he’d previously developed for another ESP8266 bulb.

Of course, it wasn’t quite that easy. The chances that both bulbs would have used the same GPIO pins to control the red, green, blue, and white LEDs were pretty slim. But after some testing and modifications to the code, he was able to fire them up. The other issue was a bit trickier, as it turned out the bulb’s flash chip was too small to hold his firmware’s web configuration pages. So he had to break out the hot air gun and replace the SPI flash chip with something a bit roomier. We suppose he could have just made smaller web pages… but where’s the fun in that?

Even with the chip swap, this looks a lot easier than building your own smart bulbs from scratch. With so many cheap ESP8266 bulbs on the market, it seems there’s never been a better time to code your own home lighting solution.