Recently, we covered how to use the Etherscan API to query data (a wallet balance) from the Ethereum blockchain with NodeMCU. It’s a very useful method for retrieving information from a blockchain on embedded systems where storage and memory are an issue.
It has some limitations though. Most notably, it’s polling the API at some interval to retrieve information whether it has changed or not. I would like to be able to receive data more efficiently than this, and quickly enough to make simple vending machines possible. While we’ve seen videos of Bitcoin-based Red Bull vending machines before, they required an NFC card to use.
If we could receive information about Ethereum transactions quickly and reliably enough, we could build a similar vending machine without requiring an NFC card as an intermediary. Simply send to an address via some method, and receive goods!
It turns out we can do exactly that with NodeMCU using WebSocket. Like HTTP, WebSocket is a communications protocol that uses TCP connections (typically over port 80), but it allows full-duplex communication. In other words, you can establish a connection to a server, and send/receive messages without needing to poll the server.
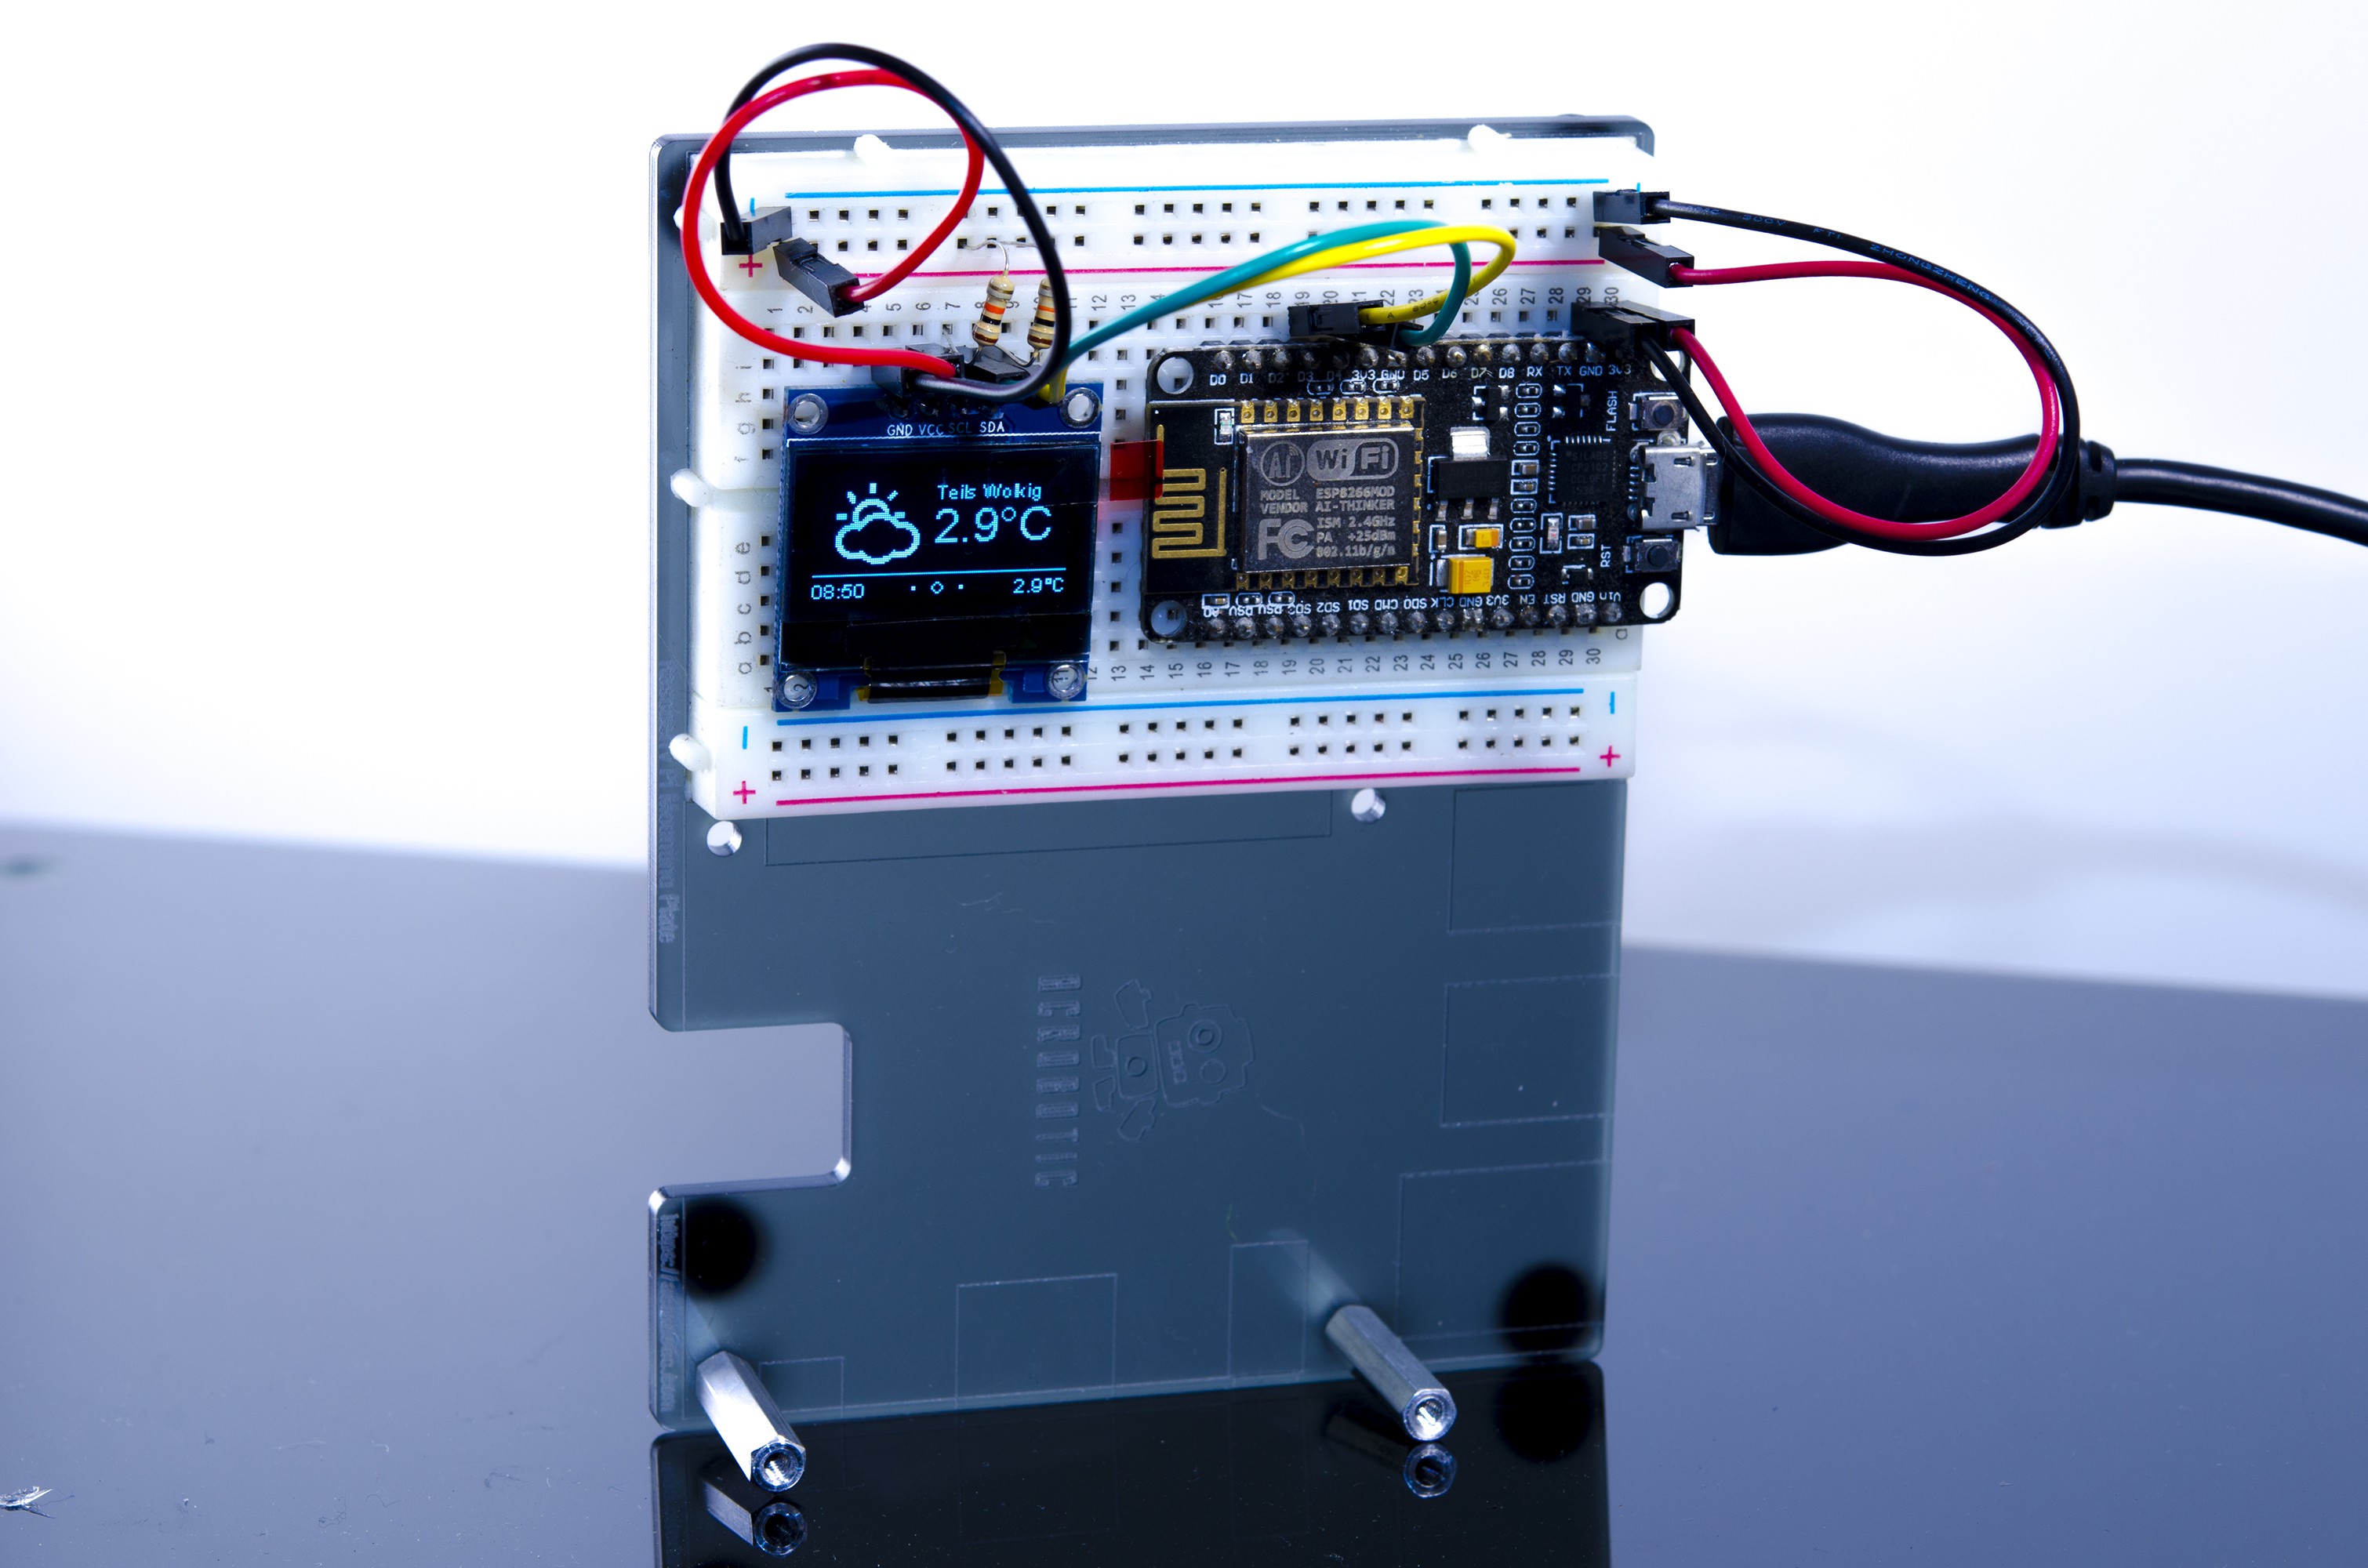
As in the previous example, we’ll use a NodeMCU running Lua. You may wish to refer to it for compile options and information about the screen, which will be the same in this case. Unlike the previous article, you will not need an API key from Etherscan to use this service (not yet, anyway). As usual, we’ll start off by connecting to WiFi:
wifi.setmode(wifi.STATION)
wifi.setphymode(wifi.PHYMODE_B)
station_cfg={}
station_cfg.ssid="Your SSID"
station_cfg.pwd="Your Password"
station_cfg.save=true
wifi.sta.config(station_cfg)
Connecting to a server with WebSockets is easy, but since we’re not using HTTP, we’ll have to remove the https:// and replace that with ws://. (Note: not wss:// because we’ve not enabled encryption yet.)
ws:connect(‘ws://socket.etherscan.io/wshandler’)
Next, we need to report back when the connection is established as the trigger to run additional code. It will return an error code if the connection fails to be established. Handling these error codes in a sensible way is an excellent feature, but we’ll handle that later:
ws:on("connection", function(ws)
    print('got ws connection')
    end)
Now, we need to extend the above to subscribe to an Eth address, and add some new code to do something when a transaction occurs. Note that the API requires that you subscribe to an address within 60 seconds of connecting. It also states that you have to send a ping event to the server every 20 seconds to keep the connection alive, so we’ll need to set a recurring timer for that.
If you’re using ESPlorer, you can send the ping request manually by entering =ws:send('{"event": "ping"}') and pressing Send. This is a useful way to test the connection status.
The address I used seems to have frequent transactions so is reasonable for testing. Be advised though that sitting and waiting for a transaction to happen to test the code creates a slow development cycle so some patience is necessary here.
ws = websocket.createClient()
ws:on("connection", function(ws)
    print('got ws connection')
    ws:send('{"event": "txlist", "address": "0x2a65aca4d5fc5b5c859090a6c34d164135398226"}')
    end)

ws:on("receive", function(_, msg, opcode)
    print('got message:', msg, opcode)
    end)
You should see something like what follows below. The first message is a simple confirmation of connection, the second confirms your subscription to an address, and the third is what you get sent when a transaction occurs. You can subscribe to up to 30 addresses with a single connected device! Note that the data is all in JSON format, which is something we’ll take advantage of later.
got message: {"event":"welcome"} 1
got message: {"event":"subscribe-txlist", "status":"1", "message":"OK, 0x2a65aca4d5fc5b5c859090a6c34d164135398226"} 1
got message: {"event":"txlist","address":"0x2a65aca4d5fc5b5c859090a6c34d164135398226","result":[{"blockNumber":"5532531","timeStamp":"1525098009","hash":"0xe5ec497cb5b38811e8bf5db67a056a2bdd4aa9b68df5c8e8225cb300cbcfa413","nonce":"3363391","blockHash":"0xf446f77d92ed29c221e8451b8048113969ed305a7dd49177e10b422e8e2c4bda","transactionIndex":"172","from":"0x2a65aca4d5fc5b5c859090a6c34d164135398226","to":"0xec5fdfba35c01c6ad7a00085e70e8f30cd121597","value":"24418350000000000","gas":"50000","gasPrice":"4000000000","input":"0x","contractAddress":"","cumulativeGasUsed":"7896403","gasUsed":"21000","confirmations":"1"}]} 1
That’s quite a mess of transaction data, and unfortunately the datum of interest is in the ‘result’ field – which is nested JSON. In the last article, we converted simple JSON to a Lua table using the excellent sjson module. We’ll do the same here after verifying the message type is a transaction (txlist).
ws:on("receive", function(_, msg, opcode)
    print('got message:', msg, opcode)
    ok, ethdata = pcall(sjson.decode, msg)
    if ok then
        msgtype = (ethdata["event"])
        if msgtype == "txlist" then
...
The NodeMCU documentation specifically notes that nested JSON can cause out-of-memory errors. For that reason we use pcall (protected call) to contain any such errors when decoding our JSON message. Next, we extract the contents of the ‘value’ field, nested within the ‘result’ field:
if msgtype == "txlist" then
    wei = ethdata.result[1].value
    print (wei)
    eth = wei/1000000000000000000
    print (eth)
    end
It took me a few hours to figure out how to deal with nested tables, but in the end it was actually quite clean and easy — I was just being dense. Now, we need to add a basic provision to handle errors when the websocket is closed:
ws:on("close", function(_, status)
    print('connection closed', status)
    print('Reconnecting...')
    ws = nil -- required to Lua gc the websocket client
    tmr.alarm(0,4000,tmr.ALARM_SINGLE,transact) -- This reconnects after 4 seconds
end)
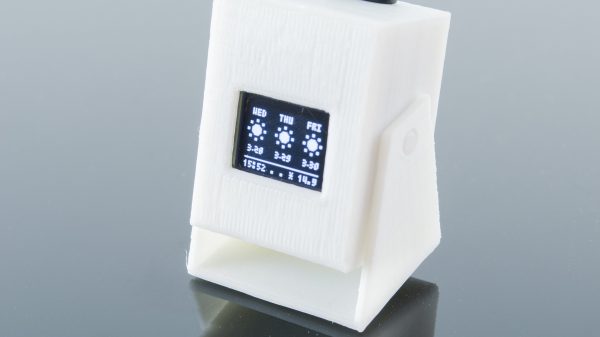
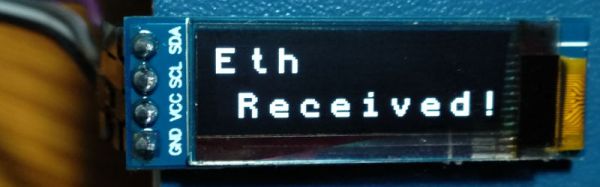
To wrap it all up, we encase the code in a couple of functions — first, one to establish a connection, subscribe to the right address, and notify when there is a transaction. Next we need one to display the amount of Eth transferred. Finally, we need a ‘ping’ function to call every 20 seconds or less to keep the connection alive. Overall this turned out to be more robust than expected and has yet to encounter an error. Check out the full code listing here. Note that I’ve also added a little code above to interface with a 128×32 OLED screen, the same one we used previously.
Now that it works, let’s consider im/practical applications. It’s a neat way to display Ethereum transactions in real-time, say if you do livestreaming and accept Eth donations and want them to trigger something fancy. Or, you could make a somewhat insecure vending machine. Clearly, getting a secure WebSocket up and running is the next order of business.
You could also set a timer where the length depends on the amount of Eth received. This would allow for things like public advertisements that go away for a while if someone pays a fee. (Please don’t do this!) Maybe a conference room for rent with the power controlled this way? Hackerspace membership payment? An electric bicycle that charges you for power used?
In any case, it’s not legal to use cryptocurrency as a form of payment in my country so I can’t implement any of the above examples at this time. If you’ve got a better application, please share it in the comments!