Modern building techniques are relying more and more on passive elements to improve heating and cooling efficiencies, from placing windows in ways to either absorb sunlight or shade it out to using high R-value insulation to completely sealing the living space to prevent airflow in or out of the structure. One downside of sealing the space in this fashion, though, is the new problem of venting the space to provide fresh air to the occupants. This 3D printed vent system looks to improve things.
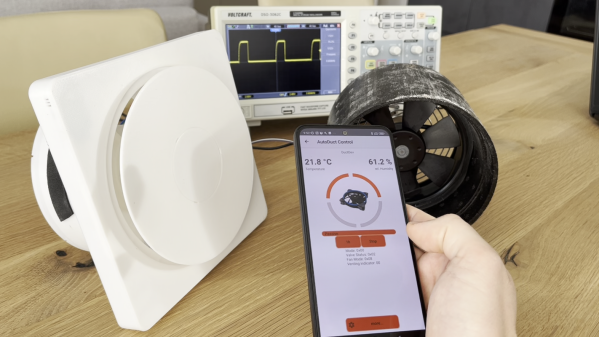
 Known as the AutoDuct, the shutter and fan combination is designed to help vent apartments with decentralized systems. It can automatically control airflow and also reduces external noise passing through the system using a printed shutter mechanism which is also designed to keep out cold air on windy days.
A control system enables features like scheduling and automatic humidity control. A mobile app is available for more direct control if needed. The system itself can also integrate into various home automation systems like Apple’s HomeKit.
A 100% passive house that’s also as energy-efficient as possible might be an unobtainable ideal, but the closer we can get, the better. Some other projects we’ve seen lately to help climate control systems include this heat pump control system and this automatic HVAC duct booster fan system.