Any way you look at it, blacksmithing is a punishing trade. Heavy tools, a red-hot forge, flying sparks, and searing metal all exact a toll on the smith’s body unless precautions are taken. After proper safety equipment and good training, a blacksmith may want to invest is power hammer to replace at least some of the heavy hammer work needed to shape hot metal.
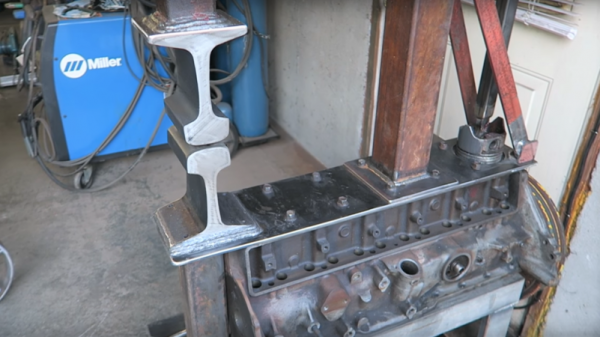
Power hammers aren’t cheap, though, which is why [70kirkster] built one from an old engine block. You’ve got to admire the junkyard feel of this thing; it’s almost nothing but scrap. The engine block is a straight-6 from an old Ford pickup stripped of everything but the crankshaft and one piston. An electric motor spins the crankshaft and moves the hammer against the anvil through connecting rods and a trip arm fashioned from a trailer leaf spring. Everything looks super solid and the hammer hits hard; the videos below tell the tale of the build and show the hammer in action. Not bad for $100 out-of-pocket.
Blacksmithing is one of those dark arts that really deserves to have more adherents. The barriers to entry can be high, but the rewards are great. Looking to get started on the cheap? Then check out [Bil Herd]’s guide to hacking together a backyard smithy.
Continue reading “Blacksmith’s Junkyard Power Hammer Packs A Punch”


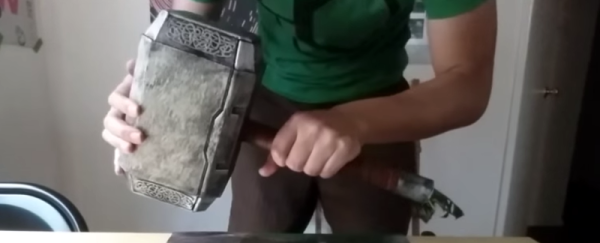
 Only those who have completely insulated themselves from modern pop culture will miss the meaning of a Mjolnir build. It is, of course, the mythical hammer wielded by Thor, and only Thor. It’s a question of being worthy; a question solved perfectly by


