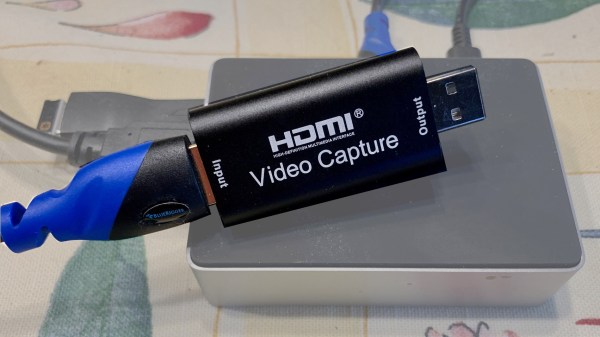
Here’s a simple tip from [Andy], whose Raspberry Pi projects often travel with him outside the workshop: he suggests adding a small HDMI-to-USB video capture device to one’s Raspberry Pi utility belt. As long as there is a computer around, it provides a simple and configuration-free way to view a Raspberry Pi’s display that doesn’t involve the local network, nor does it require carrying around a spare HDMI display and power supply.
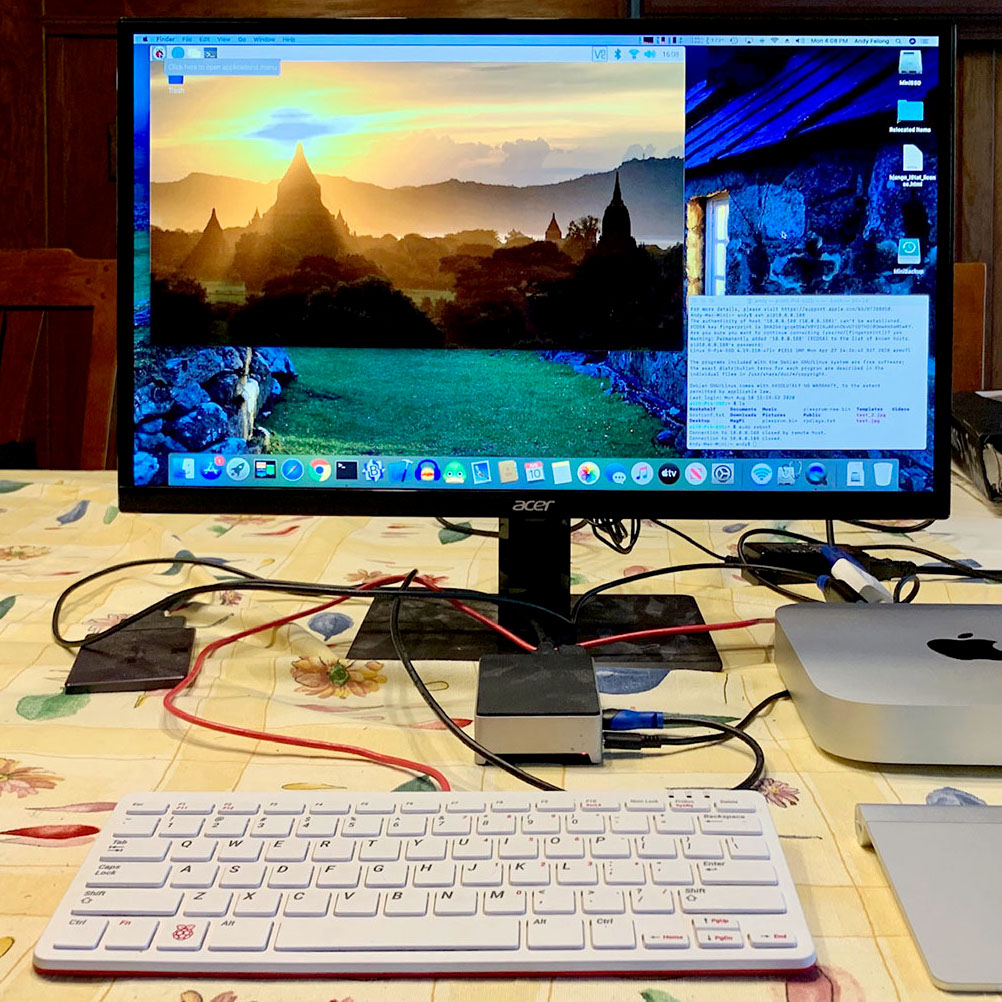
The usual way to see a Pi’s screen is to either plug in an HDMI display or to connect remotely, but [Andy] found that he didn’t always have details about the network where he was working (assuming a network was even available) and configuring the Pi with a location’s network details was a hassle in any case. Carrying around an HMDI display and power supply was also something he felt he could do without. Throwing a small HDMI-to-USB adapter into his toolkit, on the other hand, has paid off for him big time.
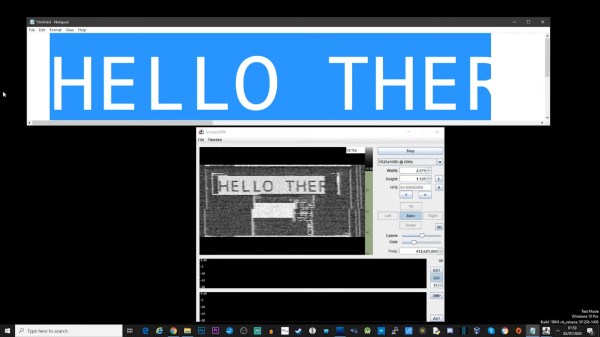
The way it works is simple: the device turns an HDMI video source into something that acts just like a USB webcam’s video stream, which is trivial to view on just about any desktop or laptop. As long as [Andy] has access to some kind of computer, he can be viewing the Pi’s display in no time.
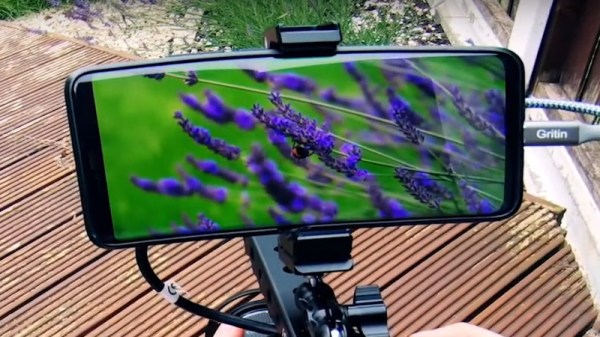
Many of his projects (like this automated cloud camera timelapse) use the Pi camera modules, so a quick way to see the screen is useful to check focus, preview video, and so on. Doing it this way hit a real sweet spot for him. We can’t help but think that one of these little boards could be a tempting thing to embed into a custom cyberdeck build.