Would An Indexing Feature Benefit Your Next Hinge Design?

[Angus] of Maker’s Muse has a video with a roundup of different 3D-printable hinge designs, and he points out that a great thing about 3D printing objects is that adding printable features to them is essentially free.

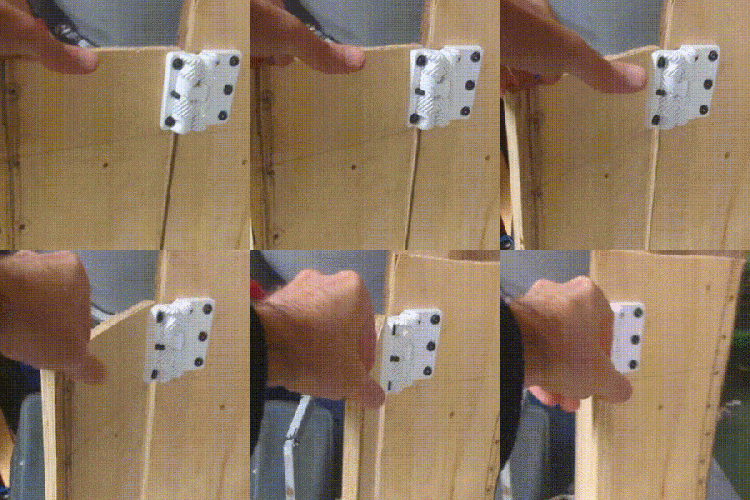
These hinges have an indexing feature that allows them to lock into place, no additional parts needed.

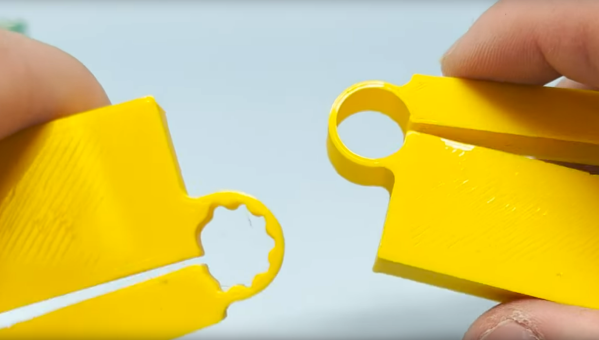
A great example of this is his experimental print-in-place butt hinge with indexing feature, which is a hinge that can lock without adding any additional parts. The whole video is worth a watch, but he shows off the experimental design at the 7:47 mark. The hinge can swing normally but when positioned just right, the squared-off pin within slots into a tapered track, locking the part in place.

Inspired by a handheld shopping basket with a lockable handle, [Angus] worked out a design of his own and demonstrates it with a small GoPro tripod whose legs can fold and lock in place. He admits it’s a demonstration of the concept more than a genuinely useful tripod, but it does show what’s possible with some careful design. Being entirely 3D printed in a single piece and requiring no additional hardware is awfully nice.

3D printing is very well-suited to this sort of thing, and it’s worth playing to a printer’s strengths to do for pennies what one would otherwise need dollars to accomplish.

Want some tips on designing things in a way that take full advantage of what a 3D printer can achieve? Check out printing enclosures at an angle with minimal supports, leveraging the living hinge to print complex shapes flat (and fold them up for assembly), or even print a one-piece hinge that can actually withstand a serious load. All of those are full of tips, so keep them in mind the next time you design a part.

Hinged Parts For The 8th Grade Set

I recently agreed to run a 3D printing camp for 8th graders. If you’ve never shared your knowledge with kids, you should. It is a great experience. However, it isn’t without its challenges. One thing I’ve learned: don’t show the kids things that you don’t want them to try to print.

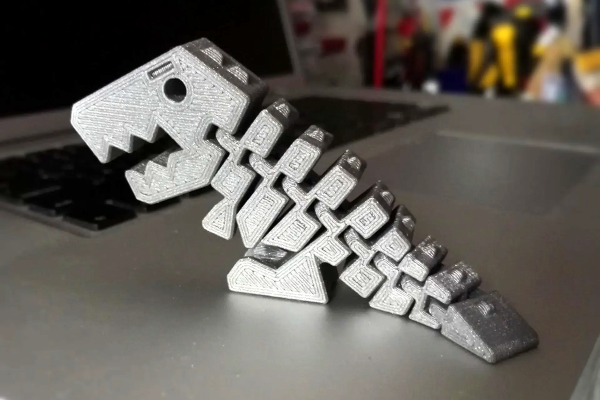
I learned this, of course, the hard way. I have several “flexy”3D prints. You know the kind. Flexy dinosaurs, cats, hedgehogs, and the like. They all have several segments and a little hinge so the segments wobble. The problem is the kids wanted to print their own creations with flexy hinges.

I’ve built a few print-in-place hinges, but not using Tinkercad, the software of choice for the camp. While I was sure it was possible, it seemed daunting to get the class to learn how to do it. Luckily, there’s an easy way to add hinges like this to a Tinkercad design. There was only one problem.

Continue reading “Hinged Parts For The 8th Grade Set”

Using FreeCAD To Replace OEM Parts

As much as we might all like it if manufacturers supported their products indefinitely with software updates or replacement parts, this just isn’t feasible. Companies fail or get traded, technologies evolve, and there’s also an economic argument against creating parts for things that are extremely old or weren’t popular in the first place. So, for something like restoring an old car, you might have to resort to fabricating replacement parts for your build on your own. [MangoJelly] shows us how to build our own replacement parts in FreeCAD in this series of videos.

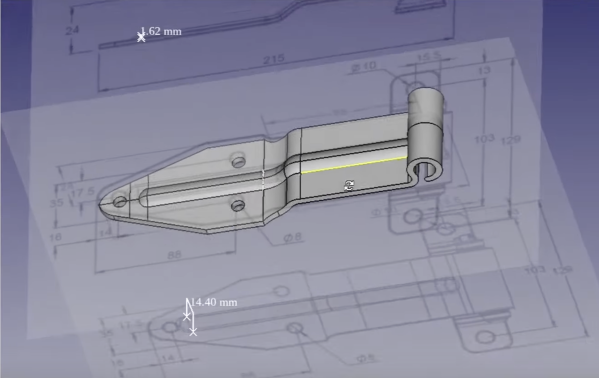
The build does assume that the original drawings or specifications for the part are still available, but with those in hand FreeCAD is capable of importing them and then the model scaling to match the original specs shown. This video goes about recreating a hinge on an old truck, so with the drawings in hand the part is essentially traced out using the software, eventually expanding it into all three dimensions using all of the tools available in FreeCAD. One of the keys to FreeCAD is the various workbenches available that all have their own sets of tools, and being able to navigate between them is key to a build like this.

FreeCAD itself is an excellent tool for anyone repairing old vehicles like this or those making 3D prints, designing floorplans for houses, or really anything you might need to model in a computer before bringing the idea into reality. It does have a steep learning curve (not unlike other CAD software) so it helps to have a video series like this if you’re only just getting started or looking to further hone your design skills, but the fact that it’s free and open-source make it extremely attractive compared to its competitors.

Continue reading “Using FreeCAD To Replace OEM Parts”

Hinges Live Inside 3D Prints

Since desktop 3D printers have become more common, we’ve seen dramatic shifts in all kinds of areas such as rapid prototyping, antique restoration, mass production of consumer goods, or even household repairs that might not have been possible otherwise. There are a lot of unique manufacturing methods that can be explored in depth with a 3D printer as well, and [Slant 3D] demonstrates how one such method known as the living hinge can be created with this revolutionary new tool.

Living hinges, unlike a metal hinge you might pick up at a hardware store, are integrated into the design of the part and made of the same material. Typically found in plastic containers, they allow for flexibility while keeping parts count and cost low. The major downside is that they create stresses in the materials when used, so their lifespan is finite. But there are a number of ways to extend their life, albeit with a few trade-offs.

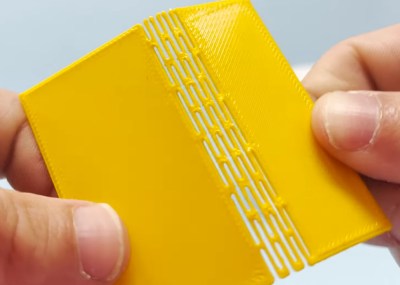
The first note is to make sure that you’re using the right kind of plastic, but after that’s taken care of [Slant 3D] builds a few flexible parts starting with longer circular-shaped living hinge which allows greater range of motion and distributes the forces across a wider area, at a cost of greater used space and increased complexity. A few other types of living hinges are shown to use less space in some areas, but make the hinges only suitable for use in other narrower applications.

One of the more interesting living hinges he demonstrates is one that’s more commonly seen in woodworking, known there as a kerf bend. By removing strips of material from a sheet, the entire sheet can be rotated around the cuts. In woodworking this is often done by subtracting material with a CNC machine or a laser cutter, but in 3D printing the voids can simply be designed into the part.

Continue reading “Hinges Live Inside 3D Prints”

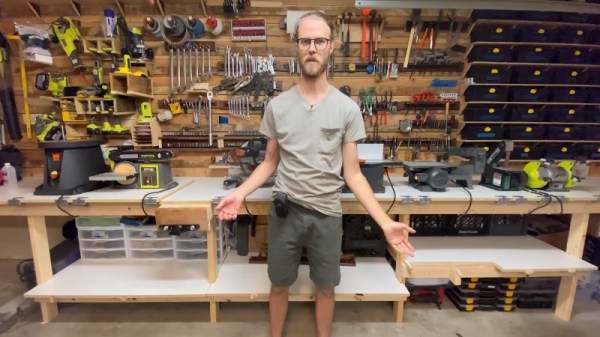
This Custom Workbench Will Make You Flip

In a recent video, [SomeSkillStudio] created a tidy tool storage system for their slim garage workbench. We have seen the “five knuckle” 270 degree hinges used here before and knew they’d enable some cool hacks. Here you’ll see how he puts this unique type of hardware to work building a densely packed work surface. For anyone who’s set up shop in a garage that’s somehow also supposed to still regularly host vehicles, you’ll know how important it is to have a place to put everything away and make it easy to do so.

The video has several great tips on making sure everything fits together, something key for anyone reproducing this with their own tool collection. If you have even less space, we have some great past workshop builds from portable, to tiny, to elaborate. Even if you’ve already established a place to work, we have tips on organizing your shop, giving each tool a home in a shadow board or across an infinite grid. Clearly, making a work space is one of our favorite kinds of projects.

Continue reading “This Custom Workbench Will Make You Flip”

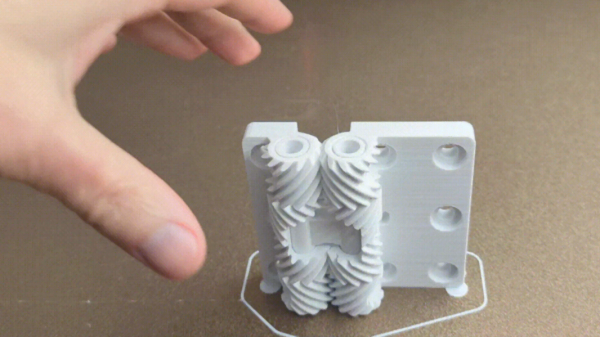
Hand reaching for a 3d-printed hinge

One-piece Geared Hinge Can Take The Weight

3D printers have come a long way from cranking out things like bottle openers and coat pegs, and [E. Soderberg]’s Print in Place Geared Hinge is a pretty nifty demonstration of that. This hinge is designed as a print-in-place part, meaning it is 3D printed as a single piece, requiring no assembly. Not only that, but the herringbone gears constrain the sturdy device in a way that helps it support heavy loads.

Of course, hinges — even strong ones — are not particularly hard to find items. They’re available in a mind-boggling array of shapes and sizes. But what’s interesting about this design is that it shows what’s easily within the reach of just about any hobbyist nowadays. Not that long ago, designing and creating an object like this would not have been accessible to most home enthusiasts. Making it without a modern 3D printer would certainly have been a challenge in its own right.
It doesn’t always matter that a comparable (or superior) off-the-shelf part is available; an adequate part that can be created in one’s own workshop has a value all its own. Plus, it’s fun to design and make things, sometimes for their own sake. After all, things like 3D-printed custom switch assemblies would not exist if everyone were satisfied with the ability to just order some Cherry MX switches and call it a day.

Hinge Brings New Meaning To Flexible PCB

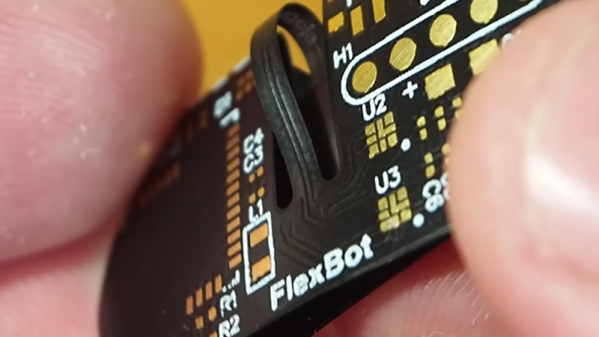
It is not a secret that flexible PC boards can bend. But despite the substrate’s flexibility, you can’t really fold them completely over. That bothered [Carl] so he developed a hinge design so that he can fold a board completely in half. You can watch a video showing an example, FlexBox, below.

Normal boards can fold over, but the copper traces can’t tolerate a very tight bend radius. [Carl’s] trick is to make the folding part have no traces at all. Only a small bridge carries traces between the two halves and it is allowed to bend almost like an interconnecting cable.

Continue reading “Hinge Brings New Meaning To Flexible PCB”