Wood heat offers unique advantages compared to more modern heating systems, especially in remote areas. But it also comes with its own challenges, namely, keeping the fire going at the optimum temperature. If it’s too cold you risk buildup in the chimney, but if you’ve got it stoked up more than necessary, you’ll end up burning through your wood faster.
To keep the fire in that sweet spot, [Jay] decided to put an ESP8266 and a thermocouple to work. Now, this might seem like an easy enough job at first, but things are complicated by the fact that the flue temperature above the stove lags considerably behind the temperature inside the stove. There’s also the fact that the top of the chimney will end up being much colder than the bottom.
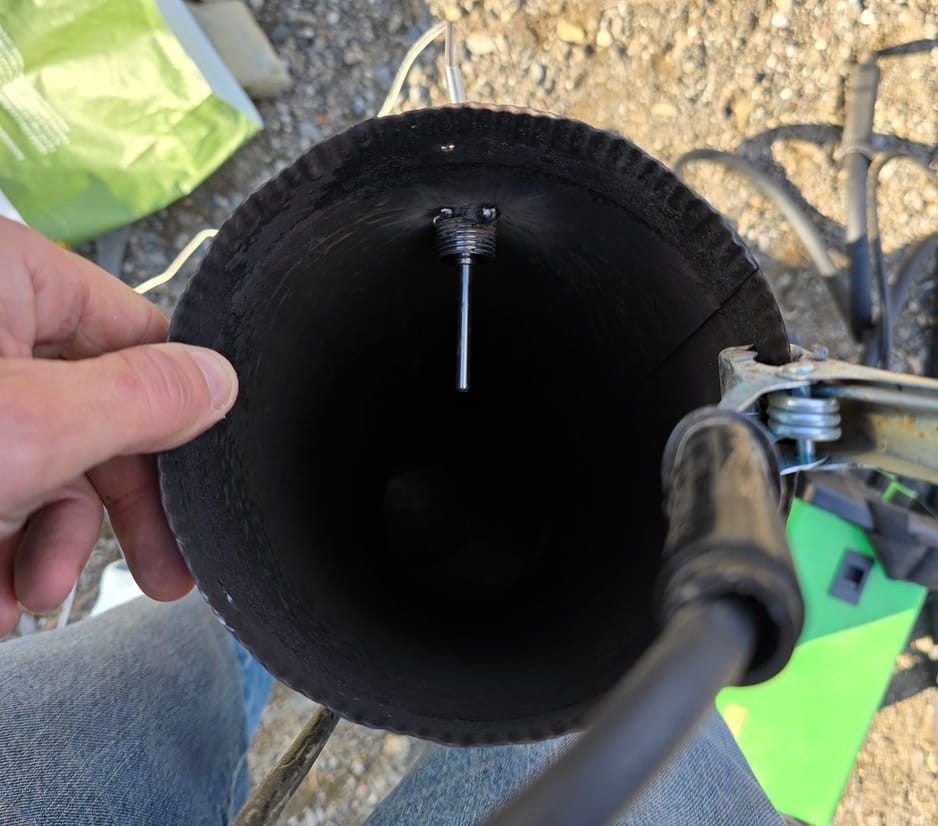
In an effort to get a more complete view of what’s happening, [Jay] plans on putting at least two thermocouples in the chimney. But as getting on the roof in December isn’t his idea of fun, for now, he’s starting with the lower one that’s mounted right above the stove. He popped a hole in the pipe to screw in a standard K-type probe, and tapped it a few times with the welder to make sure it wasn’t going anywhere.
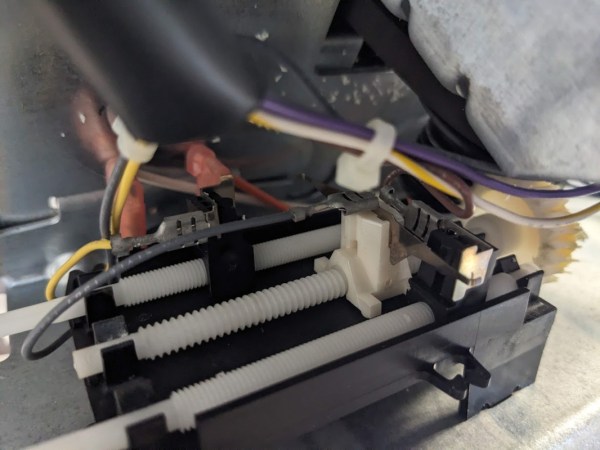
From there, the thermocople connects to a MAX6675 amplifier, and then to the WeMos D1 Mini development board that’s been flashed with ESPHome. [Jay] provides the configuration file that will get the flue temperature into Home Assistant, as well as set up notifications for various temperature events. The whole thing goes into a 3D printed box, and gets mounted behind the stove.
This project is a great example on how you can get some real-world data into Home Assistant quickly and easily. In the future, [Jay] not only wants to add that second thermocouple, but also look into manipulating the stove’s air controls with a linear actuator. Here’s hoping we get an update as his woodstove learns some new tricks.