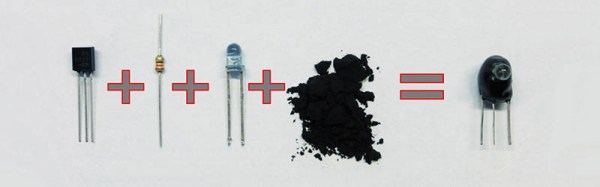
The first integrated circuits weren’t tiny flecks of silicon mounted to metal carriers and embedded in epoxy or ceramic. The first integrated circuits, albeit a looser definition of such, were just a few transistors, resistors, and diodes mashed together in the same package. With this in mind, [Rupert] created his own custom IC. It’s an IR receiver transmitter constructed out of a transistor, resistor, and an LED.
The attentive reader should be asking, “wait, can’t you just buy an IR receiver transmitter?” Yes, yes you can. But that’s not a hack™, and would otherwise be very uninteresting.
[Rupert]’s IC is just three parts, a 2n2222 transistor, a 220Ω resistor and an IR LED. With a good bit of deadbug soldering, these three parts were melded into something that resembled, and had the same pinout of, a Vishay TSOP4838 IR receiver. The epoxy used to encapsulate this integrated circuit is a standard 2-part epoxy and laser printer toner. Once everything is mixed up into a gooey slurry, it’s dripped over the IC producing a blob of an integrated circuit. It’s functionally identical to the standard commercial version, and looks good enough for a really cool project [Rupert]’s been working on.
Thanks [foehammer] for the tip.
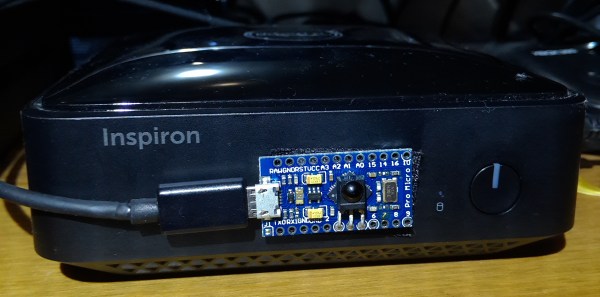

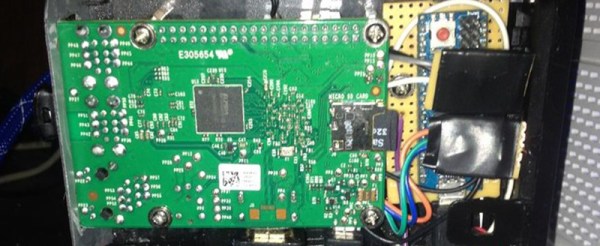
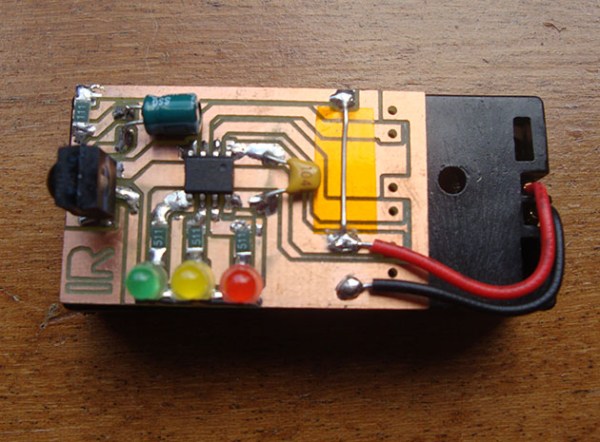
 The Netflix Switch is a relatively simple device powered by a