There are all kinds of avenues into the mechanical keyboarding hobby, and one of the more well-traveled ones runs between coworkers. [crsayen] aka [DrJamesOIncandenza] has one such relationship, and was turned on to the CRKBD a while back by an office mate. For the uninitiated, that’s short for Corne keyboard, which is a column-staggered 3×6 split keyboard with three thumb keys per hand.
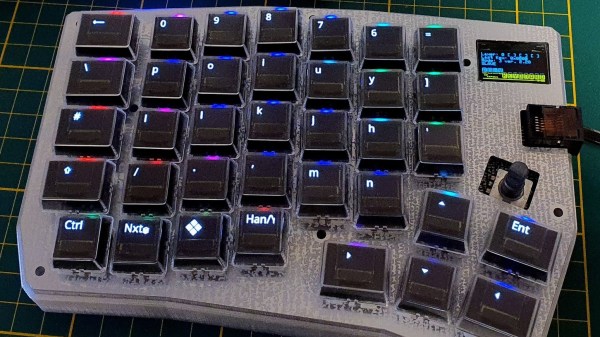
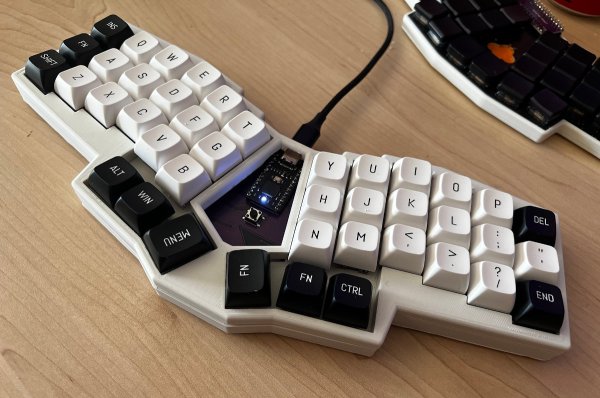
While [JOI] liked the Corne well enough, especially with chocs, he got the occasional craving to slap (that’s what we’re calling typing on linears from now on — slapping vs. clacking) on some silent MX switches and so built this Corne-derivative monoblock split called Keyboard One. Aside from the more obvious differences,
We think this looks rather spanking for a first keyboard, sort of like a slightly smaller Alice or something. But you don’t have to go to great lengths to obtain [JOI]’s knowledge, for everything is on GitHub. [JOI] says they sort of regret going 3×6, but are already planning another build with more keys. See, that’s the spirit.
Via KBD #101