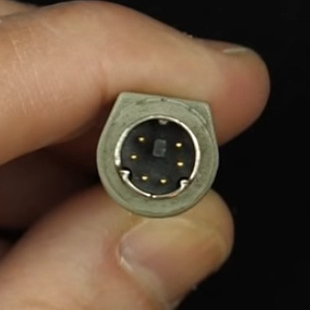
1987 was a glorious year. It brought us the PS/2 keyboard standard that’s still present on many a motherboard back panel to this day. (It also marked the North America/Europe release of The Legend of Zelda but that’s another article.) Up until this point, peripherals were using DIN-5 and DE-9 (often mistakenly called DB9 and common for mice at the time) connectors or — gasp — non-standard proprietary connectors. So what was this new hotness all about? [Ben Eater] walks us through the PS/2 hall of fame by reverse-engineering the protocol.
This is a clocked data protocol, so a waveform is generated on the data pin for each key pressed that can be compared to the clock pin to establish the timing of each pulse. Every key sends a unique set of encoded pulses and voila, the whims of the user can quickly and easily be decoded by the machine.
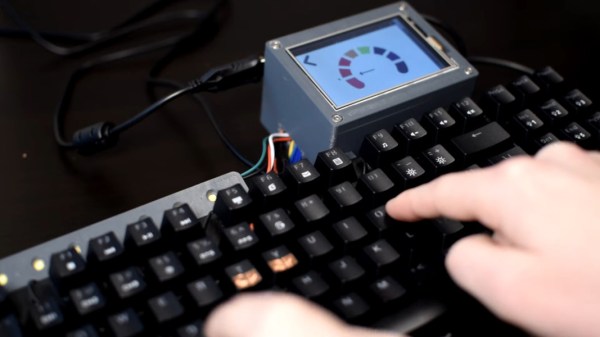
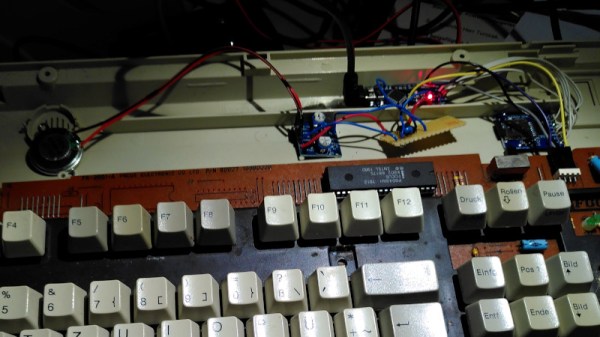
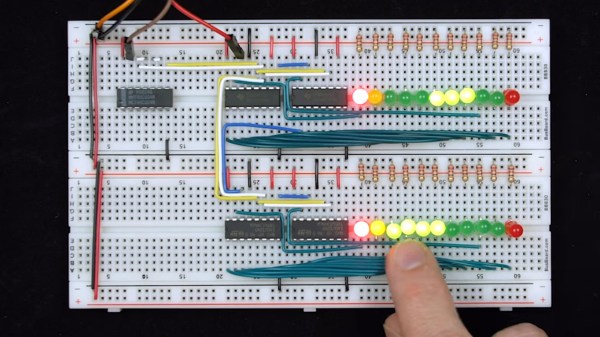
This is where [Ben’s] dive really shines, we know he’s a breadboarding ninja so he reaches for some DIP chips. A shift register is an easy way to build up a parallel PS/2 interface for breaking out each data packet. There are a few quirks along the way, like the need to invert the clock signal so the shift register triggers on the correct edge. He also uses the propagation delay of a couple inverter gates to fire the 595 shift register’s latch pin slightly late, avoiding a race condition. A second 595 stores the output for display by a set of LEDs.
Beyond simply decoding the signal, [Ben] goes into how the packets are formatted. You don’t just get the key code, but you get normal serial interface error detection; start/stop bits and a parity bit as well. He even drills down into extended keys that send more than one packet, and a key-up action packet that’s sent by this particular keyboard.
This is the perfect low-level demo of how the protocol functions. On the practicality side, it feels a bit strange to be breaking out the serial to parallel when it would be very easy to monitor the two signal lines and decode them with a microcontroller. You might want to switch it up a bit, stick with the clock and data pins, but connect them to a Raspberry Pi using just a few passive components.
Continue reading “Decoding The PS/2 Keyboard Protocol Using Good Old Fashioned Hardware”
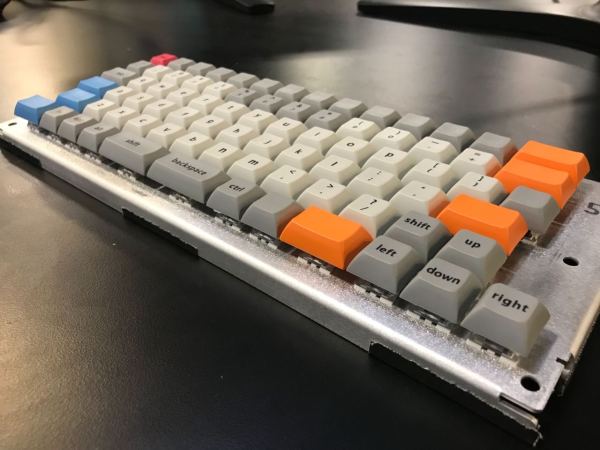
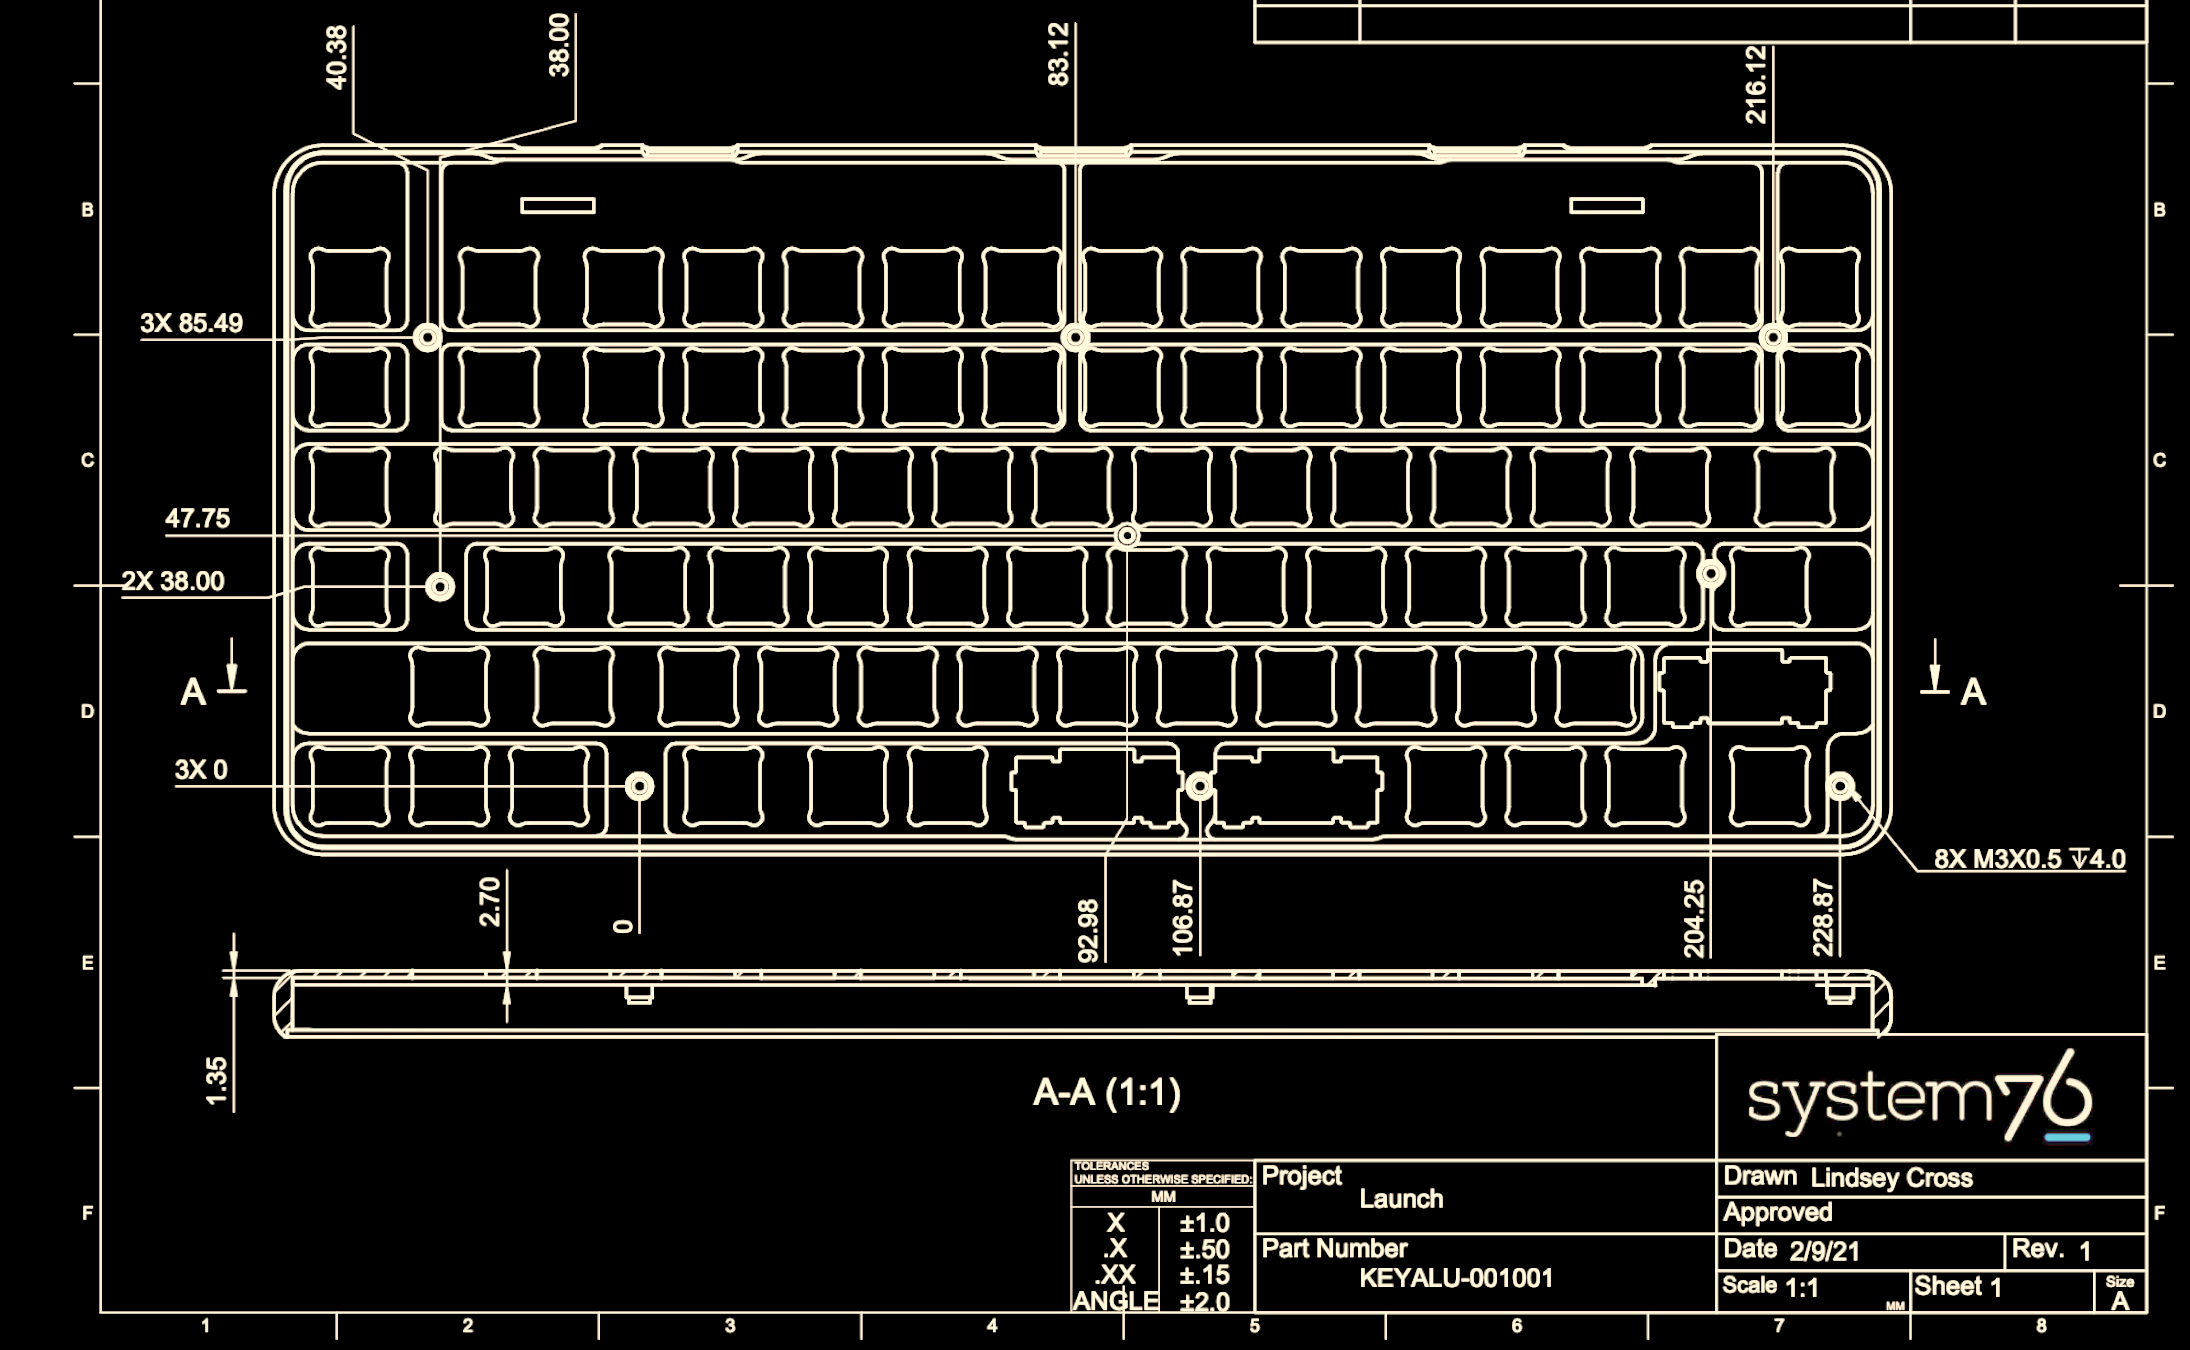
 Feature wise all the usual hallmarks of a well designed keyboard are here. The Launch uses hostswap sockets to make it easy to install the usual Cherry MX compatible switch options, and includes per-key RGB backlighting courtesy of SK6805 LEDs. The ATmega32U4 runs the popular and extremely capable QMK firmware instead of something bespoke, so it should be easy to customize to the user’s desire.