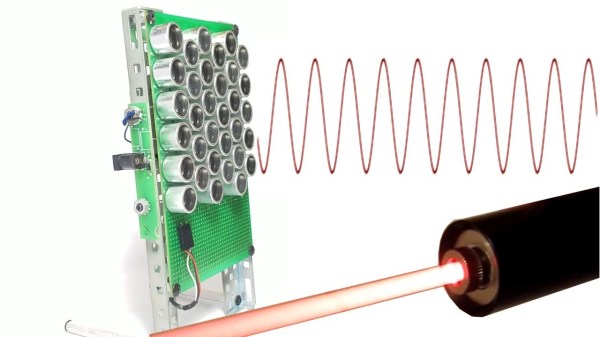
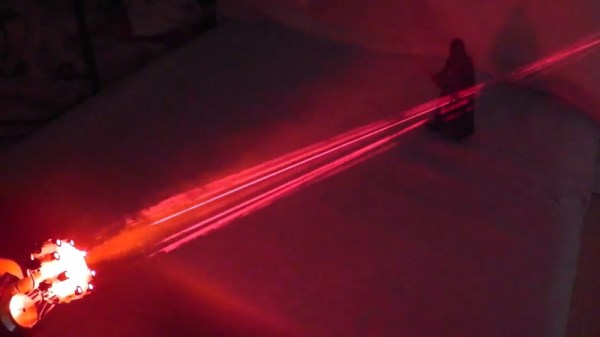
Throughout our day-to-day experiences, we come across or make use of many scientific principles which we might not be aware of, even if we immediately recognize them when they’re described. One such curiosity is that of caustics, which refers not only to corrosive substances, but can also refer to a behavior of light that can be observed when it passes through transparent objects. Holding up a glass to a light source will produce the effect, for example, and while this is certainly interesting, there are also ways of manipulating these patterns using lasers, which makes an aurora-like effect.
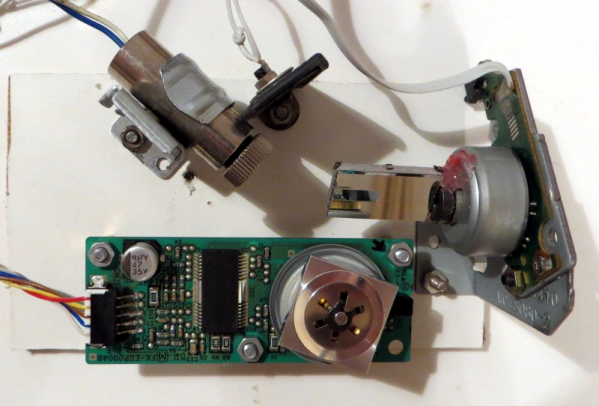
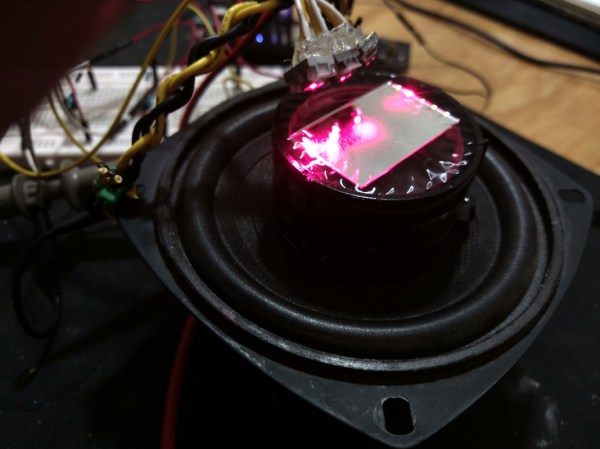
The first part of this project is finding a light source. LEDs proved to be too broad for good resolution, so [Neuromodulator] pulled the lasers out of some DVD drives for point sources. From there, the surface of the water he was using to generate the caustic patterns needed to be agitated, as the patterns don’t form when passing through a smooth surface. For this he used a small speaker and driver circuit which allows precise control of the ripples on the water.
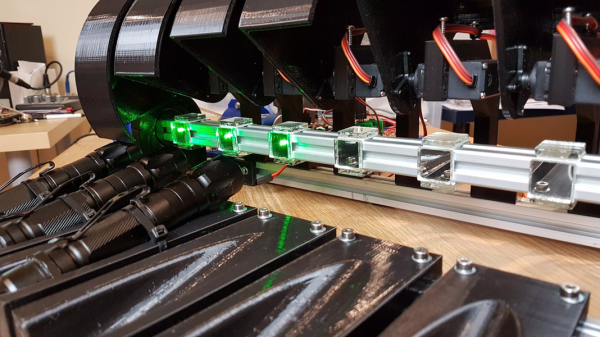
The final part of the project was fixing the lasers to a special lens scavenged from a projector, and hooking everything up to the driver circuit for the lasers. From there, the caustic patterns can be produced and controlled, although [Neuromodulator] notes that the effects that this device has on film are quite different from the way the human eye and brain perceive them in real life. If you’re fascinated by the effect, even through the lens of the camera, there are other light-based art installations that might catch your eye as well.
Continue reading “Create An Aurora Of Your Own” →