Laptop connected via Ethernet to Raspberry Pi-based secure radio device with antenna

Secure LoRa Mesh Communication Network

The Internet has allowed us to communicate more easily than ever before, and thanks to modern cell-phone networks, we don’t even have to be tied down to a hard line anymore. But what if you want something a little more direct? Maybe you’re in an area with no cell-phone coverage, or you don’t want to use public networks for whatever reason. For those cases, you might be interested in this Secure Communication Network project by [Thomas].

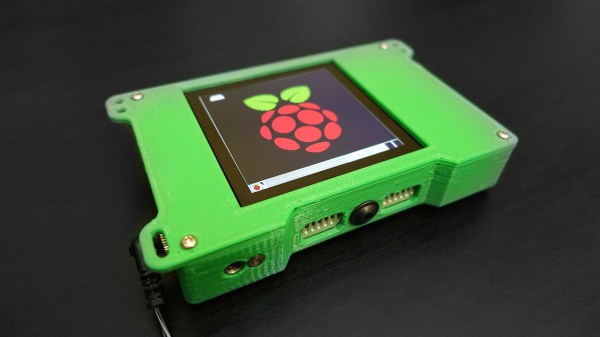
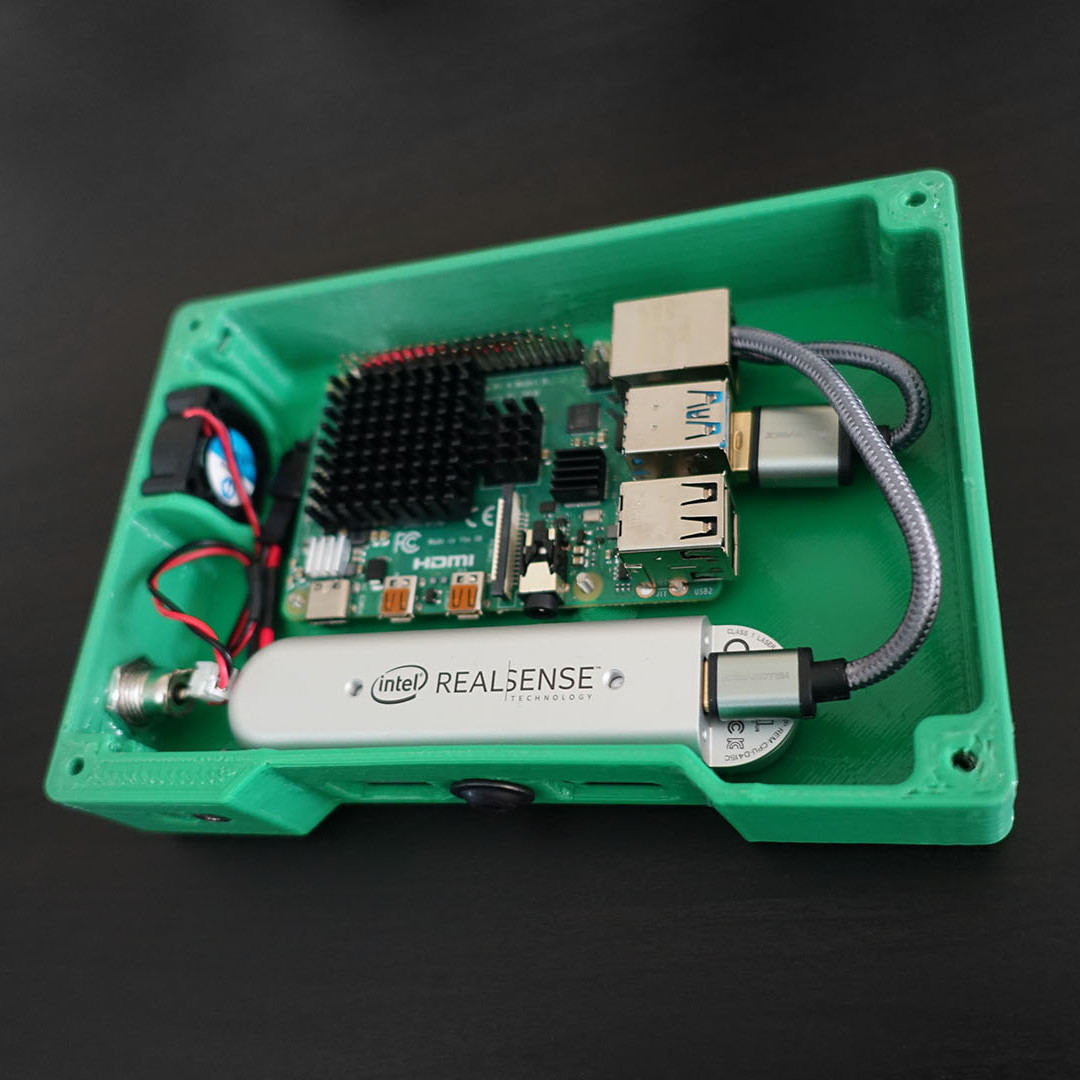
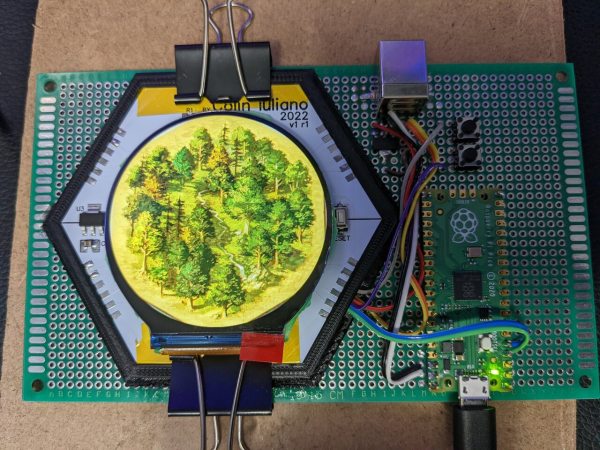
By leveraging the plug-and-play qualities of the Raspberry Pi 4 and the Adafruit LoRa Radio Bonnet, [Thomas] has been able to focus on the software side of this system that really turns these parts into something useful.

Window showing secure text communications
Messages are tagged as “authenticated” when a shared hashing code is included in the message

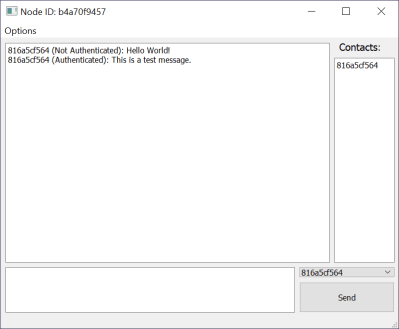
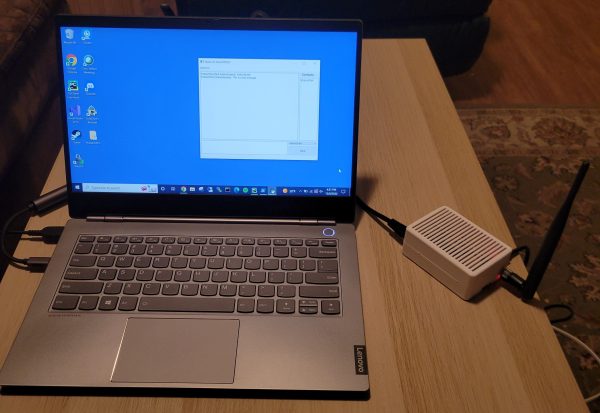
Rather than a simple point-to-point radio link, a mesh network is built up of any transceivers in range, extending the maximum distance a message can be sent, and building in resilience in case a node goes down. Each node is connected to a PC via Ethernet, and messages are distributed via a “controlled flooding” algorithm that aims to reduce unnecessary network congestion from the blind re-transmission of messages that have already been received.

Security is handled via RSA encryption with 256-byte public/private keys and additional SHA256 hashes for authentication.

The packet-size available through the LoRa device is limited to 256 bytes, of which 80 bytes are reserved for headers. To make matters worse, the remaining 176 bytes must contain encrypted data, which is almost always more lengthy than the raw message it represents. Because of this, longer messages are fragmented by the software, with the fragments sent out individually and re-assembled at the receiving end.

If you’re in need of a decentralized secure radio communications system, then there’s a lot to like about the project that [Thomas] has documented on his Hackaday.io page. He even includes an STL file for a 3D printed case. If you need to send more than text, then this Voice-over-LoRa Mesh Network project may be more your style.

Hackaday Links Column Banner

Hackaday Links: January 8, 2023

Something odd is afoot in the mountains around Salt Lake City, Utah, at least according to local media reports of remote radio installations that have been popping up for at least the past year. The installations consist of a large-ish solar panel, a weatherproof box full of batteries — and presumably other electronics, including radios — and a mast bearing at least one antenna. Local officials aren’t quite sure who these remote setups belong to or what they’re intended to do, but the installations obviously represent a huge investment in resources.

The one featured in the story was located near the summit of Twin Peaks, which is about 11,000 feet (3,300 meters) in elevation, which with that much gear was probably a hell of a hike. Plus, the owner took great pains to make sure the site would withstand the weather, with antenna mast guy wires that must have required lugging a pretty big drill up with them. There aren’t any photos of the radios in the enclosure, but one photo shows a 900-MHz LORA antenna, while another shows what appears to be a panel antenna, perhaps pointing toward another site. So maybe a LORA mesh network? Some comments in the Twitter thread show most people are convinced this is a Helium crypto mining rig, but the Helium Explorer doesn’t show any hotspots listed in that area. Either way, the owners are out of luck, since their gear is being removed if it’s on public land.

Continue reading “Hackaday Links: January 8, 2023”

Electronic Catan Game Board Is Modular

Plenty of gamers around these parts require an expensive PC to play games, often spending thousands of dollars for a gaming machine. Believe it or not, though, there are entire classes of games that don’t require any electronics at all, but that doesn’t mean that they don’t benefit from the addition of some neat gadgets. This Settlers of Catan game uses custom LCD tiles with a built-in custom mesh network.

The tiles for the game board themselves are hexagonal and snap together using magnetic pogo pins in order to form a board of any size or shape. The pogo pins also allow communication for a pseudo-mesh network to operate with each tile’s built-in PCB to allow the game board to know exactly which tiles are placed where and to display the correct image on each one. Each tile contains it own RP2040 microcontroller, keeping the overall cost of each tile to a minimum.

For those regularly hosting game night, a project like this could really change the traditionally analog game’s dynamic for the better. It was mostly a project that [Colin Iuliano] built just for fun, and if he ever builds a second one he does plan on some improvements, but we’d say that it looks like a success already. For other Catan-based electronic design inspiration, take a look at this complete and non-modular electronic game board.

Vacuum Forming With 3D Printer Filament

Even if they don’t have one themselves, we’d wager the average Hackaday reader is at least vaguely aware of how a vacuum former works on a fundamental level. You heat up a plastic sheet until it’s soft, then use a vacuum pump to pull the ductile material down onto an object and hold it there while it cools off. It’s easy to build a vacuum forming rig yourself, but small commercial units are cheap enough that it might not be worth your time. If everything goes to plan, the technique is a quick and effective way of duplicating items around the home and shop.

But we were recently tipped off to a variation of this classic technique that’s certainly worth further research. As demonstrated in a recent video, [Nathan Martinez] shows how 3D printed sheets can be used in place of the 5″ x 5″ squares of thermoplastic film that his imported vacuum former was designed to use. It’s easy enough to do: just model up a square with the appropriate 2D dimensions in your CAD package of choice, and extrude it to a height of about .5 mm.

A printed mesh pattern could be used to form custom shaped filters or strainers.

So what’s the advantage? Well for one thing, it’s cheaper. Though admittedly, not by much. Going rate on Amazon seems to be about 90 cents per sheet for the real stuff, and some back of the envelope math shows the printed version coming in at around 30 cents given nominal filament costs. Whether or not those savings are worth the extra effort is certainly debatable.

But that’s not really the most interesting part. With printed sheets loaded into the vacuum former, you’ve got access to a much wider array of materials to work with. For example, [Nathan] shows off some very interesting flexible pieces he was able to produce using sheets of TPU. You can also experiment with different surface textures. These can not only be used to give your vacuum formed pieces a bit of interesting visual flair, but could actually have some practical applications. In the video we see how a printed mesh could be formed over a piece to create a conformal air vent or filter.

To be sure, there’s some room for improvement here. Not all the pulls were successes, and [Nathan] says getting the printed sheets up to the proper temperature can be tricky. But when it works, it works quite well, and we think there could be some untapped potential in this unexpected melding of new and old methods of at-home plastic production.

Continue reading “Vacuum Forming With 3D Printer Filament”

Add Mycelium To Your Mesh Networks

In many parts of the world, days after a good rainfall, it’s fairly common to see various species of mushrooms popping up out of the ground. These mysterious organisms aren’t the whole story, though. The living being is a vast network of hidden fibers, called mycelium, spreading through the ground and into any other organic material it can colonize. Its air of mystery and its vast reach are the inspiration for entire Star Trek shows and, of course, projects like this LoRa-based mesh network called Mycelium.

Mycelium is the invention of [Catamine] and includes many novel features compared to more typical mesh networks. For one, it is intended to be used in low power applications to give users the ability to send messages over a distributed network rather than a centralized network like a cell phone service provider. For another, the messages are able to be encrypted and authenticated, which is not currently possible with other mesh networks such as APRS. The idea is that a large network of people with nothing more complicated than an ESP32, an antenna, and this software would be able to communicate securely in situations where a centralized network is not available, whether that is from something like a natural disaster or from a governmental organization disabling the Internet during a political upheval.

The mesh network is currently in active development, and while messages can not yet be sent, the network is able to recognize nodes and maintain a keybase. There are certainly plenty of instances where something like this would be useful as we’ve seen before from other (non-encrypted) LoRa-based network solutions which are built around similar principles.

Thanks to [dearuserhron] for the tip!

An Anti-Tamper Mesh Plugin For KiCad

Physical access to electronics generally means all bets are off when it comes to information security. But in special cases this is just unacceptable and a better solution must be found. Consider the encryption keys used by point of sale machines. To protect them, the devices incorporate anti-tamper mechanisms that will wipe the keys from memory if the device is opened. One such technique is to use a mesh of traces on a circuit board that are monitored for any changes in resistance or capacitance. [Sebastian Götte] has been researching in this area and wrote a KiCad plugin to automatically generate tamper-detection mesh.

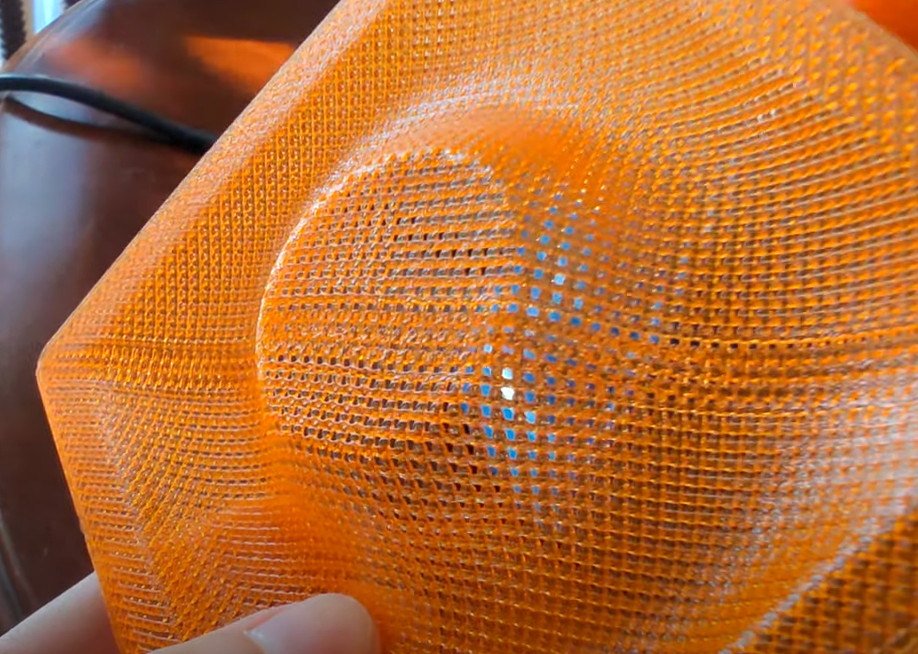
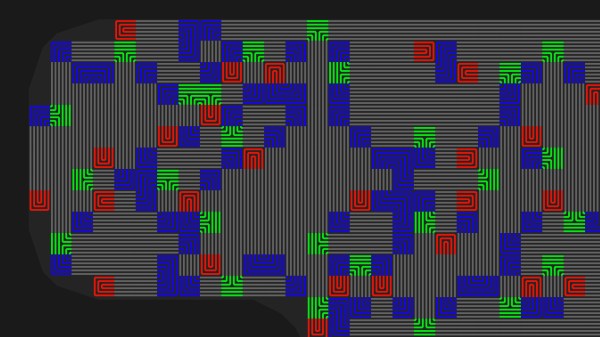
The idea is pretty simple, place traces very close to one another and it makes it impossible to drill into the case of a device without upsetting the apple cart. There are other uses as well, such as embedding them in adhesives that destroy the traces when pried apart. For [Sebastian’s] experiments he’s sticking with PCBs because of the ease of manufacture. His plugin lays down a footprint that has four pads to begin and end two loops in the mesh. The plugin looks for an outline to fence in the area, then uses a space filling curve to generate the path. This proof of concept works, but it sounds like there are some quirks that can crash KiCad. Consider taking a look at the code if you have the expertise to help make it more stable.

We’ve seen these anti-tamper meshes in practice in the VeriFone payment terminal that [Tom Nardi] tore down a couple of years ago. The approach that [Sabastian] took with the plugin actually produces a more complex mesh than was in use there as it only really used vertical lines for the traces.

Handheld 3D Scanning, Using Raspberry Pi 4 And Intel RealSense Camera

Raspberry Pi 4 (with USB 3.0) and Intel RealSense D415 depth sensing camera.

When the Raspberry Pi 4 came out, [Frank Zhao] saw the potential to make a realtime 3D scanner that was completely handheld and self-contained. The device has an Intel RealSense D415 depth-sensing camera as the main sensor, which uses two IR cameras and an RGB camera along with the Raspberry Pi 4. The Pi uses a piece of software called RTAB-Map — intended for robotic applications — to take care of using the data from the camera to map the environment in 3D and localize itself within that 3D space. Everything gets recorded in realtime.

This handheld device can act as a 3D scanner because the data gathered by RTAB-Map consists of a point cloud of an area as well as depth information. When combined with the origin of the sensing unit (i.e. the location of the camera within that area) it can export a point cloud into a mesh and even apply a texture derived from the camera footage. An example is shown below the break.
Continue reading “Handheld 3D Scanning, Using Raspberry Pi 4 And Intel RealSense Camera”