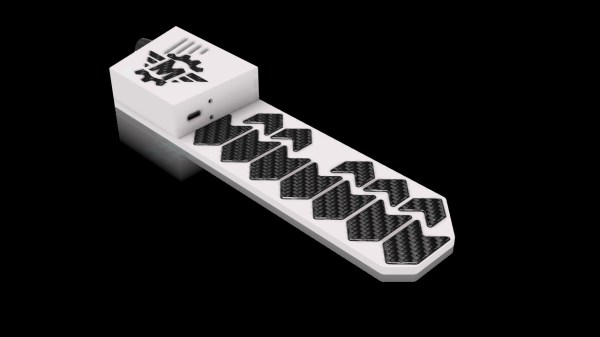
Have you ever wanted to take a break from reading or studying to just rock out for a few blissful minutes? If you’re anything like us, you like to rock out most of the time and take the occasional break to do your reading. Either way, you really can’t go wrong with this MIDI bookmark from [Misfit Maker].
 This slick little bookmark may look 3D printed, but it’s all carefully-cut foam board in two thicknesses. Even the keys are made foam board — they’re just wrapped in carbon fiber so they look extra cool.
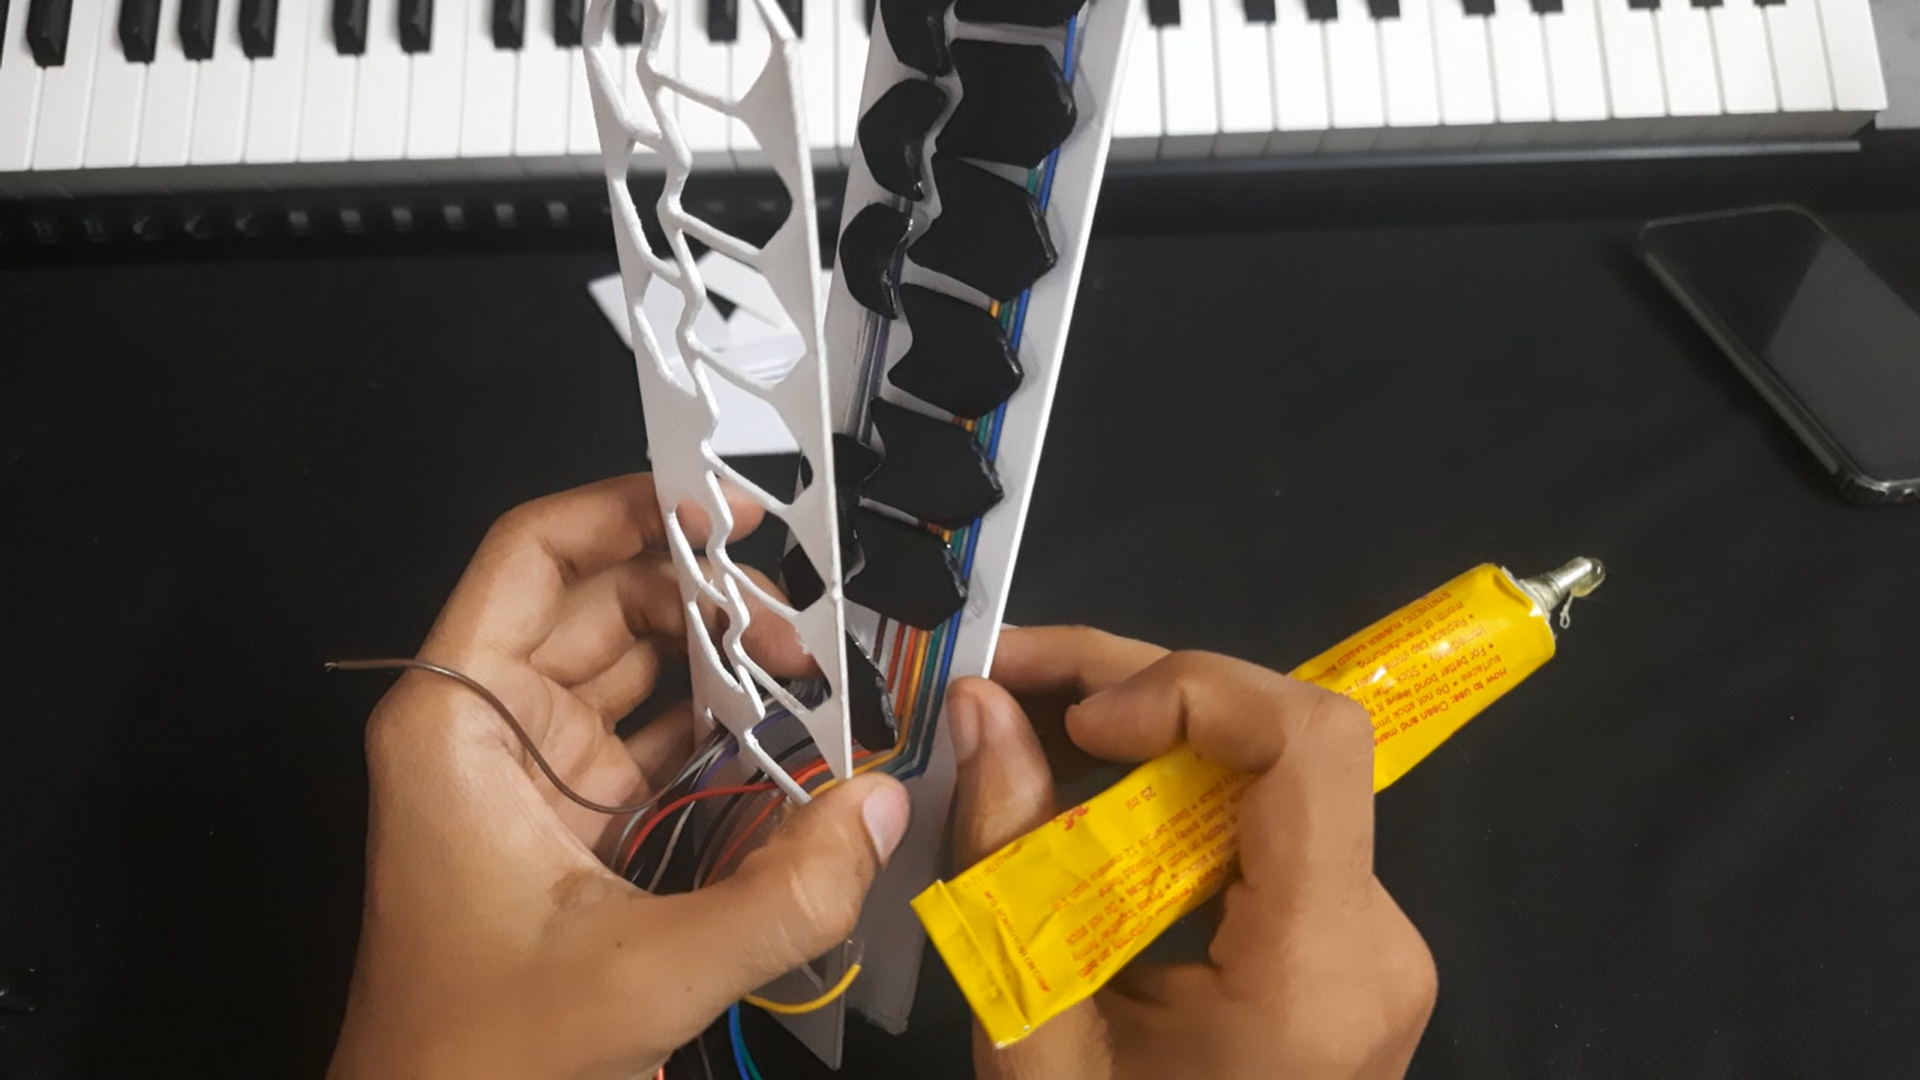
Underneath that carbon fiber is a layer of aluminium tape to make them capacitive. [Misfit Maker] recommends using copper tape instead because it allows for wires to be soldered directly to the keys.
The brains of this beauty is in the form of an ESP32 which is controlling an MPR-121 capacitive touch sensor. If you’d like to make one of these for yourself, there are plenty of helpful GIFs embedded in the thorough write-up. Be sure to check out the brief demo after the break.
If you want to easily MIDI-fy something and use touch inputs, you can’t really go wrong with the Raspberry Pi Pico, which does capacitive touch natively. Check out this MIDI kalmiba to learn more.
Continue reading “MIDI Bookmark Marks The Spot Where Work And Play Intersect”