Microcontrollers come in a broad swathe of capabilities these days. There are the venerable 8-bit micros that have been around forever and valiantly crunch away, all the way up to modern 32-bit powerhouses with advanced peripherals and huge amounts of RAM and ROM. If you’re blinking a few LEDs or opening a garage door, the former is fine. For what [Jared] had in mind, a little more horsepower was required.
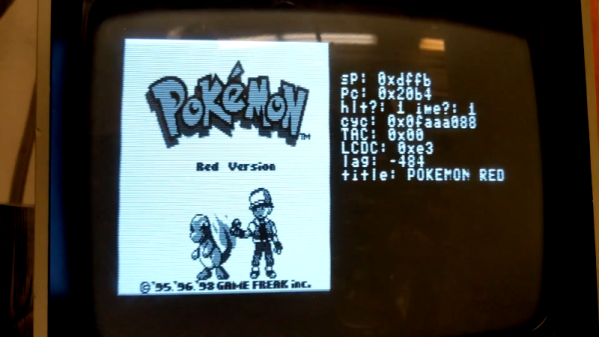
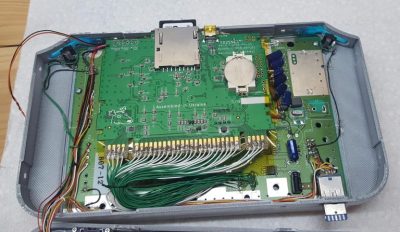
[Jared]’s project started out as an experiment with composite video output on a STM32F446RE microcontroller. Using a 4-bit resistor DAC, the device was able to output NTSC signals, using interrupts and NOPs to handle timing. The hardware worked, and was tested by playing the entirety of Star Wars: A New Hope from an SD card.
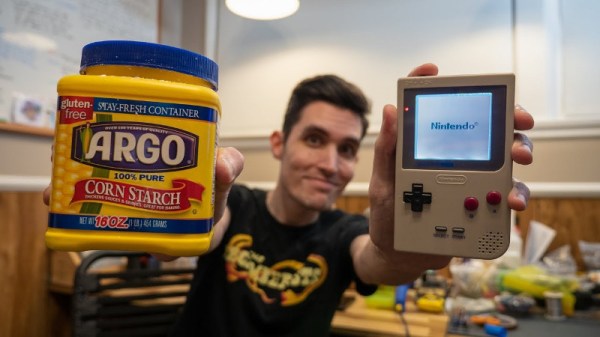
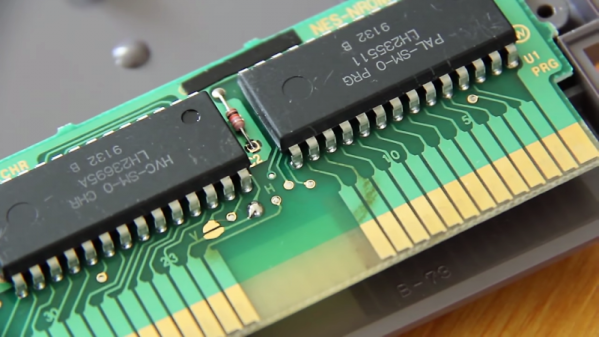
Attention then turned to creating a Game Boy emulator for the platform. After many hurdles with various bugs and edge cases, things started working, albeit slowly. The Pokemon game ROM wouldn’t fit in the microcontroller’s limited flash storage, so [Jared] implemented a complicated bank switching scheme. This combined with the limited computational resources meant the game was playable, but limited to just 10 FPS.
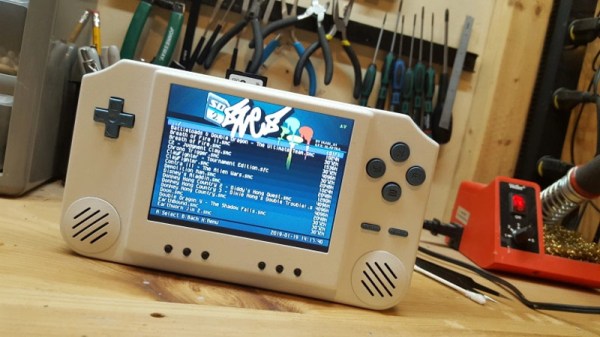
Enter the STM32H7. With over double the clock speed and capable of 856 DMIPS versus 225 of the original chip, things were coming together. Pokemon now ran at 60 FPS, and the built-in DAC greatly improved the sound. The DMA subsystem allowed further performance gains, and even running in debug mode, performance far exceeded that of the previous hardware.
With unit prices of most microcontrollers being remarkably low, it goes to show that once you’ve tapped out on performance on one platform, there’s usually a faster option available. It’s possible to emulate the Game Boy on the ESP-32 too, as Sprite_TM showed us in 2016. Video after the break.
[Thanks to Ben for the tip!]
Continue reading “Playing Pokemon On A CRT Thanks To A Powerful Microcontroller” →