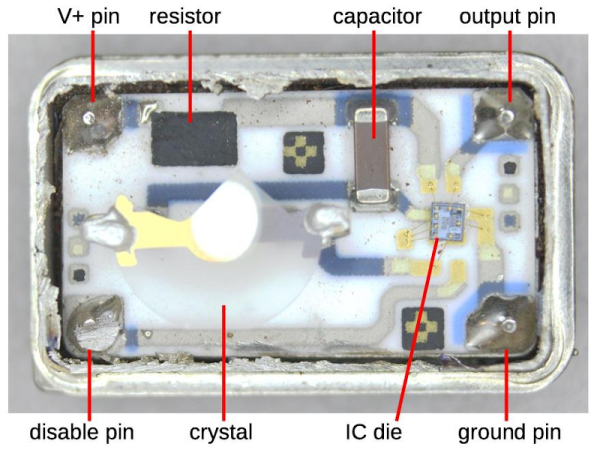
GPS technology is a marvel of the modern world. Not only can we reliably locate positions on the planet with remarkable accuracy and relatively inexpensive hardware, but plenty of non-location-based features of the technology are available for other uses as well. GPS can be used for things like time servers, since the satellites require precise timing in order to triangulate a position, and as a result they can also be used for things like this incredibly accurate frequency reference.
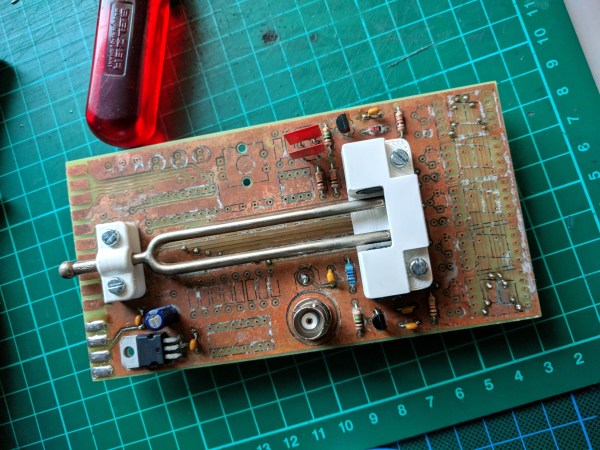
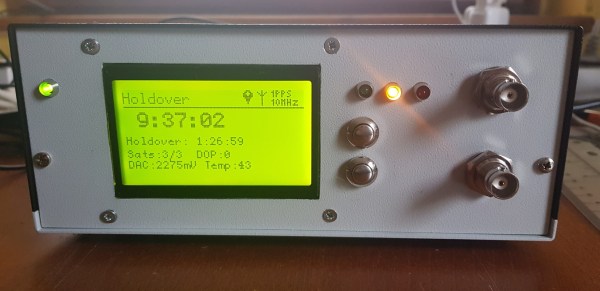
This project is what’s known as a GPSDO, or GPS-disciplined oscillator. Typically they use a normal oscillator, like a crystal, and improve its accuracy by pairing it with the timing signal from a GPS satellite. This one is a standalone model built by [Szabolcs Szigeti] who based the build around an STM32 board. The goal of the project was purely educational, as GPSDOs of various types are widely available, but [Szabolcs] was able to build exactly what he wanted into this one including a custom power supply, simple standalone UI, and no distribution amplifier.
The build goes into a good bit of detail on the design and operation of the device, and all of the PCB schematics and source code are available on the projects GitHub page if you want to build your own. There are plenty of other projects out there that make use of GPS-based time for its high accuracy, too, like this one which ties a GPS time standard directly to a Raspberry Pi.