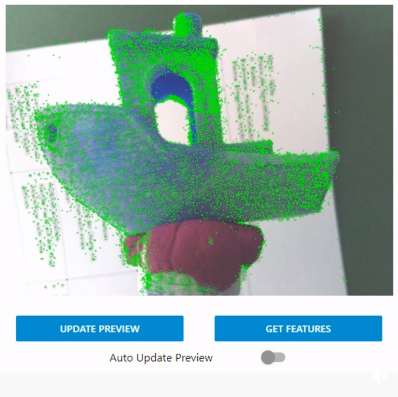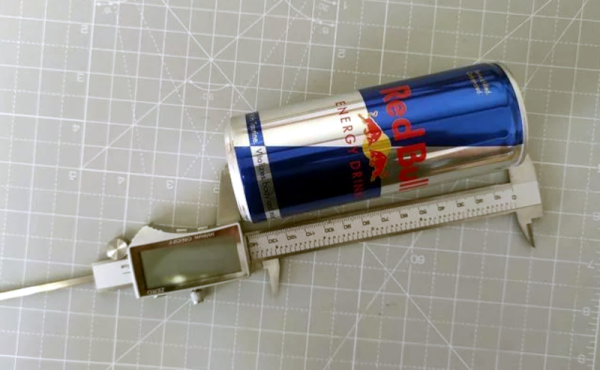
There are many scanners — both commercial and homemade — that can take a variety of scans or images of a 3D object and convert it into something like a 3D printable file. When the process works, it works well, but the results can be finicky at best and will require a lot of manual tuning. According to [Samuel Garbett], you might as well just draw your own model using Blender. He shows you how using a Red Bull can which, granted, isn’t exactly the most complicated thing ever, but it isn’t the simplest either.
He does take one photo of the can, so there is a camera involved at some point. He also takes measurements using calipers, something you probably already have laying around.
Since it is just a can, there aren’t many required pictures or measurements as, say, a starship model. Once you have the measurements, of course, you could use the tool of your choice and since we aren’t very adept with Blender, we might have used something we think is easier like FreeCAD or OpenSCAD. However, Blender has a lot of power, so we suspect making the jump from can to the USS Enterprise might be more realistic for a Blender user.
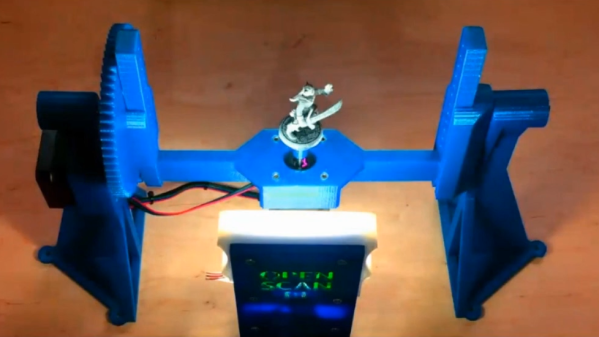
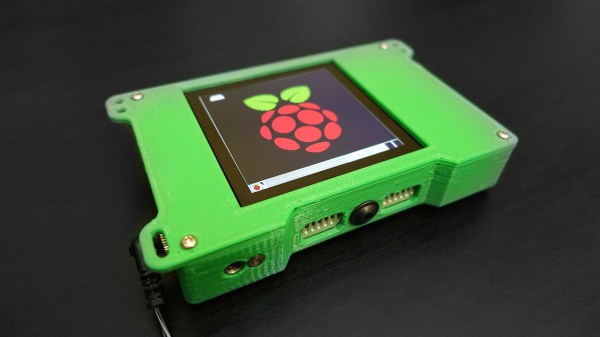
Besides, it is good to see how other tools work and we were surprised that Blender could be relatively simple to use. Every time we see [Jared’s] channel, we think we should learn more about Blender. But if you have your heart set on a real scanner, there are plenty of open source designs you can print.