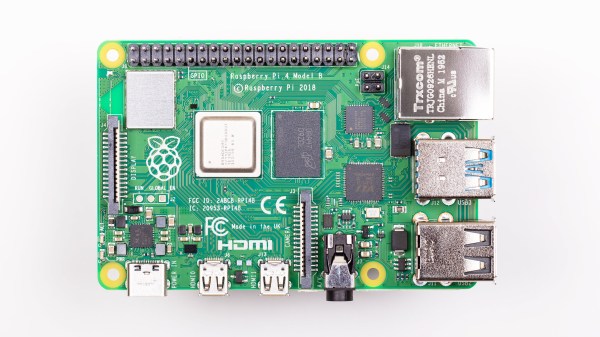
What began as a rumor becomes reality. This morning [Eben Upton] announced that the newest flavor of the Raspberry Pi 4 comes with 8 gigabytes of RAM and a sticker price of $75, roughly twice that of the base model which is now pegged at 2 GB of ram.
Originally released on June 23rd of last year, the Pi 4 came with three different options for 1, 2, or 4 GB of memory. But just a few days later, Hackaday reported on an Easter egg in the user guide that referenced an 8 GB option.
So why didn’t this version get released in 2019? That’s the crazy thing about this story. In the announcement [Eben] mentions that the Pi’s design is capable of addressing up to 16 GB of LPDDR4 SDRAM (we say bring it, but that’s a discussion for a different day). It took a year to get here because there wasn’t a source available for this 8 gig version until Micron began manufacturing the chip earlier this year.
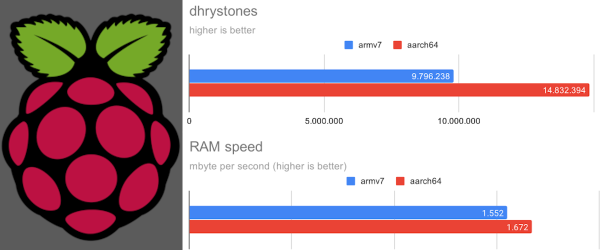
Also addressed in this announcement is a looming changeover that was bound to happen eventually: the move from 32-bit to 64-bit operating systems on the Pi. While a 32-bit image can access all of this larger memory across multiple process, it can’t devote more than 3 GB to a single Linux process because of address space limitations. Simply put, you need more bits to access the higher addresses. Moving to a 64-bit system accomplishes that, something you can do by running unofficial builds on the Pi, but the official build didn’t support it until today’s announcement of a 64-bit beta image.
This is inevitable, not purely because of this memory limitation, but because we’ve seen examples where the juggernaut of Linux development has its own eye on a 64-bit future. Official images for Raspberry Pi have always been 32-bits, and remain so for now, but the wind is beginning to blow for this and future hardware offerings that are bumping up against limitations. Along with the news of this impending architecture switch over, the official operating system has also gotten a name change: Raspbian will henceforth be known as Raspberry Pi OS.
When [Jenny List] first reported on the 8 GB rumors last June, she speculated that today’s announcement would happen on February 29th of this year. Why the leap day? It happened to be the 8th birthday of Raspberry Pi and synced up nicely with an 8 GB surprise. Today’s announcement drops the morsel of trivia that the foundation was indeed planning on that date, but missed it by three months due to supply chain disruption associated with the coronavirus pandemic that prevented them from sourcing all the parts necessary for the new power supply design included in this revision.
We’d love to hear your thoughts on this move. Do you need 8 GB on your Pi, and does the 3 GB limitation of a 32-bit kernel matter to you? Let us know in the comments below.