At this point, society has had over three decades to get used to the Blue Man Group. Maybe that’s why we’re less disturbed by [Graham Jessup]’s face-tracking Watchman than we should be. Either that, or it’s because it reminds us of Data from Star Trek: The Next Generation. Frankly, this is just way too cool to be dismissed out of hand as creepy.
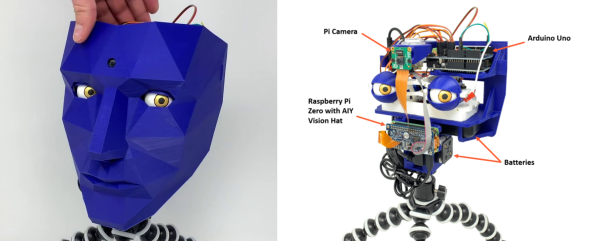
 The Watchman finds faces via video feed from a camera module positioned in his forehead as a third eye. The camera is connected to a Pi Zero that’s wearing a Google AIY vision bonnet. The Pi translates the face locations into servo positions and feeds them to an Arduino UNO located in the frontal lobe region to move the eyeballs and lids accordingly.
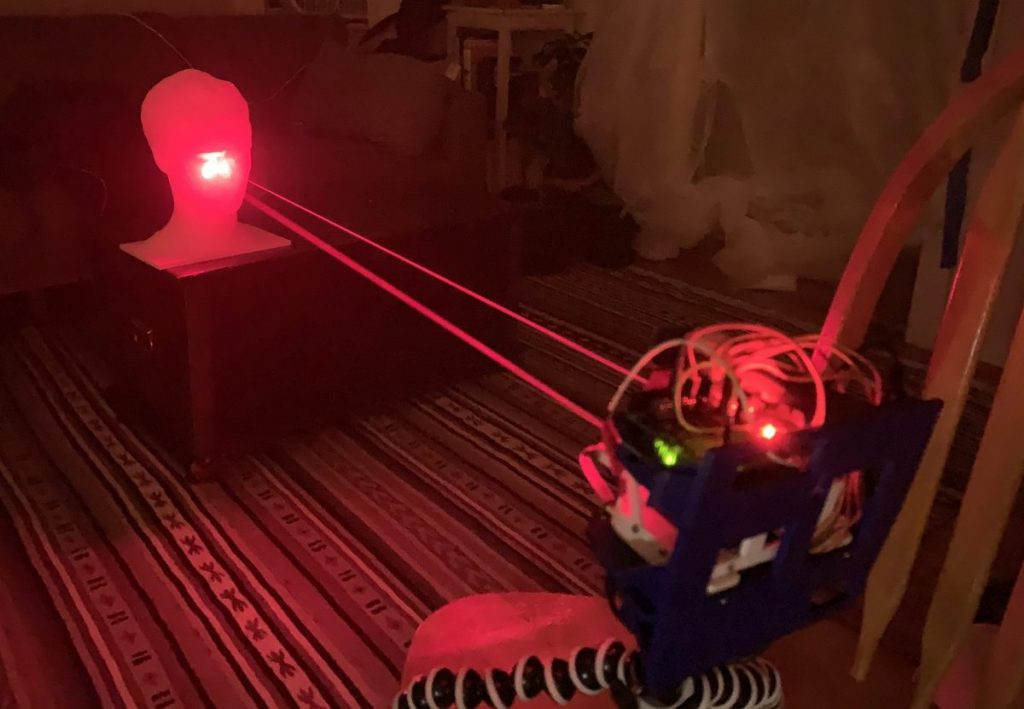
[Graham] had a bit of trouble with tracking accuracy at first, so he temporarily replaced the pupils with 5 mW lasers and calibrated them by tracking a printed stand-in of his head to avoid burning out his retinas.
This project builds on previous work by [Tjahzi] and the animatronic eye movements of [Will Cogley]. We can only imagine how awesome the Watchman would look with a pair of [Will]’s incredibly realistic eyeballs. Either way, we would totally trust the Watchman to defend our modest supply of toilet paper in the coming weeks. Check out a brief demo after the break, and a whole lot more clips on [Graham]’s site.
Continue reading “Watchman Watches You Watching Him Watch You”