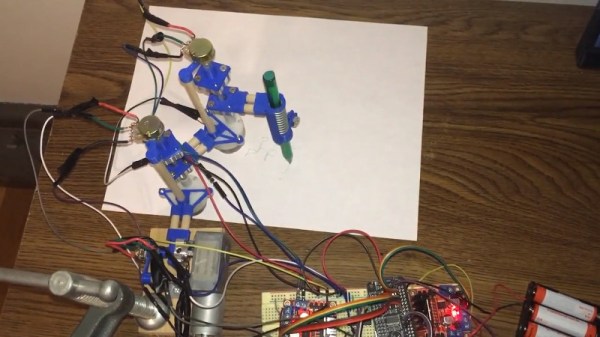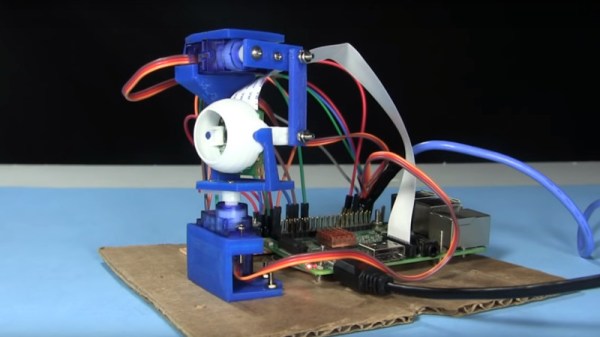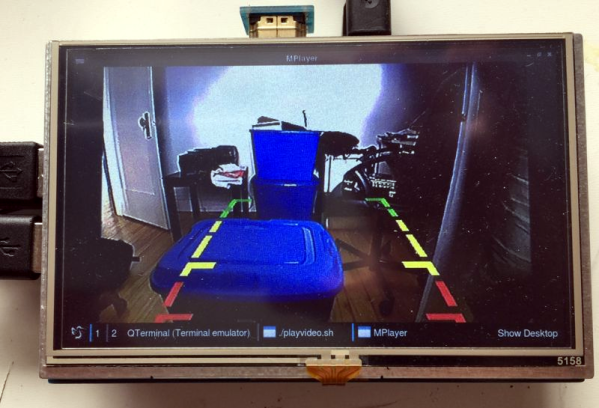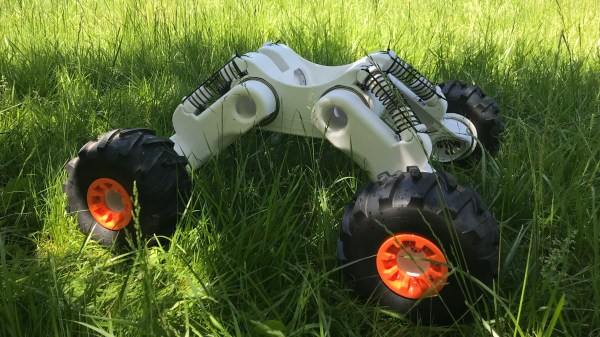
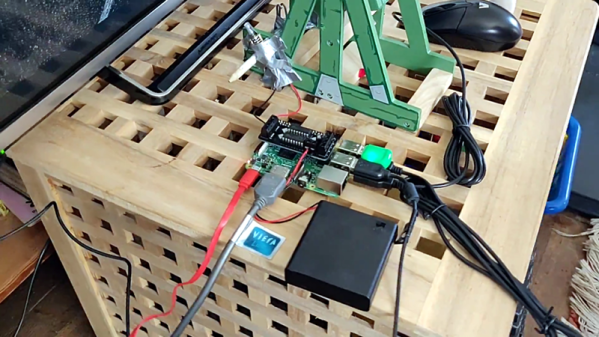
Rover V2 is an open-source, 3D-printable robotic rover platform that has seen a lot of evolution and development from its creator, [tlalexander]. There are a number of interesting things about Rover V2’s design, such as the way the wheel hubs themselves contain motors and custom planetary gearboxes. This system is compact and keeps weight down low to the ground, which helps keep a rover stable. The platform is all wheel drive, and moving parts like the suspension are kept high up, as far away from the ground as possible. Software is a custom Python stack running on a Raspberry Pi that provides basic control.
The Rover V2 is a full mechanical redesign of the previous version, which caught our attention with its intricate planetary gearing inside the wheel hubs. [tlalexander]’s goal is to create a robust, reliable rover platform for development that, thanks to its design, can be mostly 3D printed and requires a minimum of specialized hardware.


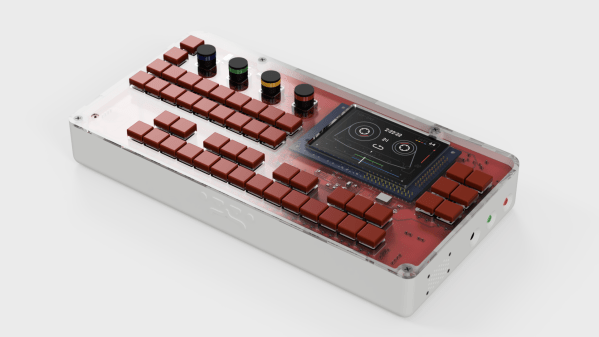
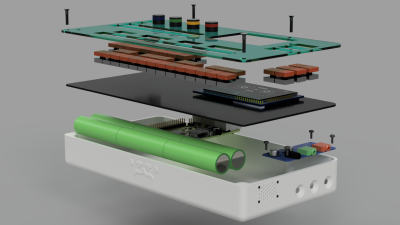 On the hardware side, the heart of the OTTO is a Raspberry Pi 3. The all-important audio interface is a Fe-Pi Audio Z V2, though a USB interface can be used. The 48 switches and four rotary encoders are wrangled by a pair of Arduino pro micros which pass the data on to the Pi. Data is related to the user through a 320×200 LCD.