For most people, a Post-It note or dry-erase board suffices to ensure that household consumables are replenished when they’re used up. But hackers aren’t like most people, so this surplus barcode scanner turned kitchen inventory manager comes as little surprise. After all, if something is worth doing, it’s worth overdoing.
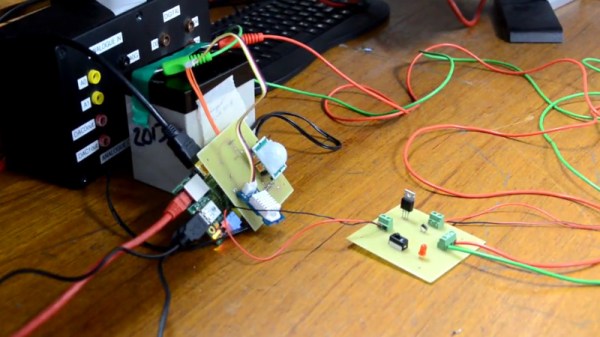
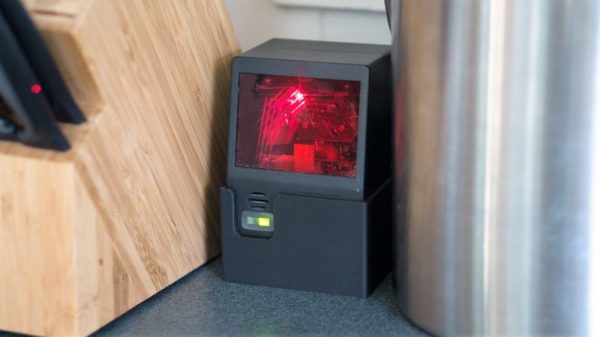
[Brian Carrigan]’s project began with a chance discovery of an old barcode scanner in his local scrap store. Questions as to why we can never find bargains like a $500 scanner for six bucks aside, [Brian] took the scanner home for a bit of reverse engineering. He knew it used RS-232 but it had been unceremoniously ripped from its connectors, so identifying pins took some detective work. With power and data worked out and the scanner talking to a Raspberry Pi, [Brian] set about integrating it into Wunderlist, a cloud-based list management app. Now when someone eats the last Twinkie, a quick scan of the package looks up the product name via an API call to the UPC database and posts it to Wunderlist. And we’ll bet the red laser beams bouncing around the kitchen make a great nightlight too.
With smartphone barcode reading apps, this might seem a bit like overkill, but we like it just the same. And if barcodes leave you baffled, check out our introduction to these studies in black and white that adorn just about everything.