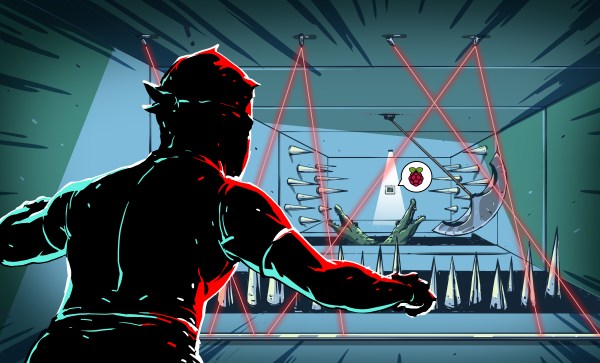
So you like watching stupid stuff? Here you go, a scene from Bones that tops the infamous ‘IP backtrace with Visual Basic’ or ‘four-handed keyboard’ scenes from other TV shows. Someone hacked the bones by embedding malware in a calcium fractal pattern. Also, when she uses the fire extinguisher, she doesn’t spray the base of the fire.
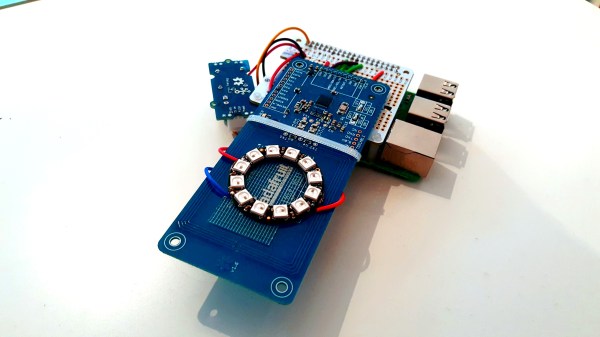
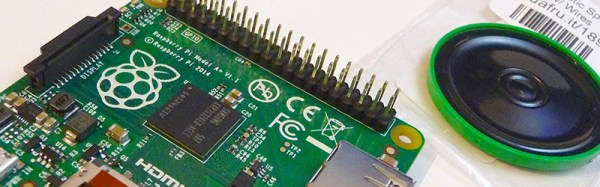
Raspberry Pi! You have no idea how good the term Raspberry Pi is for SEO. Even better is Raspberry Pi clusters, preferably made with Raspberry Pi Zeros. Here’s a Raspberry Pi hat for four Raspberry Pi Zeros, turning five Raspberry Pis into a complete cluster computer. To be honest and fair, if you’re looking to experiment with clusters, this probably isn’t a bad idea. The ‘cluster backplane’ is just a $2 USB hub chip, and a few MOSFETs for turning the individual Pis on and off. The Zeros are five bucks a pop, making the entire cluster cost less than two of the big-boy sized Pi 3s.
Do you think you might have too much faith in humanity? Don’t worry, this video has you covered.
Hacking on some Lattice chips? Here’s a trip to CES for you. Lattice is holding a ‘hackathon’ for anyone who is building something with their chips. The top prize is $5k, and a trip to next year’s CES in Vegas, while the top three projects just get the trip to Vegas. If you already have a project on your bench with a Lattice chip, it sounds like a great way to wait an hour for a cab at McCarran.
UPSat. What’s an upsat? Not much, how about you? The first completely open source hardware and software satellite will soon be delivered to the ISS. Built by engineers from the University of Patras and the Libre Space Foundation, the UPSat was recently delivered to Orbital ATK where it will be delivered to the ISS by a Cygnus spacecraft. From there, it will be thrown out the airlock via the NanoRacks deployment pod.
The Voyager Golden Record is a message in a bottle thrown into the cosmic ocean and a time capsule from Earth that may never be opened. Now it’s a Kickstarter. Yes, this record is effectively Now That’s What I Call Humanity volume 1, but there are some interesting technical considerations to the Voyager Golden Record. To the best of my knowledge, no one has ever tried to extract the audio and pictures from this phonographic time capsule. The pictures included in the Golden Record are especially weird, with the ‘how to decode this’ message showing something like NTSC, without a color burst, displayed on a monitor that is effectively rotated 90 degrees counterclockwise from a normal CRT TV. Want to know how to get on Hackaday? Get this Golden Record and show an image on an oscilloscope. I’d love to see it, if only because it hasn’t been done before by someone independent from the original project.