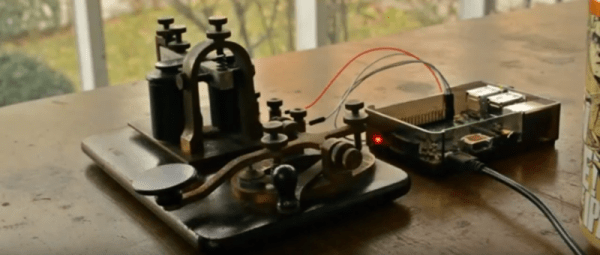
The calendar is rolling through the third week of the house that Hackaday and Adafruit built: The Raspberry Pi Zero Contest. We’re nearly at 100 entries! Each project is competing for one of 10 Raspberry Pi Zeros, and one of three $100 gift certificates to The Hackaday Store. This week on The Hacklet, we’re going to take a look at a few more contest entries.
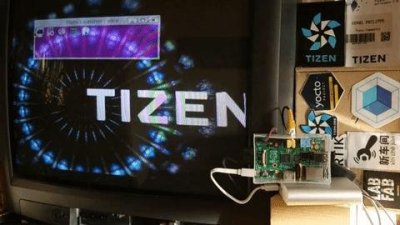 [Phil “RzR” Coval] is trying to Port Tizen to the Raspberry Pi Zero. For those not in the know, Tizen is an open source operating system for everything. Billed as a go-to OS for everything from wearables to tablets to smartphones to in-vehicle entertainment systems, Tizen is managed by the Linux Foundation and a the Tizen Association. While Tizen works on a lot of devices, the Raspberry Pi and Pi 2 are still considered “works in progress”. Folks are having trouble just getting a pre-built binary to run. [Phil] is taking the source and porting it to the limited Pi Zero platform. So far he’s gotten the Yocto-based build to run, and the system starts to boot. Unfortunately, the Pi crashes before the boot is complete. We’re hoping [Phil] keeps at it and gets Tizen up and running on the Pi Zero!
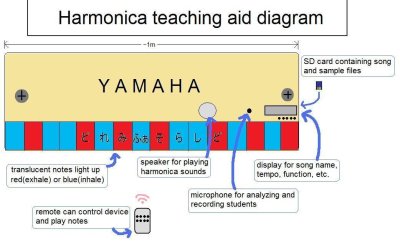 Next up is [shlonkin] with Classroom music teaching aid. Guitar Hero has taught a generation of kids to translate flashing lights to playing notes on toy instruments. [Shlonkin] is using similar ideas to teach students how to play real music on a harmonica. The Pi Zero will control a large display model of a harmonica at the front of the classroom. Each hole will light up when that note is to be played. Harmonica’s have two notes per hole. [Shlonkin] worked around this with color. Red LEDs mean blow (exhale), and Blue LEDs mean draw (inhale). The Pi Zero can do plenty more than blink LEDs and play music, so [shlonkin] plans to have the board analyze the notes played by the students. With a bit of software magic, this teaching tool can provide real-time feedback as the students play.
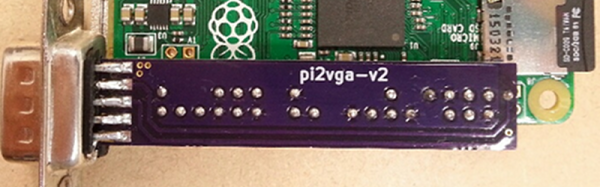
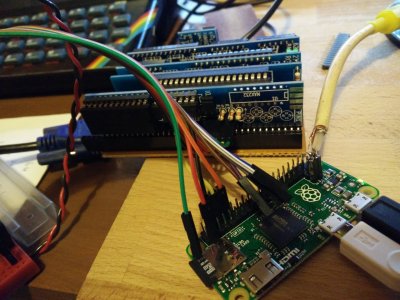 [Spencer] is putting the Pi Zero to work as a $5 Graphics Card For Homebrew Z80. The Z80 in this case is RC2014, his DIY retro computer. RC2014 was built as part of the 2014 RetroChallenge. While the computer works, it only has an RS-232 serial port for communication to the outside world. Unless you have a PC running terminal software nearby, the RC2014 isn’t very useful. [Spencer] is fixing that by using the Pi Zero as a front end for his retro battle station. The Pi handles USB keyboard input, translates to serial for the RC2014, and then displays the output via HDMI or the composite video connection. The final design fits into the RC2014 backplane through a custom PCB [Spencer] created with a little help from kicad and OSHPark.
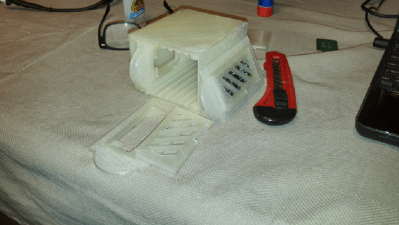 Finally we have [txdo.msk] with 8 Leaf Pi Zero Bramble. At $5 each, people are scrambling to build massively parallel supercomputers using the Raspberry Pi Zero. Sure, these aren’t practical machines, but they are a great way to learn parallel computing fundamentals. It only takes a couple of connectors to get the Pi Zero up and running. However, 8 interconnected boards quickly makes for a messy desk. [Txdo.msk] is designing a 3D printed modular case to hold each of the leaves. The leaves slip into a bramble box which keeps everything from shorting out. [Txdo.msk] has gone through several iterations already. We hope he has enough PLA stocked up to print his final design!
If you want to see more entrants to Hackaday and Adafruit’s Pi Zero contest, check out the submissions list! If you don’t see your project on that list, you don’t have to contact me, just submit it to the Pi Zero Contest! That’s it for this week’s Hacklet. As always, see you next week. Same hack time, same hack channel, bringing you the best of Hackaday.io!