Kerbal Space Program is a space flight simulator based on an extremely stupid race of green space frogs that have decided to dedicate all their resources towards the exploration of space. It is a great game, a better space simulator than just about anything except for Orbiter, and the game is extremely moddable. For this edition of the Hacklet, we’re going to be taking a look at some of the mods for KSP you can find over on hackaday.io.
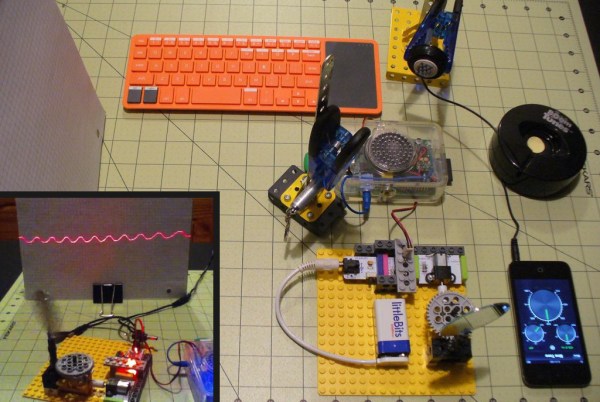
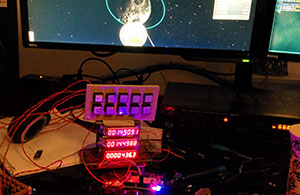
 Like most hardware builds for Kerbal Space Program, [lawnmowerlatte] is using a few user-made plugins for KAPCOM, a hardware controller and display for KSP. The Telemachus plugin is used to pull data from the game and display that data on a few screens [lawnmower] had sitting around.
There are a few very cool features planned for this build including seven-segment displays, a throttle handle, and neat enclosure.
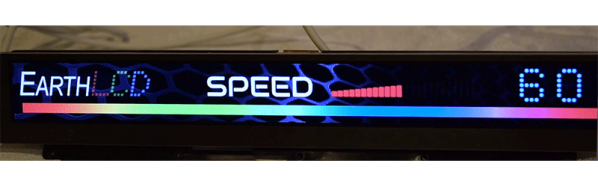
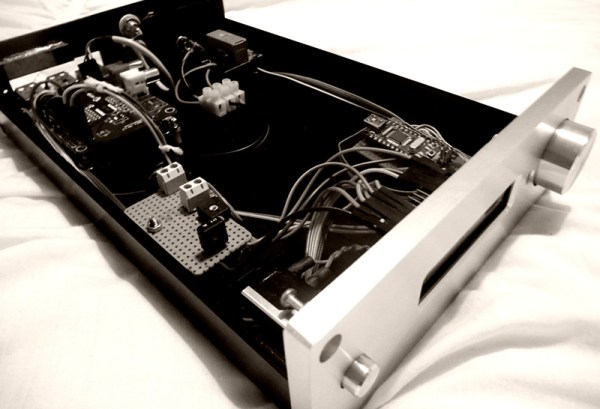
 [Gabriel] is working on a similar build for KSP. Like the KAPCOM, this one uses the Telemachus plugin, but this one adds three eight-digit, SPI-controlled, seven-segment displays, relegendable buttons, and a Kerbal-insipired frame made out of Meccano.
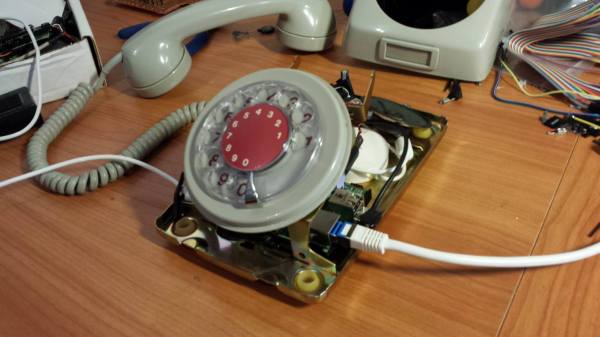
[Lukas]’ KSP Control Panel is another complicated control system that breaks immersion slightly less than a keyboard. He’s using a Raspberry Pi to talk to the Telemachus server to control every aspect of the craft. From staging to opening up the solar panels, it’s all right there in [Lukas]’ control panel.
You may have noticed a theme with these builds; all of them use the Telemachus plugin for KSP. Even though it’s fairly simple to create plugins for Unity, there really aren’t that many KSP plugins build for these immersive control panels and space flight simulators. Or rather, Telemachus is ‘good enough’. We’d like to see a fully controllable KSP command pod model, just like those guys with 737 flight simulators in their garage. If you have any idea how that could happen, leave a note in the comments.