
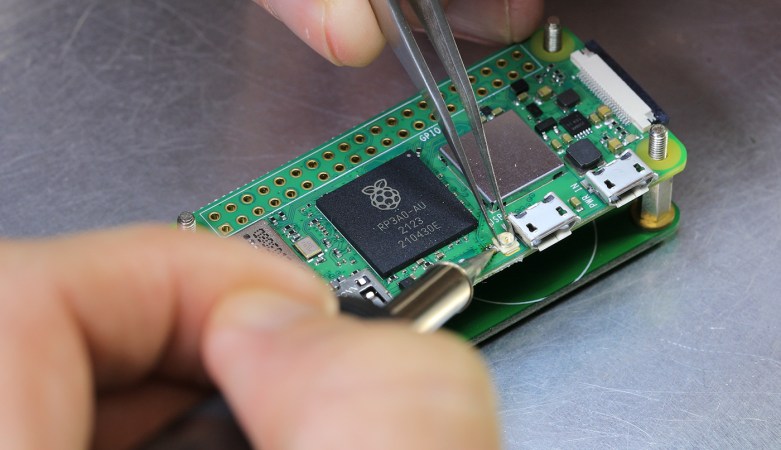
There was a brief time in the early 2000s when we carried cellphones, wallets, keys, and a bespoke digital media player loaded with a small selection of our music libraries. Devices like iPods, Zunes, Sandisk Sansa, and iRiver. Then as cell phones gained more storage and processing power, the two devices became one, and audio players slipped to obscurity as sports accessories. Perhaps in that vein, [BalderDragonSlayer] made his own Raspberry Pi-powered media player.
The device was cobbled together using a Raspberry Pi Zero, an Adafruit OLED bonnet, a LiPo charger, and a cheap USB DAC. The interface software is written in python, which has all your usual player controls, using the directional joystick and two pushbuttons on the bonnet. DietPi is a slimmed-down Linux that offers an impressively fast boot time, which is why it was picked for this project. The case was a simple project case with some holes dremeled into the face for the screen and buttons.
It is a wonderful little project that seems wonderful for walks in the park. This isn’t the first Pi-powered media player we’ve seen before. But we’re hoping we see more in the future.

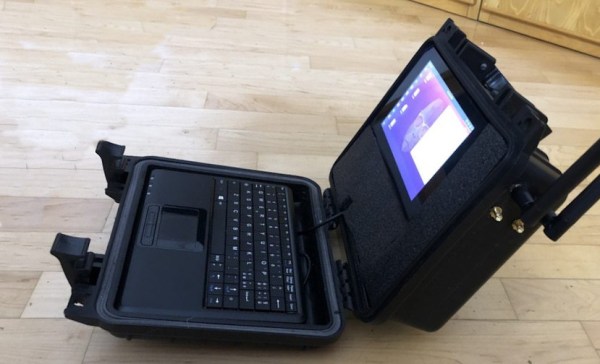
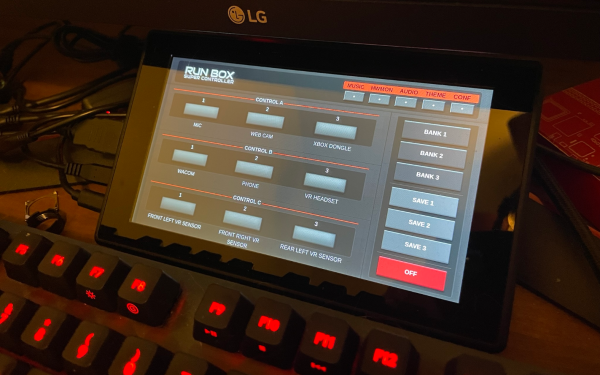
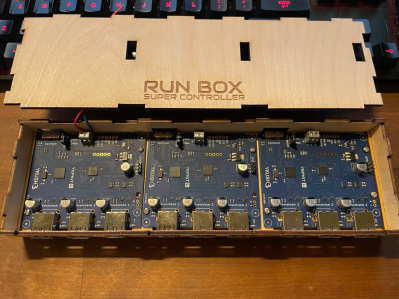 The modified USB hub is housed in a laser-cut enclosure with plenty of space to hook up a variety of USB devices. The touchscreen neatly fits just above [Matt]’s keyboard; this setup was inspired by head-down displays used in aircraft which similarly use a small additional screen for peripheral functions.


